


3.3 Connect to Ethernet 10/100M
:
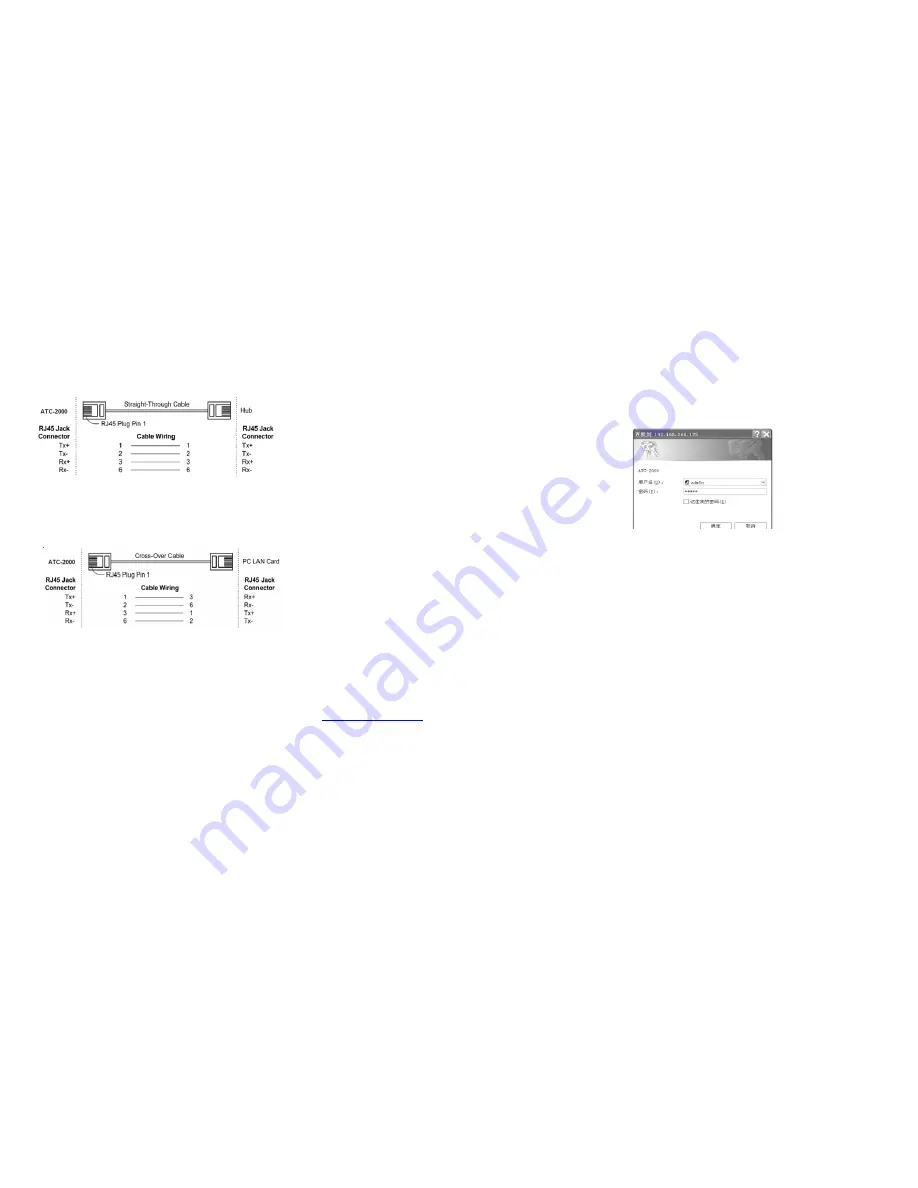
GC-ATC-2000 10/100/M Port connect to switcher or HUB use
straight-Through Cable, figure1
Figure1
GC-ATC-2000 10/100 Port t connect to Ethernet card use
cross-Through Cable, figure2
Figure2
3.4 Power Supply
:
GC-ATC-2000 TCP/IP converter can adopt the product’s AC
power adapter for power supply or adopt power from other DC
power or device (+9 to +24V@500-100mA).
3.5 GC-ATC-2000 LED indication
:
LINK
Indication Ethernet Link
,
Green on Ethernet
Link established
10/100M
Indication LINK speed, Green ON LINK
100M Ethernet
ACT
Data Sending/Receiving between Serial and
the Ethernet
PWR
Indication Power
4.0 Configure your GC-ATC-2000
Use this section to set up your computer to assign it a static
IP address in the 192.168.168.1 to 192.168.168.254 range
with a subnet mask of 255.255.255.0. This is necessary to
ensure that your computer can communicate with your
GC-ATC-2000. Your computer must have an Ethernet card
and TCP/IP installed. TCP/IP should already be installed on
computer using Windows 98/2000/XP and later operating
systems.
Step 1
:
Open your web browser and type
http://192.168.168.125
in the browser’s
address box
. This
address is the factory set IP Address of your GC-ATC-2000.
Press
“
Enter
”
.
Step 2
:
The
“Username and Password required”
prompt
box will appear. Typing
“
admin
”
(default username) in the
Username field and typing
“admin”
(default password) in the
Password field. Click
“
OK
”
. The setup screen will then
appear.
This chapter will show you how to configure
GC-ATC-2000 to function in your network and gain
access to your device through Intranet or Internet.


