21
❏
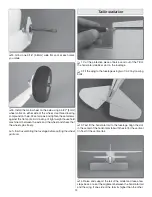
4. Use a sharp hobby knife or small sanding drum to
remove the plastic between the dummy engine cylinders.
Leave a 20mm wide ring around the edge of the dummy
engine. Use sand paper to remove the paint from the lip of
the dummy engine. Clean the lip using denatured alcohol.
❏
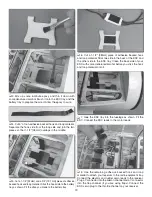
5. Sand the inside of the cowl near the rear lip and where
the dummy engine will mount. Clean the surfaces you just
sanded using denatured alcohol.
❏
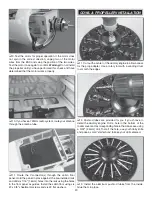
6. Fit the dummy engine inside the cowl. Position it as far
forward as possible, aligning the rocker arm covers with the
blisters on the cowl. Apply epoxy along the seam between
the dummy engine and the cowl.
❏
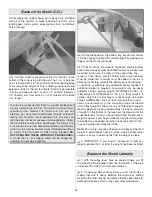
7. Temporarily attach the plywood cowl ring to the fuselage
with four 4-40 x 1/2" [13mm] socket head cap screws, four
#4 lock washers and four #4 flat washers. Use a 3/32" ball
wrench (GPMR8002) to tighten the screws.
❏
8. Slide the cowl over the cowl ring and center the motor
prop adapter in the dummy engine. Install a propeller to
check that it rotates without rubbing on the cowl or dummy
engine. Make any adjustments to the dummy engine or cowl
so that the propeller spins freely.
Note:
The cowl ring should
be at the back edge of the cowl when everything is positioned
correctly.
❏
9. Remove the cowl and the cowl ring. Cut the fuselage
bag (
you did keep the bag, right?
) 12" [305mm] from the
closed end. Slide the bag over the front of the fuselage. A
hole will need to be cut for the motor. Also cut four small
holes for the cowl ring screws. Reinstall the cowl ring with the
4-40 x 1/2" [13mm] socket head screws.


