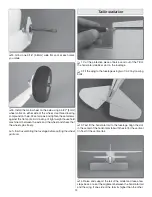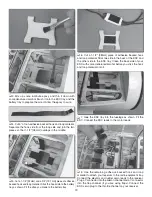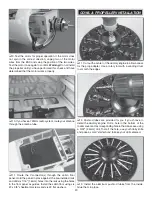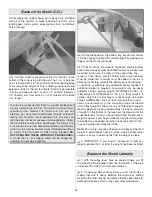
11
❏
13. Repeat steps 5 through 12 to finish the right wing.
Remember to orient the servo bay cover properly. Use the
photo above for reference.
❏
14. To add operable flaps later, remove the pushrod from
the servo bay cover. Using a heat gun, heat up the wooden
flap retainer pieces you glued in place until you soften the
epoxy. Use a flat razor blade to separate the glue joint and
remove the retainer pieces from the servo bay covers. Follow
the directions in the next section to install and set up flap
servos. Note: Clip off the last 90° bend from the pushrods
and reuse them to hook up your servos.
Servo Operated Flaps (Option 3)
Because of the relatively small amount of control throw
that is needed for the flaps, we recommend that you use
a radio system that has adjustable end-points. The small
amount of control throw necessary is very difficult to achieve
mechanically. We found that we had to set our end points to
30 – 40%.
❏ ❏
1. Trim away the covering from the servo arm hole.
❏ ❏
2. Establish the rotation direction of your flap servos.
Lay one flap servo on its side as shown in the sketch. Turn
on your radio and actuate the flap channel. Make sure that
the servo rotates in the proper direction in conjunction with
the movement of the flap dial or slider. If it doesn’t, reverse
the servo operation so that it does.
❏ ❏
3. With the radio still switched on, set the flaps on the
transmitter to the fully retracted position. Using the short arms
that came with your servos, prepare two servos as shown
choosing the servo arm that aligns perpendicular to the servo
centerline. Drill the outermost hole in the short arm or the hole
that is approximately 5/16" [8mm] out from the center of the
output shaft.
❏ ❏
4. Prepare each flap servo bay cover using two 7mm
x 10mm x 14mm hardwood blocks. Glue these in place and
drill the holes for the servo screws using a 1/16" [1.6mm]
drill. Install the servos. Both covers should look the same.


