❏
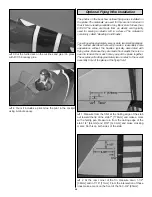
4. Glue the two parts shown onto one of the plywood
carrying handle parts. Make sure the four holes are aligned.
❏
5. Place the “N” struts onto the handle, leaving space
between the struts in the center of the handle as shown. The
remaining parts you glued together should be positioned
between the “N” struts. Once you are sure the struts and
the remaining pieces fit properly, glue the plywood parts to
the handle.
❏
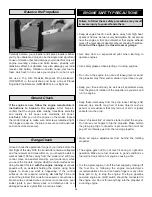
6. On the remaining handle part, install a 4-40 blind nut
into each of the corner holes.
❏
7. Place the two “N” struts into the handle. Put the handle
top onto the part of the handle holding the struts and place
the completed handle on top of the cabanes. Secure the
handle to the cabanes with four 4-40 x 1" [25.4mm] socket
head cap screws and #4 flat washers. This is how the
completed handle looks when you are storing the parts or
taking the plane to the field.
24


