


10
Installation
Installation
Installation
Follow these steps to install a NV9640 control panel:
1 Mount, and secure, the panel in the rack.
The NV9640 is designed to mount in a 19” rack. Rack-mounting is not a requirement.
Place the panel in position in your rack. Attach the panel to the rack frame, using screws
appropriate for your rack. The panel’s mounting slots are spaced 3.00” (76.2 mm) vertically
and allow approximately 1/8” (3 mm) of movement horizontally.
2 We assume that you have an Ethernet switch connected to the “Panel and Router Network”
port of your system controller. Connect an Ethernet cable from that switch to the RJ-45 port
at the rear of the NV9640.
3 Connect one or both power supplies. First connect the 4-pin connector to PS1 or PS2 on the
rear of the router. The connectors are keyed and snap into place. There is only one way they
fit. Do not force them. Then connect the power supply to AC power.
A second power connection is for redundancy only (protection against failure) and is not a
requirement for operation.
on page 81 for details on the PS0001 power supply. See also
4 Connect tally (GPIO) input devices and output devices at the DB25 GPI connector.
You can use the optional WC0053 breakout cable to make these connections.
, on page 75 for detail regarding the tally interface.
Installing Software and Documentation
This document is available through the Grass Valley web site.
You must use NV9000-SE Utilities to configure the NV9640 control panel. Contact Grass Valley if
you need to obtain the latest version of this NV9000 configuration software.
You may use the Panel IP Configuration Utility if you want to your NV9640 to have a static IP
address or to use DHCP. The panel, as it comes from the factory, defaults to DHCP.
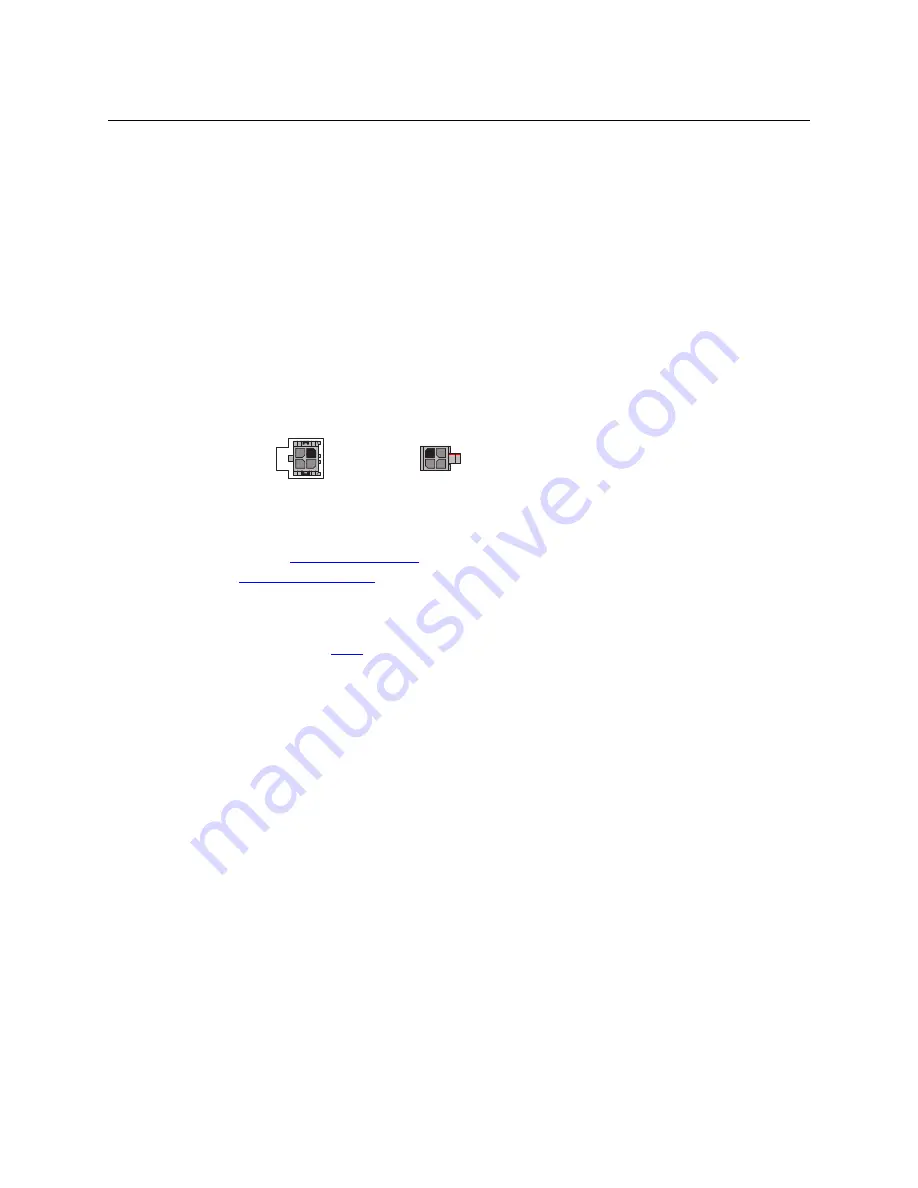
2
1
4
3
Receptacle
n.c.
n.c.
GND
12VDC
4
3
2
1
GND
12 VDC
n.c.
n.c.
Plug
Summary of Contents for NV9640
Page 1: ...NV9640 NV9000 Control Panel User s Guide UG0048 02 19 Nov 2014 ...
Page 6: ...vi ...
Page 56: ...46 Configuration Global Navigation ...
Page 84: ...74 Operation Setup Mode ...
Page 90: ...80 GPIO Configuring Inputs ...
Page 100: ...90 Misc Topics Ordering Information ...
Page 110: ...100 Index ...
Page 112: ......


