background image

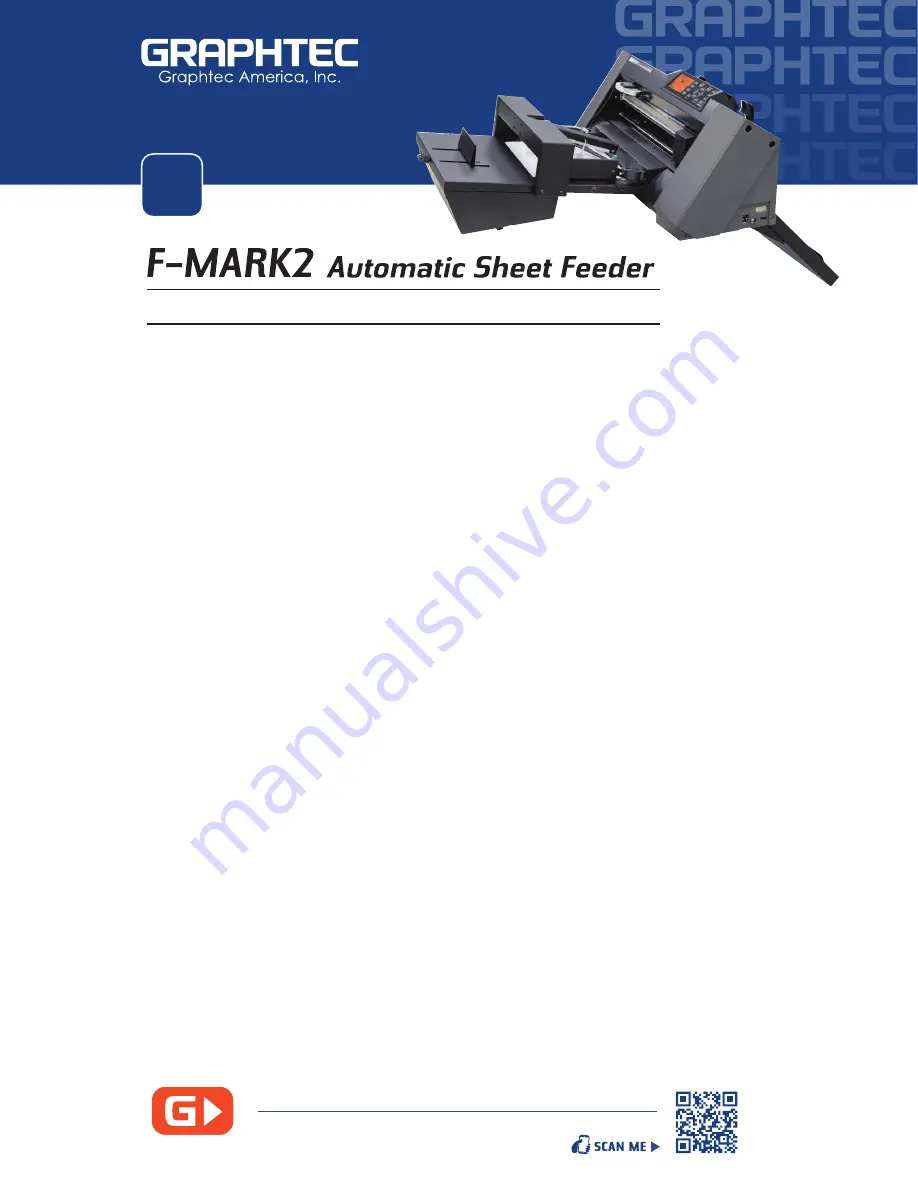
SIMPLIFIED BASIC OPERATION WORKFLOW

B -  

The User’s Manual suggests using the provided X- Y Calibration Sheet for adjustments. 

To increase accuracy, it also suggests using the current job to perform the calibration 

• 

Turn on the Power for the CE7000 Cutter.


- Open iMark software, 


- Feed a printed job into the cutter and align it with the first registration mark.


   (closest to leading edge) going into the cutter first. 


- Check camera in software to position first marker in the middle of the screen. 


- Position the right roller accordingly and bring rollers down to help hold. 


- Using this sheet position, align the feeder and side alignment guides

• 

After aligning the feeder remove the sheet and place on feeder.


-  Adjust rear media guide


-  Position blower fans


-  Initialize cutter


-  Open cut job

 Enter first marker value


 - Perform a cut test to start calibration allowing cutter to make at least 2 cuts. 


 - Pause the cutter 

( press PAUSE button on cutter)


 - Clear the job on the control panel

 Unload the sheet, 


- Check the cutting results 


- Using calibration sheet as reference, adjust X/Y position. 


- Adjust force if necessary 


- Load the sheet again and retry until calibrated.

  Once calibrated you are ready to proceed with your loaded job.

  Refer to the User’s Manual for further explanation if needed

CLICK HERE or use QR CODE view STEP by STEP video

4

     Calibrating & Adjusting the Cutter Position

Summary of Contents for F-MARK2

Page 1: ...ww graphtecamerica com software The User s Manual for the machine software will guide you through the complete process Please note that the Setup User s Manual also covers a Troubleshooting Section so in the event you run into issues please refer to the manual before contacting Technical Support Graphtec also provides helpful Video Training Videos for the F MARK2 on our website Click on the QR Cod...

Page 2: ...tion sheet While loading the sheet note the positioning using the iMark software camera viewer window screen you should only see the black sheet nothing else should be seen Initialize the CE7000 cutter making sure to select Roll 2 on the control panel always initialize cutter with Roll 2 Adjust the blade to the thickness of the material being cut use loupe from the accessories kit to make fine adj...

Page 3: ...es you input will be saved to the computer If the values are different repeat calibration Also make sure you have sufficient lighting NOTE Camera calibration will need to be performed every time changes occur When the computer is shut off when the F MARK2 is disconnected from the USB port or if the software stops communicating 3 In the iMark Plus Software click on the Calibration Button be careful...

Page 4: ...et position align the feeder and side alignment guides After aligning the feeder remove the sheet and place on feeder Adjust rear media guide Position blower fans Initialize cutter Open cut job Enter first marker value Perform a cut test to start calibration allowing cutter to make at least 2 cuts Pause the cutter press PAUSE button on cutter Clear the job on the control panel Unload the sheet Che...

Page 5: ...iling Edge to Second Registration Mark is a minimum of 20mm E Distance from Lower Edge of media to Registration Marks is a minimum of 6mm Cutting Parameters 1 Minimum distance from leading edge to cut line depends on the cut a Kiss Cut Half Cutting minimum 20mm 30mm is recommended b Perf Cut Dashed Line minimum 25mm 35m is recommended 2 Minimum distance from the Trailing Edge is 5mm 15mm is recomm...

Page 6: ...s creases indicated with Magenta color will be cut first then the dashed lines Controlled in Section 7 of the iMark Software See Pg 26 of Software User s Manual 6 To make things easier the iMark Software panel is broken down into different sections for each function See Pg 1 of Software User s Manual Current camera view Last camera shot Calibration commands Common commands area Preview area Status...

Reviews: