4.10
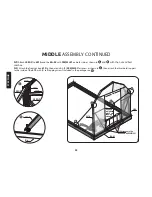
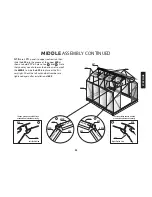
Before you attach the 609 you will need to loosen the
ML01 (nut) attached to the tops of the L08C-X.
Note: Loosen nuts on only one side at a time, i.e. right front
corner, right rear corner. See .
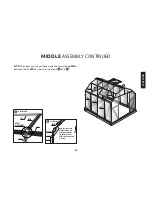
With 2 people proceed to install 609’s in this order, note
that 609 must be installed with groove side down
see . Compare with 610 to make sure it will slide into 609
upon completion.
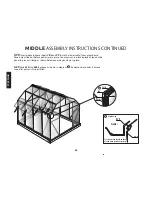
1. With one person holding the 609 level and in position have
the other person attach the 609 to the 601B using S04/ML01
(nut and bolt). See .
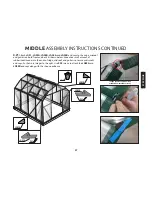
2. Now move the loosened S04/ML01 (nut and bolt) currently
attached to the 601A upward to firmly secure the L08C-X, 609
and 601A together as shown in .
3. Repeat steps 1. and 2. for the other end of 609.
4. With one side firmly secured move to the other side and
repeat steps 1., 2. and 3..
MIDDLE ASSEMBLY CONTINUED
GRANDIO
T I P
Remove only one L08C-X
at a time. If all L08C-X’s
are removed, the structure will collapse
and cause unwarrantable damage.
601B
L08C-X
609
601A
L08D OR
L08B
L08C-X
601A
LOOSEN
ML01
Inside View
27
STEP F
OUR
601B
609
S04/ML01
L08C-X
L08D or
L08B
Inside View
601A
UP
601B
609
Profile View
Groove
601A
Note the line on the
609 that shows the
exact placement of
the 601B’s and the
601A’s when installed
correctly.


