Operation
10
313267W
Operation
NOTE:
Letters in parenthesis used in this section refer
to the callouts in
Component Identification
on page
.
How the Auto P2 Gun Works
The Auto Probler P2 is designed to be mounted on a
robotic arm or other automated equipment connected to
a feed system. The system automatically controls the on
and off operation of the P2.
The system air on/off (H,J) ports actuate the gun’s pis-
ton. When air from the system is applied to the system
air on port (J), the air pressure forces the piston towards
the rear of the gun, simultaneously closing off the purge
air and moving the mixing chamber to a position where
the mixing chamber orifices are aligned with the orifices
in both the side block seal and check valve assemblies.
The proper alignment of the orifices is determined by
setting the adjustment nut located on the piston lock (G)
assembly. This adjustment nut determines the length of
travel of the air piston. See
Piston Lock
on page
and
Piston Lock Adjustment and Installation Procedure
on page
for additional information.
NOTE:
The adjustment nut has been preset at the fac-
tory and should not require adjustment.
The two fluids (isocyanate and polyol) flow through the
material shutoff valves (E,F), seal, and check valve
assemblies and into the mixing chamber. The two fluids
impinge against each other and exit the mixing chamber
in a swirling, conical spray pattern.
When air from the system is applied to the system air off
port (H), the mixing chamber returns to its original posi-
tion and the purge air flows into the mixing chamber
housing. The front tip o-ring keeps the purge air inside
the gun head, forcing all of the air through the orifices in
the mixing chamber for a complete and constant purge.
This purge air continues to flow through the mixing
chamber until the supply air switch (D) is closed (pulled
up away from the front of the gun) to shut off all air to the
gun.
Operating Requirements
Before starting, check that all fittings are tight and air
regulators are turned to zero pressure.
If the gun is being used for short periods of spraying,
Graco recommends that the purge air be left on.
NOTE:
For proper purging following use, leave the sup-
ply air switch (D) open for at least 15 seconds after the
air has been applied to the Off port.
NOTE:
Refer to the instruction manual for the feed sys-
tem you are using for complete system operation.
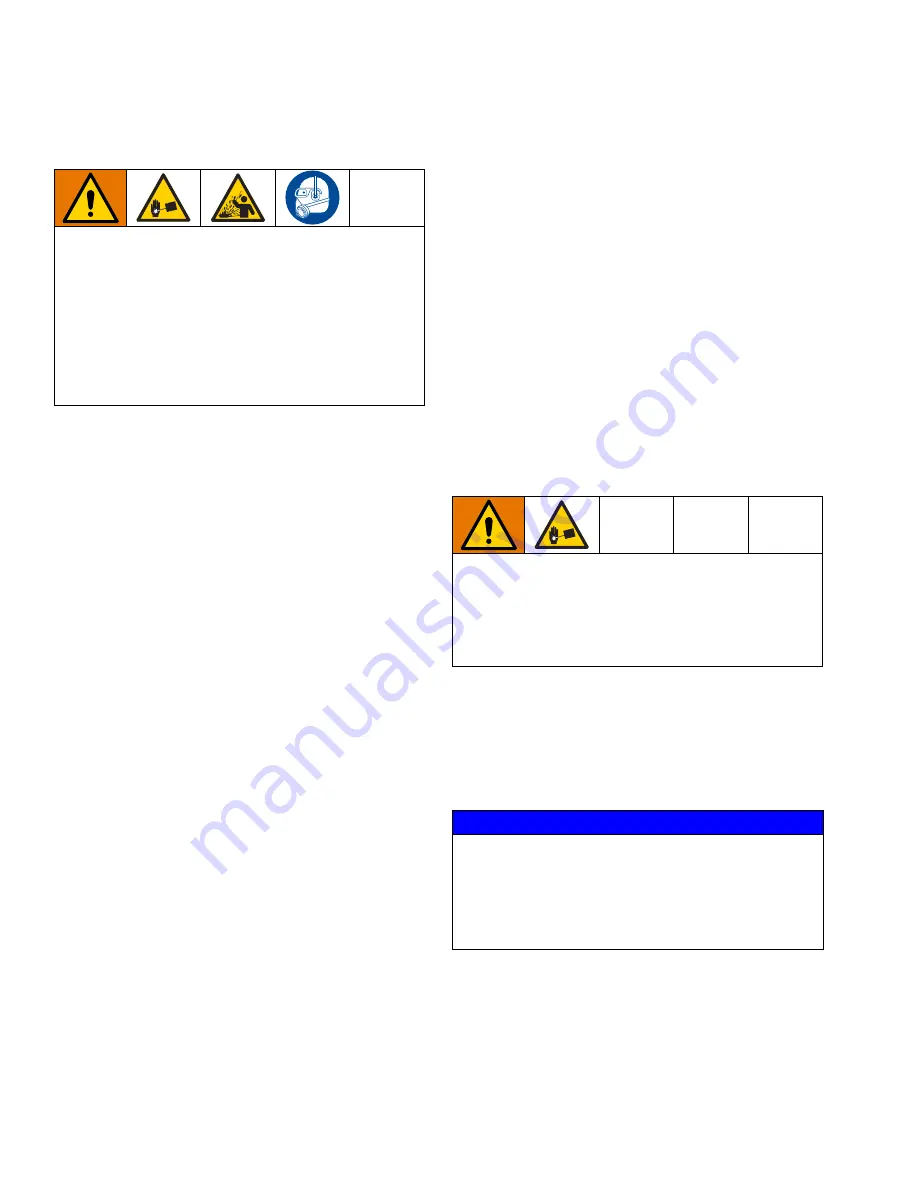
To help prevent serious injury from pressurized fluid,
such as skin injection and splashing fluid:
•
Do not place any part of the body in the path of the
material spray.
•
Do not point the gun at or near any person.
•
Do not look into the mixing chamber orifice at any
time.
•
Wear appropriate protective equipment as recom-
mended by the fluid manufacturer and local regula-
tory authority.
The P2 is designed and manufactured to operate at a
maximum static fluid pressure not to exceed 3500 psi
(24.1 MPa, 241 bar). To prevent serious injury from
pressurized fluid if the P2 gun is installed on any other
manufacturer’s equipment, ensure that the maximum
static fluid pressure is not exceeded.
NOTICE
If purge air needs to be turned off, the material shut-
off valves must be turned to their off positions and the
piston lock needs to be engaged before turning off
the purge air. Failure to follow this procedure possibly
will result in the gun head becoming encased with
mixed product.


