background image

page 10

Accessing And Using The Setup Menu

The m920 features a number of useful functions 

that can be accessed and adjusted entering and navi-

gating the setup menu.

To access the m920 setup menu, simply press and 

hold the front panel encoder knob for 3 seconds. 

Once the m920 has entered the setup menu, you will 

see the 7- segment display change to reflect the cur-

rently activated setup menu item.

To navigate through the available setup menu 

items, simply rotate the encoder knob, which will 

scroll you through the available menu items, either 

clockwise or counter-clockwise. Once the last item is 

reached, continuing to rotate will loop you back to 

the first.

To exit the setup menu at any time, press and hold 

the encoder knob for 3 seconds. The 7-segment 

display will switch back to the current output level 

once the setup menu has been exited. Note: When 

the setup menu is exited, the last mode you were in 

will be the first mode activated the next time you 

enter the setup menu. This allows quick access to the 

parameter you are currently adjusting.

The setup menu is also accessible by the optional 

m920 infrared remote control. Please refer to the 

‘Remote Control Operation’ chapter for a detailed 

description of how this works. 

Following is each available setup menu option, in 

the sequence they appear.

BALANCE MODE  

This provides individual left / right balance control 

of 6dB in 0.5dB increments for each available output 

(headphone, Line 1 and Line 2). To program balance 

settings: 

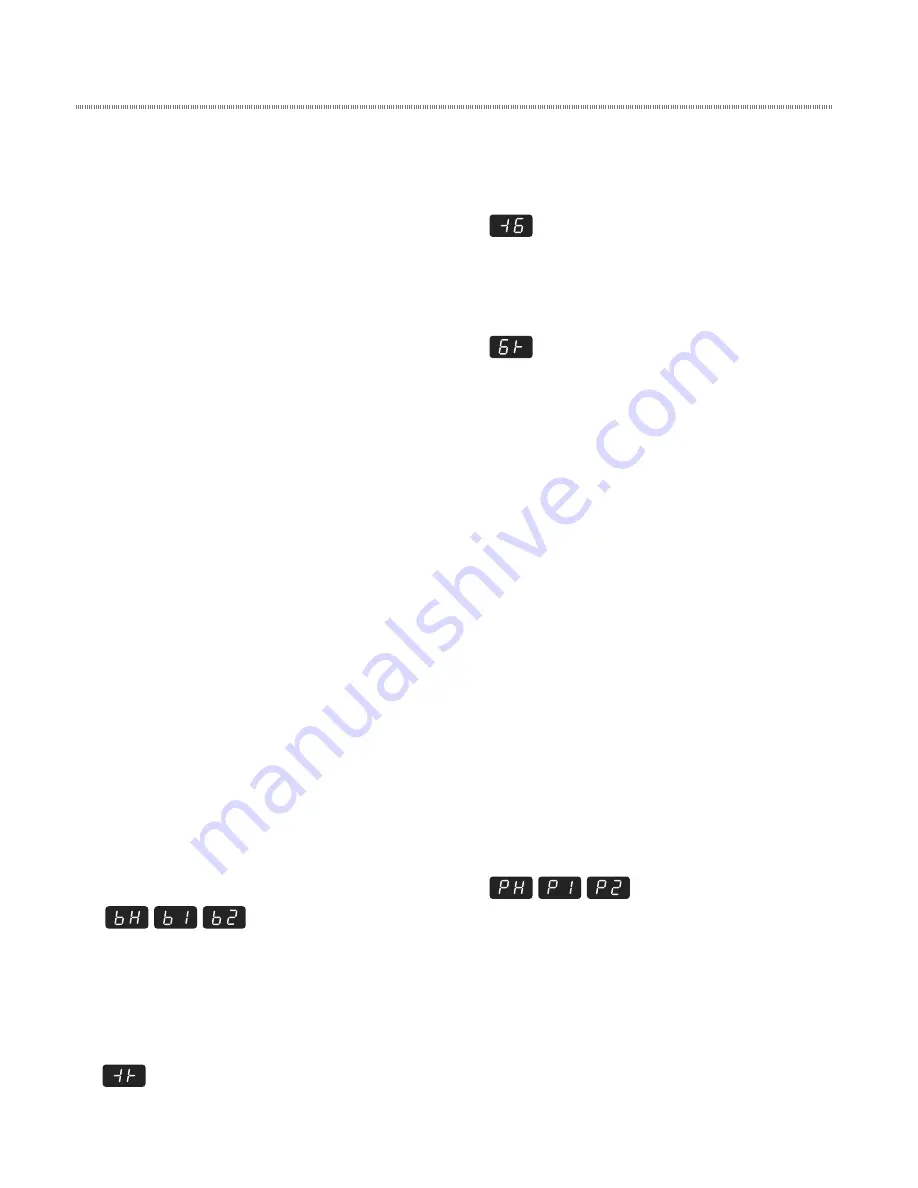
•  Push and hold the rotary encoder to enter the setup 

menu, then rotate the encoder until you reach the 
balance settings, which are indicated as: bH for 
headphones, b1 for line output 1 and b2 for line output. 


•  When you have reached the output you wish to adjust, 

push the encoder again to enter the balance setting.

•  When no balance offset has been made, both the left 

and right speaker symbols are shown in the 7-segment 
display. 

•  Turning the rotary encoder clockwise results in a 

balance adjust to the right.  This will be indicated by 
the right facing speaker symbol changing to the 
corresponding balance offset value. 

•  Turning the rotary encoder counter-clockwise results in 

a balance adjust to the left. This will be indicated by the 
left facing speaker symbol changing to the 
corresponding balance offset value. 


With each detent of the volume control the m920 

alternates between adding .5dB to one channel and 

then subtracting 0.5dB from the other. This continues 

until one channel is 3dB louder and the other is 3dB 

quieter.

To store your balance setting for the selected out-

put, push and hold the encoder. This will then send 

you out of the setup menu and back to the main 

level control screen.

The m920 stores all three balance level settings in 

non-volatile memory and recalls these upon each 

power up.

POWER UP LEVEL  

This feature allows the user to save specific level 

settings for each output as the default power up 

level. While default levels are set to 0 at the factory, 

you may want to have the unit always power up at 

a specified level other than the default. To program 

power up level settings:

•  Push and hold the rotary encoder to enter the setup 

menu. Now rotate the encoder until you reach the 
power up level settings, which are indicated as: PH for 
headphones, P1 for line output 1 and P2 for line output. 


•  When the m920 is in L1 mode (both line outputs 

ganged together for volume control) the preset level 
for the unbalanced line out (L1) will be used for both 
sets of outputs.

•  When you have reached the output that for which you’d 

like to enter the power up level, push the encoder again 
to display the current power up level. 

Summary of Contents for m920

Page 1: ...Owner s Manual Rev B all contents Grace Design Lunatec LLC www gracedesign com 303 823 8100 m920 High Resolution Monitoring System ...

Page 2: ...ments Grace Design has been building superlative quality professional audio products since 1995 The technol ogy developed for the m920 has evolved through a process of extensive listening testing and careful re finement Regardless of what type of monitoring you do your m920 will faithfully serve as an invisible link between your source audio and your headphones or speaker systems We sincerely hope...

Page 3: ...r electrical shock hazard SERVICE INFORMATION The Grace Design m920 contains no user service able components Contact Grace Design for repair and upgrade information In the event that your Grace Design m920 needs to be returned to the fac tory contact us for a return authorization number m920 Key Features Stereo analog inputs balanced 4dBu XLR and unbalanced 10dBv RCA Ultra low distortion 32 bit 38...

Page 4: ... on parts and labor m920 Front Panel Controls Features FS 44 48 INPUT DSD AES BAL UNBAL S PDIF TOS USB GRACE DESIGN VOLUME sLock 2x 4x 8x xfeed 920 HP L1 L2 PHONES high resolution monitoring system 1 3 4 5 6 8 9 2 7 10 1 ILLUMINATED POWER SWITCH illuminates white when unit is powered on 2 ROTARY INPUT SELECTOR SWITCH selects be tween all available inputs 3 S LOCK INDICATOR LED illuminates when s L...

Page 5: ...eve something is missing contact your Grace Design dealer and they will make sure you re taken care of SAVE YOUR BOX We strongly encourage you to save the box and shipping materials supplied with your m920 They are specially designed to properly protect these valuable components and in the unlikely event that you need to return them for service only these OEM shipping materials can ensure their sa...

Page 6: ...ondition In the event that line voltage drops below 85 VAC for 100 120 VAC or 170 VAC 200 240VAC the m920 will switch into low voltage detection mode In this mode both headphone and line outputs are muted and the 7 segment led will begin to flash The m920 will automatically return to the previous operating state when proper line volt age is restored POWER UP SEQUENCE The m920 s headphone outputs a...

Page 7: ...uts are provided via two TRS jacks These outputs should be connected to powered speakers a preamplifier or power amplifiers using standard balanced cables Connection to an unbal anced input is also possible See diagrams below for proper termination pin 3 pin 1 pin 2 TIP RING SLEEVE Balanced Input XLR Balanced Output 1 4 TRS SHIELD HOT GND RING IS OPEN TIP RING SLEEVE Unbalanced Input RCA Balanced ...

Page 8: ...will pose their own set of complications in setting up the m920 as the audio playback device In the event that plug and play operation does not occur you will need to look at some specific setup variables for your player and OS In this case we will direct you to a very well written and comprehensive document by our friend and colleague Charles Hanson from Ayre Acoustics http www ayre com usb htm T...

Page 9: ...ll extinguish The m920 features a second PLL in addition to the s Lock circuit This circuit provides a wide bandwidth lock range and achieves excel lent recovered clock jitter performance even when s Lock is inactive Note that in USB mode the m920 is the clock master so there is no need to lock to an incoming signal About x Feed crossfeed When listening to loudspeakers in a room your left ear hear...

Page 10: ...hed the output you wish to adjust push the encoder again to enter the balance setting When no balance offset has been made both the left and right speaker symbols are shown in the 7 segment display Turning the rotary encoder clockwise results in a balance adjust to the right This will be indicated by the right facing speaker symbol changing to the corresponding balance offset value Turning the rot...

Page 11: ... complete details on how to configure your computer for playback over USB please refer to the computer setup chapter of this manual To change this setting Push and hold the rotary encoder to enter the setup menu Now rotate the encoder until you reach the USB class select menu item indicated by either the U1 or the U2 symbol in the 7 segment display Push and release the encoder to toggle between an...

Page 12: ...e setup menu LEVEL OFFSET ADJUST With three independently controlled analog out puts headphones line 1 and line 2 the m920 is designed to function as a high performance monitor controller for the professional studio or any type of playback scenario To enhance its flexibility in inte grating into any playback setup each output level can be offset by 9 5 dB in 5 dB steps This allows matching of loud...

Page 13: ... phase brick wall filter It has a steep roll off to prevent any high frequency signals from causing aliasing artifacts It also causes a con siderable amount of pre ringing and post ringing at the Nyquist frequency when passing transient information This filter is great for looking at con verter performance on a test bench where it might be subject to artificially high amplitude signals near 20kHz ...

Page 14: ...en rotate the encoder until you reach the two line output mode options as indicated by the letters L1 or L2 Push and release the encoder to toggle between either mode which again we be indicated by the letters L1 or L2 L1 is what refer to as grouped operation where both line outputs are selected and adjusted together in unison L2 is what we call round robin where each line output is selected and a...

Page 15: ...UP Pushing this button during normal operation toggles between the 3 available outputs phones line 1 and line 2 The newly selected output indicator LED will illuminate and its corresponding level will be displayed on the 7 segment display Pushing and holding this button enters the m920 setup menu From here you can control the setup menu in the same way as from the front panel volume encoder only w...

Page 16: ...NTER button only with the m920 To disable muting simply press the PLAY PAUSE button again The output will return to the current level setting and the display will return to solid In addition to pushing the mute button mute can be turned off by making any volume change on remote control or on the m920 itself LEFT CROSSFEED Pressing this button toggles the x feed status on the m920 The current x fee...

Page 17: ...balanced line output of the L1 can be configured as a fixed DAC output In this configuration the selected DAC source is output on the L1 connector without passing through the attenuator circuitry This provides the purest signal path for the most critical DAC applications and prevents accidental changes in volume balance etc Caution should be taken when using this operating mode as full amplitude s...

Page 18: ...power amps that are connected to the m920 before proceeding with the firmware update 1 Connect the m920 to the PC via USB and turn on the m920 2 Start the XMOS USB Audio ST Firmware Upgrade application If the m920 is properly connected the Upgrade window should display Device opened If there is a problem with the connection the Upgrade window will display No device found Please plug in the device ...

Page 19: ... m920 will display UF on the 7 segment display to indicate that it is Updating Firmware Do not interrupt the unit or disconnect the USB during this sequence The update process may take a few minutes Once completed the new firmware version will be displayed on the 7 segments At this time power cycle the m920 to return to normal operation Should an error occur during the update process an error code...

Page 20: ...TROL HEADPHONE OUTPUT LEVEL CONTROL UNBALANCED ANALOG OUTPUT CROSSFEED ENABLE TRANSIMPEDANCE HEADPHONE AMPLIFIER MONO LINE OUTPUT LEVEL CONTROL 2 CHANNEL line 2 BALANCED LINE OUTPUT AMPLIFIER BALANCED ANALOG OUTPUT BALANCE LEVEL MUTE ANALOG INPUTS DIGITAL INPUTS OUTPUTS DAC INPUT SELECT AES INPUT AES3 RX S PDIF INPUT TOSLINK INPUT CLOCK AUDIO 32 bit 384kHz DSD 64x DSD 128x USB module s Lock PLL Ma...

Page 21: ...ne Out 20dBu 100k Ohm load 0 00075 ATTENUATOR Channel matching 0 05dB Attenuator Range 97 5dB OUTPUT NOISE FLOOR BALANCED INPUT Balanced Output volume at maximum 22 22kHz 93dBu Balanced Output volume at minimum 22 22kHz 99dBu Unbalanced Output volume at maximum 22 22kHz 103dBu Unbalanced Output volume at maximum 22 22kHz 105dBu VOLUME SETTINGS FOR UNITY GAIN balanced in balanced out 95 unbalanced ...

Page 22: ...ce at its option any defective parts or repair defective workmanship without charge provided the customer has appropriate proof of purchase and that the product has its original factory serial number 4 In order for Grace Design to provide efficient and timely warranty service it is important that you mail the completed warranty registration card enclosed with all of our products within 10 days of ...

Page 23: ...page23 Manual Revisions Revision Page Change Date Initials A all Initial release 02 15 2014 edg B 13 added minimum phase filter information 4 2 14 edg ...

Reviews: