28
DVD RVCR User’s Guide
Dolby
- Select if you prefer to hear
the Dolby Digital 5.1 soundtrack on
DVD movies (if available).
DTS
- Select if you prefer to hear the
DTS 5.1 soundtrack on DVD movies (if
available).
TV Audio
Sets the audio signal you wish to hear
while watching TV.
1
Press SETUP.
2
Select Audio > TV Audio.
3
Choose from the following:
Stereo
– Select to hear the broadcast
in stereo.
SAP
- Select to hear the Secondary
Audio Program, usually a second
language.
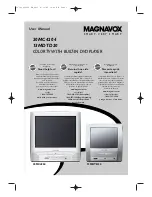
Audio Settings
Digital Out
Sets the format of the digital audio signal
from the rear panel Coaxial jack.
1
Press SETUP.
2
Select Audio > Digital Out.
3
Choose from the following:
PCM
– Select if the DVD
RVCR is connected to a 2-
channel (stereo) digital amplifier.
Bitstream
- Select if the DVD
RVCR is connected to a 5.1
channel amplifier/receiver with a
Dolby Digital decoder.
DTS Out
Enables the DVD RVCR to
output a DTS (Digital Theater Sound)
signal to an external receiver with a DTS
decoder.
1
Press SETUP.
2
Select Audio > DTS Out.
3
Turn DTS Out on or off.
Surround Sound
Sets your preferred surround sound
format when watching DVD movies.
1
Press SETUP.
2
Select Audio > Surround.
3
Choose from the following:
Stereo
– Select if you prefer to hear
the stereo soundtrack on DVD movies
(if available).
S
ETUP
S
ETUP
Playback
Language
Clock
Record
Audio
Exit
System
TV Tuner
Digital Out
Bitstream
TV Audio
Stereo
Surround
Dolby
DTS Out
Off
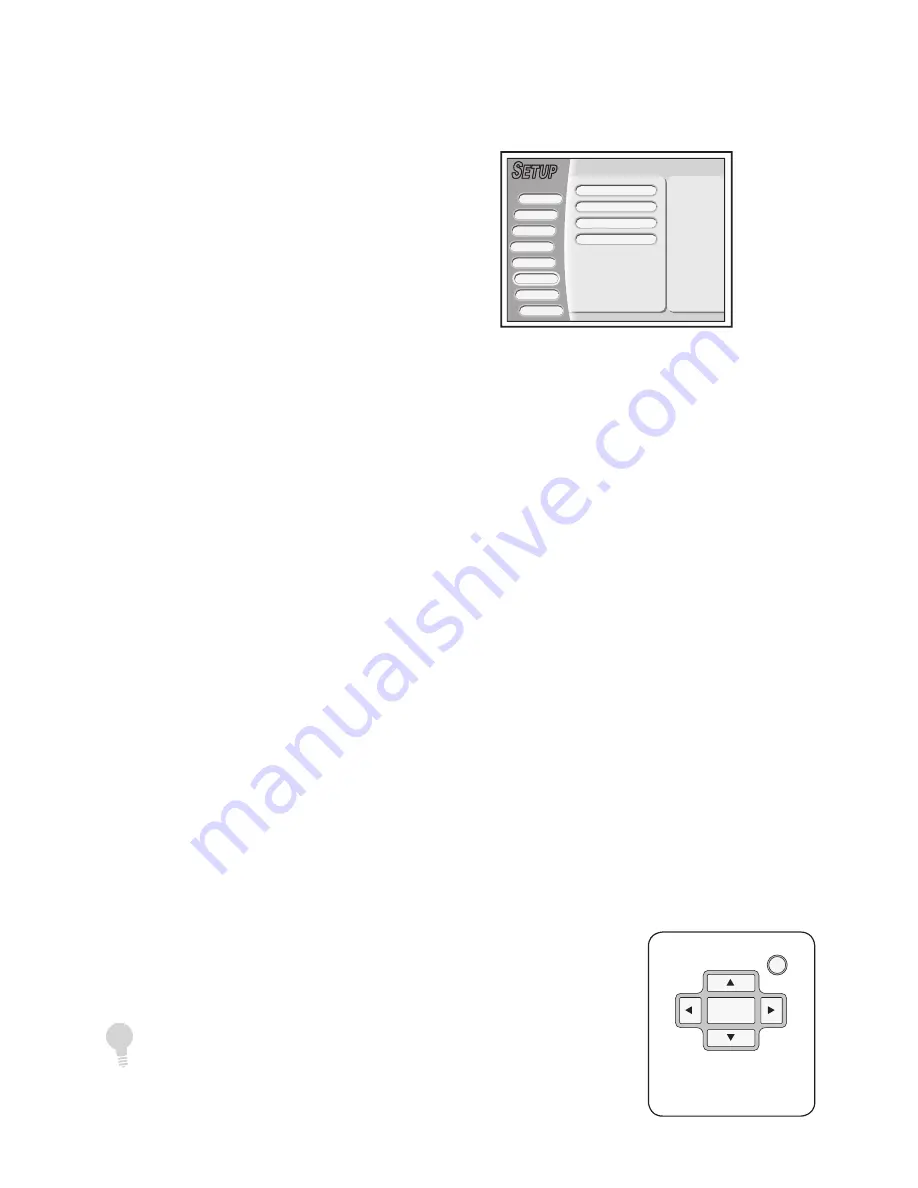
SETUP
ENTER
����������
���������������
���
• If you are not using the Coaxial digital audio output, you do
not need to set Digital Out, DTS Out, or Surround.