


OM--04621
GHA SERIES
PAGE F -- 10
SEAL APPENDIX
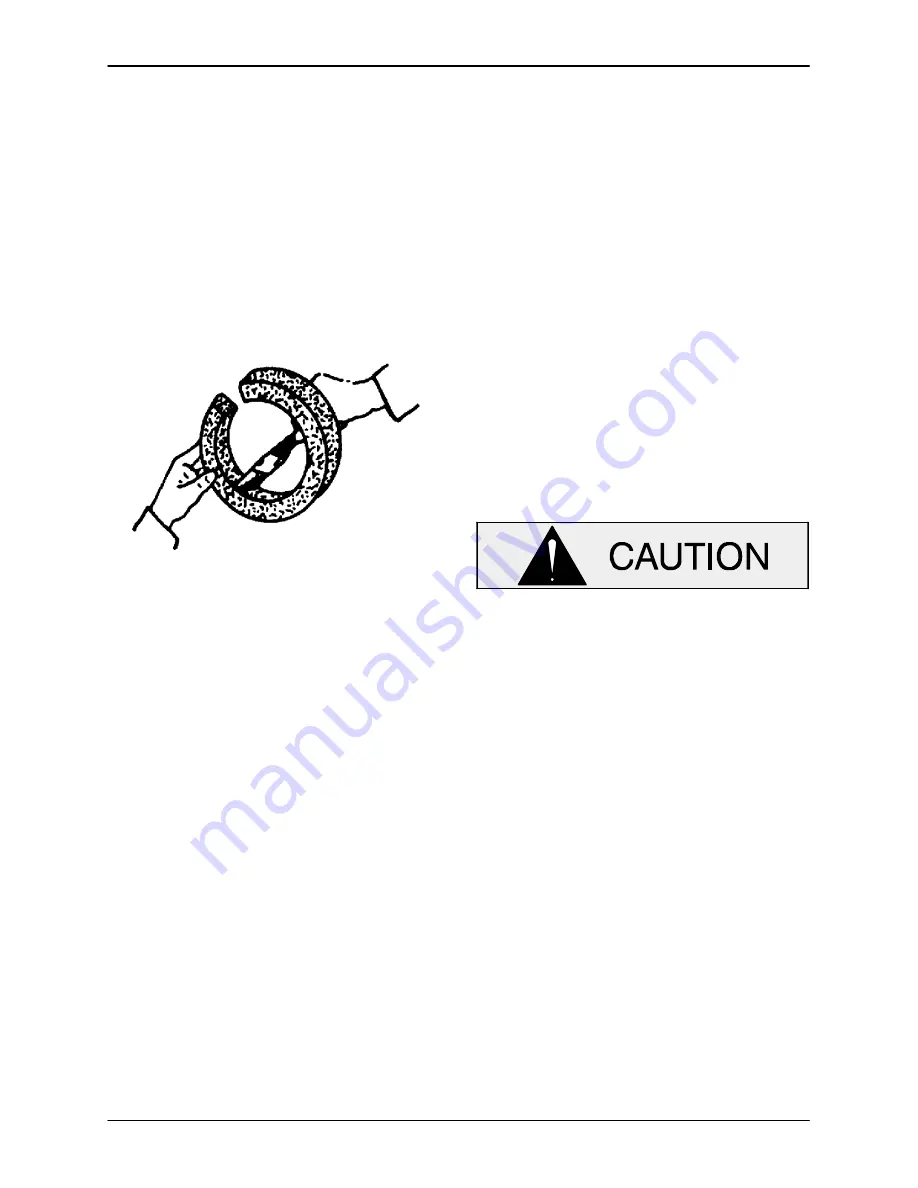
was cut while wrapped around a rod, but if the
packing was cut while laid out straight the ends will
meet at an angle.
Never
install packing rings with
an angled gap; pressure on adjacent packing
rings will cause them to work into the gap and pre-
vent the angled ring from closing properly around
the shaft.
Some channel-type packing with a lead core may
require a slight gap between packing rings to allow
for expansion. Consult the packing manufacturer’s
installation instructions and follow the recommen-
dations.
Figure F---7.
Step 3:
Lubricate all metallic packings (foil type,
lead core, etc.) with the lubricant recommended by
the manufacturer. Generally swabbing the I.D. of
the packing with SAE No. 30 non-detergent oil pro-
vides sufficient lubrication.
Lubricate the new packing rings with non-deterg-
ent oil before installation. When installing packing
rings, insert thru backhead, do not separate or
stretch for best performance. Push each packing
ring into the seal bore and compress it using a
blunt ended sleeve (split in half, same diameter as
the split glands) and mallet. Each successive layer
must be compressed and rotated by 90
_
to prevent
excessive leakage.
Be sure
the lantern ring is
aligned with the lubrication port when the packing
is fully compressed. Add enough packing to fill the
seat sleeve to within 3/8-inch (9,5 mm) of the end.
Position the split gland halves (07G) on the shaft
and install the gland retainers (07H) over the ends
of the split gland. Install the hardware (A and D)
and tighten in an alternating pattern until the gland
nuts begin to compress the packing.
Do not overtighten the gland nuts. If the
packing rings are compressed too tightly,
they may cause the shaft to overheat and
damage the pump.


