PAGE 15
SETTING THE TIME
This clock is based on a 12-hour digital display.
The clock not only serves as a digital display of your current local time, it is also essential for TV timer
function. Therefore it is of the utmost importance that the clock be set accurately.
You will have to re-set the clock it you switch off with the POWER button on the front panel, or there is a
power cut.
Example: Setting the clock to the imaginary current time: AM 10:30
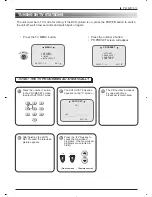
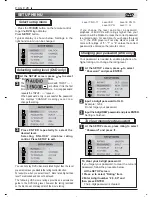
1
Display the TIMER
screen as described
above.
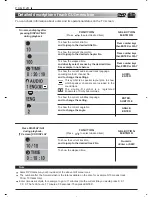
Press the No. key 1 to
enter the CLOCK mode.
TIMER
1 CLOCK : AM – – : – –
2 ON : – – – – AM – – : – –
3 OFF : – – – – AM – – : – –
SELECT : 1~3
SEL.:
ADJ.:
EXIT
3
2
Press the
buttons to
set AM/PM.
Press the
button to
make the dashes flash on
and off at the hour position.
• Press the TV MENU button.
TIMER
1 CLOCK : AM – – : – –
2 ON : – – – – AM – – : – –
3 OFF : – – – – AM – – : – –
SELECT : 1~3
SEL.:
ADJ.:
EXIT
SET THE CLOCK
TIMER
1 CLOCK : AM – – : – –
2 ON : – – – – AM – – : – –
3 OFF : – – – – AM – – : – –
SELECT : 1~3
SEL.:
ADJ.:
EXIT
TIMER
1 CLOCK : AM 10 : 30
2 ON : – – – – AM – – : – –
3 OFF : – – – – AM – – : – –
SELECT : 1~3
SEL.:
ADJ.:
EXIT
MENU
1 PICTURE
2 PR PRESET
3 TIMER
4 INITIAL SETUP
SELECT : 1~4 EXIT
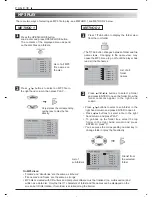
• Press the number 3 button.
• TIMER screen will appear.
4
Either press TV MENU to
exit or go to ‘SET THE
ON and OFF TIME’ on
the next page.
To complete the settings
press
or
buttons to
select the next item, so it
flashes on and off.
Change each setting with
the
and
buttons.


