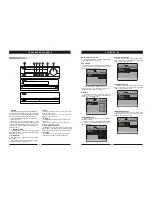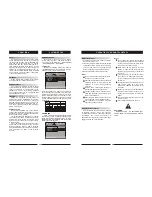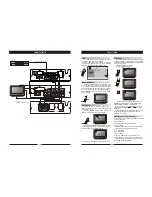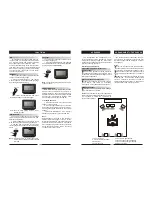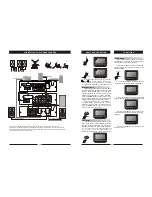
The following will help you get the most enjoyment from your DVD receiver system.
BEST LOCATION
The unit should be placed on a firm, flat surface, away from VCRs, stereos, radios, or large
speakers, as the magnetic flux from these devices may cause distortion in the sound and a poor
picture. If placed in a cabinet, be sure there is at least 1 of free space completely around the unit
for proper ventilation.
TO OBTAIN A CLEAR PICTURE
A DVD receiver is a precision device. If the optical pick-up lens and disc drive parts become dirty
or worn down, picture quality will become poor. To obtain a clear picture, regular inspection and
maintenance are recommended every 1,000 hours of use, depending on the operating environment.
Contact dealer for details.
PLAYABLE DISCS
This DVD receiver system will play the following types of discs: DVD, MP3, CD, CD-R, and CD-R
W with super-error correction ability. It is also capable of displaying picture CDs and digital photo
albums. It supports eight languages, up to 32 subtitles, and multi-angle viewing. It features easy
setup and operation with on-screen menus. It has full function CPU up grade able capability.
DIGITAL AUDIO OUTPUT
The unit's coaxial output capability enables you to connect an external six-channel AV amplifier
and processor with built-in Dolby Digital codec with just one cord. This enables you to conveniently
enjoy different DVD, CD, and MP3 discs.
ANALOG AUDIO OUTPUT
Speaker system plug-and-play convenience through the built-in six-channel power amplifier
eliminates the use of an external power amplifier.
LASER-HEAD OVER-CURRENT PROTECTION SYSTEM
To extend the service life of the laser head, the unit includes a unique laser-head over-current
protection system, ensuring a constant laser current.
" "
This page contains valuable information regarding the handling, cleaning, and storage of discs
played in this unit.
Handling
Do not touch the playback side of the disc.
Do not attach paper or tape to discs.
Do not stick or write anything on the surface. Protect against fingerprints.
Always hold a disc by the center and edge portions.
Cleaning
Fingerprints and dirt on the disc may cause picture and/or sound deterioration. Wipe the disc from
the center outward with a soft cloth. Always keep the disc clean.
If you cannot wipe the dirt off, lightly use a slightly moistened soft cloth and finish with a dry cloth..
Do not use any type of solvent such as: Paint thinner, benzene, commercially available cleaners
or anti-static spray for vinyl LPs.
Storing
Do not store discs in places subject to direct sunlight or near heat sources.
Do not store discs in places subject to moisture and dust.
Store discs vertically in a case. Stacking or placing objects on discs outside of their case may
cause warping.
NOTE:
GOODMANS is not responsible for damage that may occur to any disc that is operated in
this unit or not handled, cleaned, or stored as suggested above.
USE OF DISCS
ABOUT YOUR DVD PLAYER
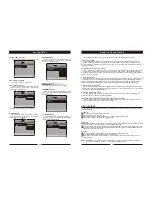
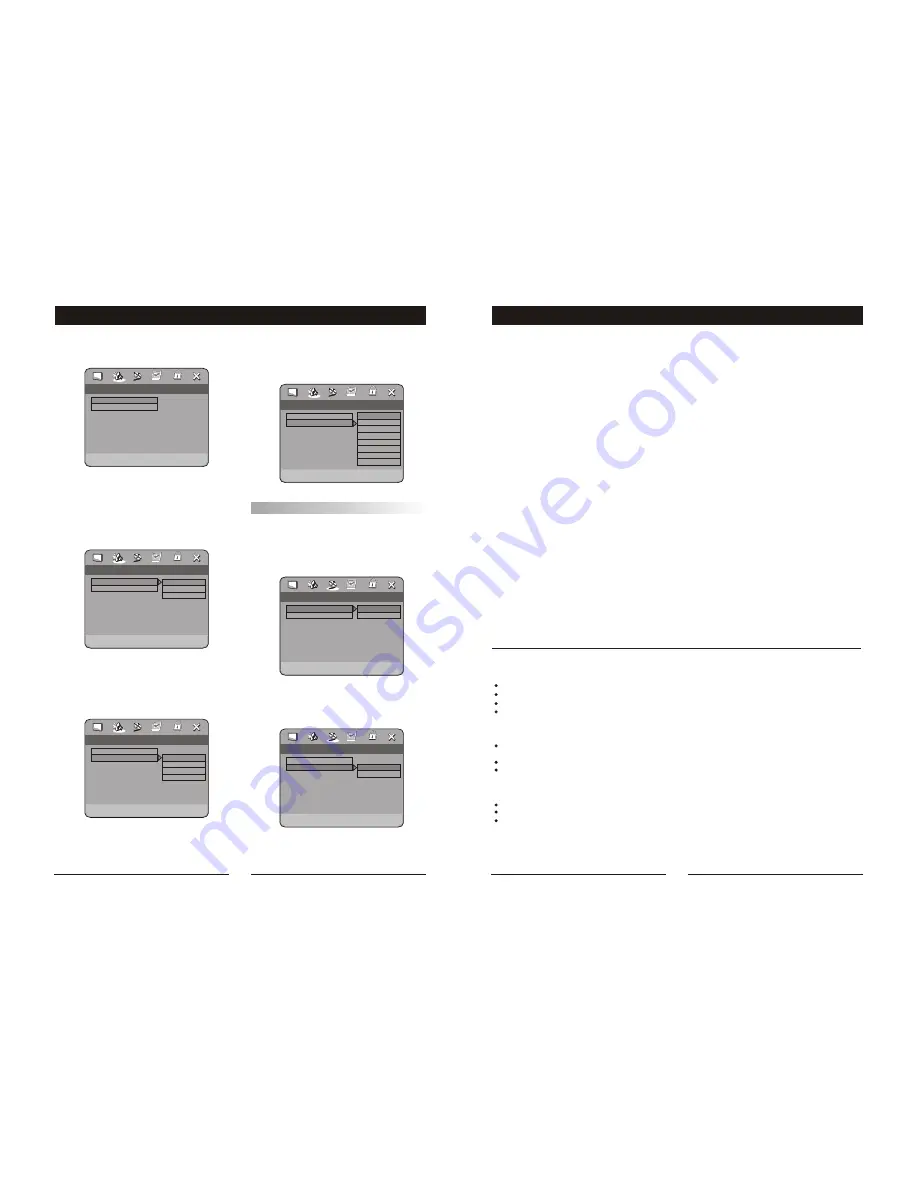
.. 3D Processing page .. ..
Go To PROLogic II config Page
Off
PRO Logic II
Reverb Mode
PRO Logic II
On
Off
Auto
.. PRO Logic II Config ..
On
MUS
PRO Logic II
Mode
Select PRO Logic II Mode
Music
Movie
PRO Logic
AUTO
.. PRO Logic II Config ..
On
MUS
PRO Logic II
Mode
Reverb Mode
Off
Concert
Living room
Hall
Bathroom
Cave
Arena
Church
.. 3D Processing page ..
Off
PRO Logic II
Reverb Mode
SYSTEM SETUP
VIDEO SETUP
Includes component and TV mode setup.
COMPONENT SETUP
Follow the operation instructions stated in DVD
menu setup
in combination with desired option in
the following figure.
"
"
MODE SETUP
Follow the operation instructions stated in
DVD menu setup
in combination with desired
option in the following figure.
"
"
REVERB SETUP
Follow the operation instructions stated in
DVD menu setup
in combination with desired
option in the following figure.
"
"
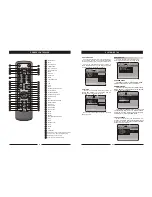
3D PROCESS SETUP
Includes PRO LOGIC II, reverb mode setup.
PRO LOGIC is set to ON , OFF or AUTO.
PRO-LOGIC II CONFIG
Includes prologic II , mode setup.
PRO-LOGIC SETUP
Follow the operation instructions stated in
DVD menu setup
in combination with desired
option in the following figure.
"
"
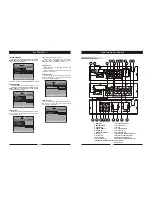
.. Video setup page ..
Component
Component
TV mode
S-VIDEO
RGB
Interface
P-SCAN
Set P-SCAN On/Off
Composant
TV mode
.. VIDEO setup page ..
TV MODE SETUP
Follow the operation instructions stated in
DVD menu setup
in combination with desired
option in the following figure.
"
"
24
5


