background image

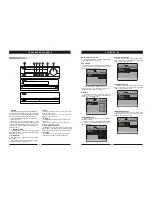
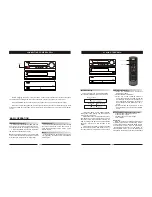
DVD / CD component

POWER

REMOTE
SENSOR

Power Amplifier c omponent

Tuner component


INPUT            DOWN               UP            PRE/TUNE                   

OPEN/CLOSE  

X

-PRO

X

-PRO

X

-PRO

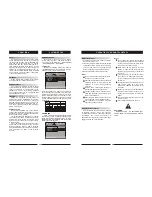
BASIC OPERATION

       Before  plugging  the  power  cord  into  the AC  outlet, check to make sure all of the connections 
have been properly completed. When they have been, carefully plug power cord into outlet.

       Press the POWER button on the front panel  to power the unit. The display panel will light.

       When the unit is initially powered, a brief surge of electricity may cause  interference  with  other 
electronic equipment on the same circuit. If this occurs, connect the unit  to an  outlet on  a  different 
circuit. 

 Selecting Sound Source 
      

1. Press any function button (DVD,  AM/FM, 

AUX1, AUX2) to select the desired sound source.


The appropriate symbol will appear in the display.
      2. When the AM/FM tuner button is pressed, 
the last station listened to will play.

Note: 

The desired program source will not play 

unless it and the selected signal button coincide


with the active program source signal input.

 Volume Control

    The volume may be adjusted by either turning 
the  large  volume knob  on  the  front  panel   or 
using  the  appropriate  volume   button   on  the 
remote control.


Mute

    Pressing the MUTE button temporarily mutes 
every speaker.  To resume audio,  press  MUTE
button again.

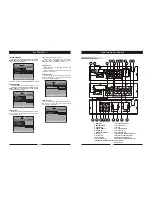
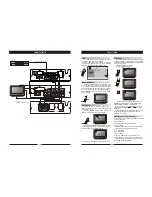
CONNECTING POWER SUPPLY

POWER

DVD / CD component

POWER

REMOTE
SENSOR

Power Amplifier  component

Tuner component


INPUT            DOWN               UP            PRE/TUNE                   

OPEN/CLOSE  

X-PRO

X-PRO

X-PRO

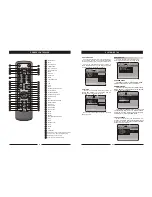
PRE/TUN

SETUP

REPEAT

VOLUME

+10

OPEN/CLOSE

UP

DOWN

MEMO

AUTO

DVD

TUNER

FM MODE

STOP

PAUSE

PLAY

A-B

OSD

STEP

ZOOM RESUME

ENTER

PROG CH.LEVEL

SLOW

DISPLAY

RDS

TIME

N/P

SUBTITLE LANGUAGE ANGLE

MENU

TITLE

STANDBY

AUX 1/ 2

MUTE

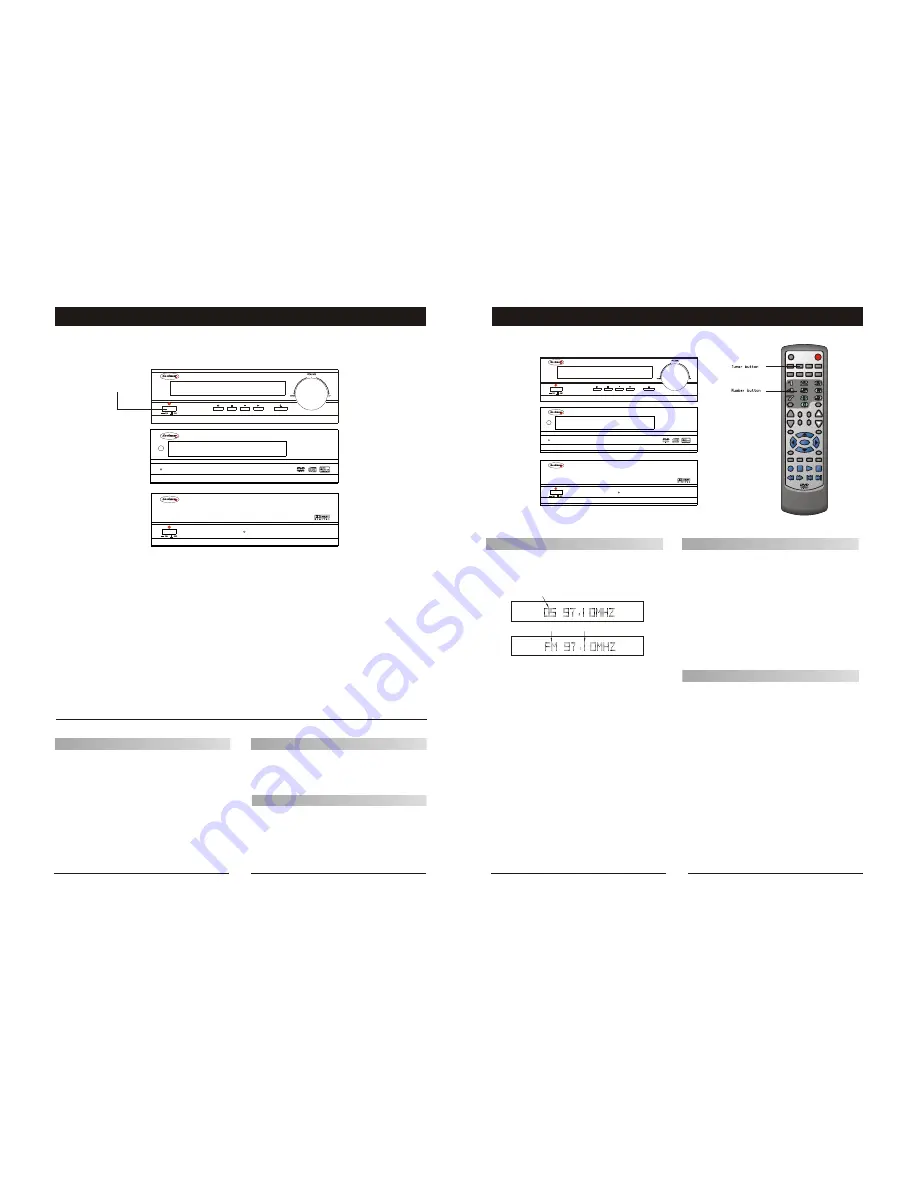
Memory number

Wave band

Station frequency

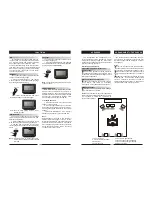
To Play Preset Stations

     1.Press   the   TUNER   button   to  select the 
        desired wave band.
     2.Press the PRE/TUN button.
     3.Press   any   of   the  numbered  buttons  to 
        select the desired station's memory number. 
        For example, to play the station at memory 
        #5, simply press the 5 button;  for  memory 
        #17, press the 1 button followed by  the  7 
        button.
     4.Stations in the memory function  may  also 
        be accessed by pressing the UP or  DOWN 
        button.

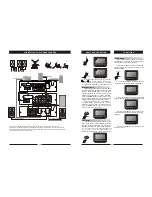
PLAYING THE RADIO

Automatic Tuning

 
     This unit will store up to 50 individual AM or
50 individual FM radio stations in its memory. 

      1.Press  the  AUTO  button. The word AUTO 
will  appear  in  the  display  and  the  automatic 
tuning mode is activated.
      2.Stations will be stored in ascending order 
until 50 stations  of  that  particular  wave  band 
have been saved. When a station is stored,  the 
memory storage number, as well as the station's 
frequency,  will  flash  for  four  seconds  in   the 
display.
      3.When the total number of stations reaches 
50, in a particular  wave's  (AM or FM)  memory, 
no further station in that wave band will be saved.

Basic function of RDS(radio data system)
     

1.Identify the broadcasting-station 

     2.Identify the program
     3.Display the complex information
     4.Time display

Operation:
      

RDS button can be applied while the  signal 

with RDS received  from  broadcasting  station 
and the station will be  identified  automatically. 
You can check the  time,  complex  information,
 the program and  frequency  of  the  station  by 
pressing  RDS  button.   Once  the  RDS  signal 
disappears the function should not be available. 


14

15

Summary of Contents for MICRO1980DVD

Page 1: ...MICRO1980DVD Goodmans Helpline Phone Number 08708730080 DVD HOME THEATRE SYSTEM ...

Page 2: ...t incurring any obligations x14 5 x17 2 TECHNICAL SPECIFICATIONS DVD Player TV System NTSC PAL Compatible Discs DVD CD MP3 CD R CD RW Resolution Ratio Greater Than 500 lines Video S N Ratio 65dB Frequency Response fs 96KHz 24bit 4Hz 44KHz 2dB Audio S N Ratio 95dB Degree of Distortion 0 01 D A Converter 192KHz 24bit Video Out 1Vp p S Video Out Y 1Vp p 75 C 0 3Vp p 75 Audio Out 2 0V 0 1V 5 1 Channel...

Page 3: ... 2 The unit is controlled by a micro computer which may need to be reset Turn off the unit s power wait several seconds then turn back on No color picture 1 Check to see if the S connector is damag ed bent pin MP3 discs don t play 1 Use another software edition to re burn disc as the edition used may not be com patible with the player 2 Use new editions of software such as Audio station 4 asy CD C...

Page 4: ...ressing UP DOWN arrow key combining with ENTER key or using number keys and ENTER key to select directly If the number input is out of the music number will display on screen 2 Folder Display menu first then press up down left right arrow and ENTER key to select subdirectory and music CURRENT TRACK NUMBER OPERATION OF MP3 FUNCTION 26 3 TABLE OF CONTENTS Important Safeguards 1 Safety Information 2 ...

Page 5: ...re SUBTITLE This machine provides English French Spanish Swedish Danish Portuguese Russian Greek and others as the built in subtitle languages When a DVD is played the user may hide the subtitle or choose any of them as the preset subtitle language Follow the operating instructions stated in DVD MENU SETUP in combination with the desired option in the following figure PREFERENCE SETUP During stop ...

Page 6: ...y the center and edge portions Cleaning Fingerprints and dirt on the disc may cause picture and or sound deterioration Wipe the disc from the center outward with a soft cloth Always keep the disc clean If you cannot wipe the dirt off lightly use a slightly moistened soft cloth and finish with a dry cloth Do not use any type of solvent such as Paint thinner benzene commercially available cleaners o...

Page 7: ...c Range Compression FULL 3 4 2 4 1 4 OFF Daul Mono Dynamic Dolby Digital Setup Select Equalizer Type Equalizer Page EQ Type Bass Boost Super Bass Treble Boost Off Off Off None Rock Pop Live Dance Techno Classic Soft Super bass Equalizer Page EQ Type Bass Boost Super Bass Treble Boost Off Off Off On Off Trebie Boost Equalizer Page EQ Type Bass Boost Super Bass Treble Boost Off Off Off On Off Bas bo...

Page 8: ...f Downmix Front speaker Center Speakre Rear Speaker Test Tone Speaker Setup Page 5 1 CH Large Small Small Off Setup Center Speakre Large Small Off Downmix Front speaker Center Speakre Rear Speaker Test Tone Speaker Setup Page 5 1 CH Large Small Small Off SYSTEM SETUP SPDIF SETUP SPDIF SETUP includes SPDIF output and LPCM out setup Dolby digital signals can be output through COAXIAL in rear panel S...

Page 9: ...tup Page PS On ENG On Closed Caption English French Spanish German Portuguese Europe TV Display Angle Mark OSD Lang Captions General Setup Page PS On ENG On Set OSD Language SYSTEM SETUP CAPTIONS Follow the operating instructions stated in DVD MENU SETUP in combination with the desired option in the following figure Note This function doesn t work if the DVD doesn t show it AUDIO SETUP Includes sp...

Page 10: ...the picture can only be shown in that format With DVDs the screen format is convertible If the screen displays only in 4 3 format when a DVD with 16 9 display format is used the picture will be flattened TV screen Film format Normal 4 3 4 3 16 9 16 9 Full view Mailbox Wide screen ANGLE MARK When a DVD providing multiple angles is used the user may select a particular shooting angle Follow the oper...

Page 11: ...o cancel Repeat Play This DVD receiver allows repeated playback of specific titles chapters tracks or segment It even allows switching between two items that are being repeated 1 Select the item to repeat 2 Press the REPEAT key REPEAT REPEAT REPEAT A B Repeat The A B repeat function allows you to re show sections between two specific points A and B on a disc 1 Press the A B button while the disc i...

Page 12: ...ssing its assigned number with the number buttons 3 Press the ENTER key This will start playback from chapter 1 of the selected title Note Some discs do not respond to this function If different instructions appear on the TV screen follow those instructions The Instructions given here describe the basic procedure Procedures may vary depending on the content of the DVD disc When playing a VCD2 0 di...

Page 13: ... speed1 2 to 1 4 to 1 8 to 1 16 to reverse slow speed 1 2 to 1 4 to 1 8 to 1 16 to normal speed To resume normal playback press the PLAY key PLAY RESUME SLOW Screen Display While a disc is playing the status of various functions may be checked such as the tile track number and several time categories 1 Press the DISPLAY key once and the title appears along with the chapter and how much time has pl...

Page 14: ...ng playback as this may cause damage to the disc as well as the player To open and close the disc tray only use the OPEN CLOSE key found on both the remote control and on the unit s front panel 6 Fast Forward Reverse Playback The unit features both fast forward and fast reverse playback Either mode will speed up 2x 4x 8x 16x 32x Press PAUSE key Press PREV key Press NEXT key FRONT PANEL PLAY PAUSE ...

Page 15: ...UNER FM MODE STOP PAUSE PLAY A B OSD STEP ZOOM RESUME ENTER PROG CH LEVEL SLOW DISPLAY RDS TIME N P SUBTITLE LANGUAGE ANGLE MENU TITLE STANDBY AUX 1 2 MUTE Memory number Wave band Station frequency To Play Preset Stations 1 Press the TUNER button to select the desired wave band 2 Press the PRE TUN button 3 Press any of the numbered buttons to select the desired station s memory number For example ...

Reviews: