background image

Using the CD

13

04

MICRO1468I.book  Page 13

Programmed MP3 playback

DON’T FORGET! The MP3 disc must be in 
stop mode.


1

2

4

5

Listening to programmed MP3 tracks

Press the PLAY/PAUSE  button. 

Disc play will start at the beginning of the 
first programmed track. 

To Clear the Program Memory 

If the disc is playing, press the STOP button 
twice, or Select IPOD, AUX or TUNER to clear 
the program. 

1

2

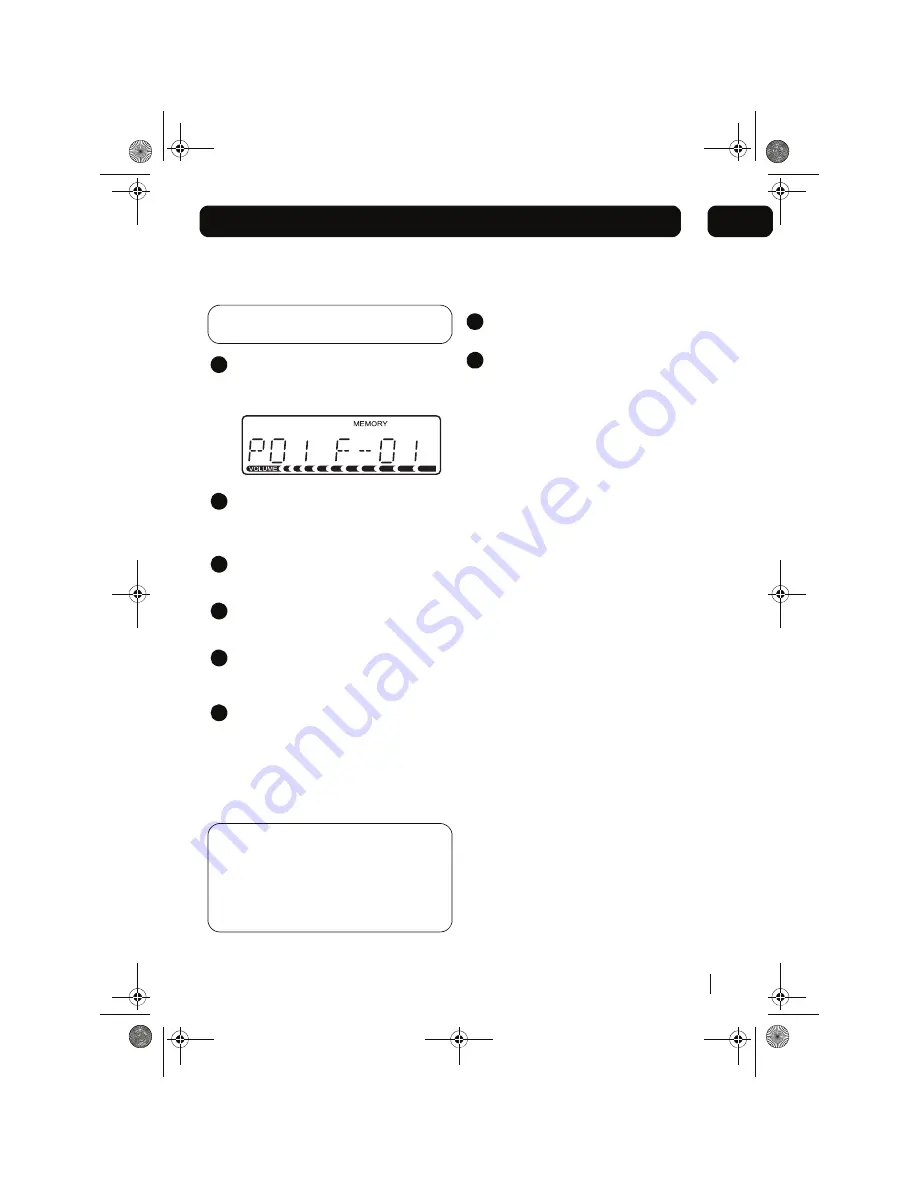
Press the C-ADJ/MEMORY or MEMORY 
button. The following information will 
show in the display.

Press the SKIP/TUNE buttons to select 
the folder.  Press the C-ADJ/MEMORY 
or MEMORY button to confirm the folder.

3

To select the track, press the SKIP/TUNE 
buttons.

Press the C-ADJ/MEMORY or MEMORY 
button to confirm the track.

Repeat the steps 2 to 4 to select the next 
folder and track to be programmed.

6

Continue entering the tracks in this way 
until all the desired track are stored (up to 
a limit of 99).

When the C-ADJ/MEMORY or MEMORY 
button is pressed to store the 99th track, 
it will show “FUL” on the display.

DON’T FORGET! If the PLAY/PAUSE button 
is pressed before the C-ADJ/MEMORY 
button is pressed, that track will not be 
programmed, and the disc will start playing 
from the first programmed track. Any track 
can be programmed to play more than once.

Summary of Contents for IPHONE MICRO1468I

Page 1: ...MICRO1468I CD Micro System for iPhone iPod Instruction Manual IMPORTANT Please read all instructions carefully before use and keep for future reference MICRO1468I book Page 1...

Page 2: ...adio stations to memory and program your CD tracks in an order to suit you You can also fully operate your iPhone iPod from the remote control IMPORTANT Use of any electrical equipment should be under...

Page 3: ...shown 6 x iPod dock adaptors not shown 1 x Mains adaptor 10V DC not shown CD and iPod not included Contents Getting started Using the radio Using the iPhone iPod dock Using the CD 1 2 3 4 Using the c...

Page 4: ...NCTION button 9 OPEN CLOSE button 3 C ADJ MEMORY button 10 iPhone iPod compartment 4 TUNER SEARCH Button 11 Speaker unit 5 Volume Control 12 CD door 6 TUNER SEARCH Button 13 IR sensor 7 STOP Button 14...

Page 5: ...stem 5 Top Panel 15 21 20 15 16 18 19 17 22 Speaker output left 19 Subwoofer output 16 Speaker output right 20 AUX input left 17 Reset button 21 AUX input right 18 DC input 10V 22 FM antenna MICRO1468...

Page 6: ...UP button 14 M UP RANDOM button 5 PLAY PAUSE button 15 PRESET EQ button 6 MENU INFO button 16 TIMER C ADJ button 7 SKIP TUNE Button 17 SLEEP button 8 SKIP TUNE Button 18 VOLUME button 9 FILE 10 IPOD D...

Page 7: ...Connecting to power Before switching on make sure that the voltage of your electricity supply is the same as that indicated on the rating plate For your own safety read the following instructions care...

Page 8: ...ess the MEMORY button on the remote control MEMORY will flash in the display and a preset number 1 will also show on the display Press the M UP or M DOWN buttons on the remote control to select the pr...

Page 9: ...e original postion 7 5 DON T FORGET Menu navigation will not work on iPhone or iPod Touch when they are in LOCK mode 1 2 3 4 Using the iPhone iPod menu system Carefully insert your iPhone iPod unit in...

Page 10: ...damage the unit Press the OPEN CLOSE button to close the disc compartment When the compartment is fully closed the disc will be read automatically 1 2 3 4 5 6 DON T FORGET Keep the disc compartment c...

Page 11: ...t track Press the PLAY PAUSE button once to pause playback of the MP3 CD The elapsed time will flash in the display 1 2 3 1 2 1 2 3 To resume playback press the PLAY PAUSE button again To stop playbac...

Page 12: ...n location 01 i e track 03 1 2 1 2 1 2 Press the C ADJ MEMORY or MEMORY button The first track selection is now stored in program memory Select the next track to be programmed using the SKIP TUNE butt...

Page 13: ...ct the folder Press the C ADJ MEMORY or MEMORY button to confirm the folder 3 To select the track press the SKIP TUNE buttons Press the C ADJ MEMORY or MEMORY button to confirm the track Repeat the st...

Page 14: ...m the Timer settings The display will then return to the current time DON T FORGET The clock setting will be lost if the power is disconnected 1 2 3 4 5 1 2 3 4 5 6 7 Switching off the timer function...

Page 15: ...n can only be used when there is a connection made to the AUX IN sockets from another source DON T FORGET The connection cables are not included Press the STANDBY button to power On the unit Press the...

Page 16: ...e Unit not in tuner mode Volume is at the minimum position Press TUNER button to select Tuner mode Adjust volume level CD MP3 Player CD Player will not play Unit not in CD mode CD is not installed or...

Page 17: ...ect to change without notice I 8 6 4 1 O R C I M r e b m u n l e d o M 60Hz 1 1A 0 5 V 0 4 100 2 C A y l p p u s r e w o P DC adaptor output 10V 2 7A Power consumption 27W Radio frequency coverage FM...

Page 18: ...ating instructions before you attempt to use the equipment Do ensure that all electrical connections including the mains plug extension leads and interconnections between pieces of equipment 1 2 3 are...

Page 19: ...MICRO1468I book Page 19...

Page 20: ...MICRO1468I book Page 20 www thesupportsite co uk 0871 230 1777...

Reviews: