EZ300 Series
33
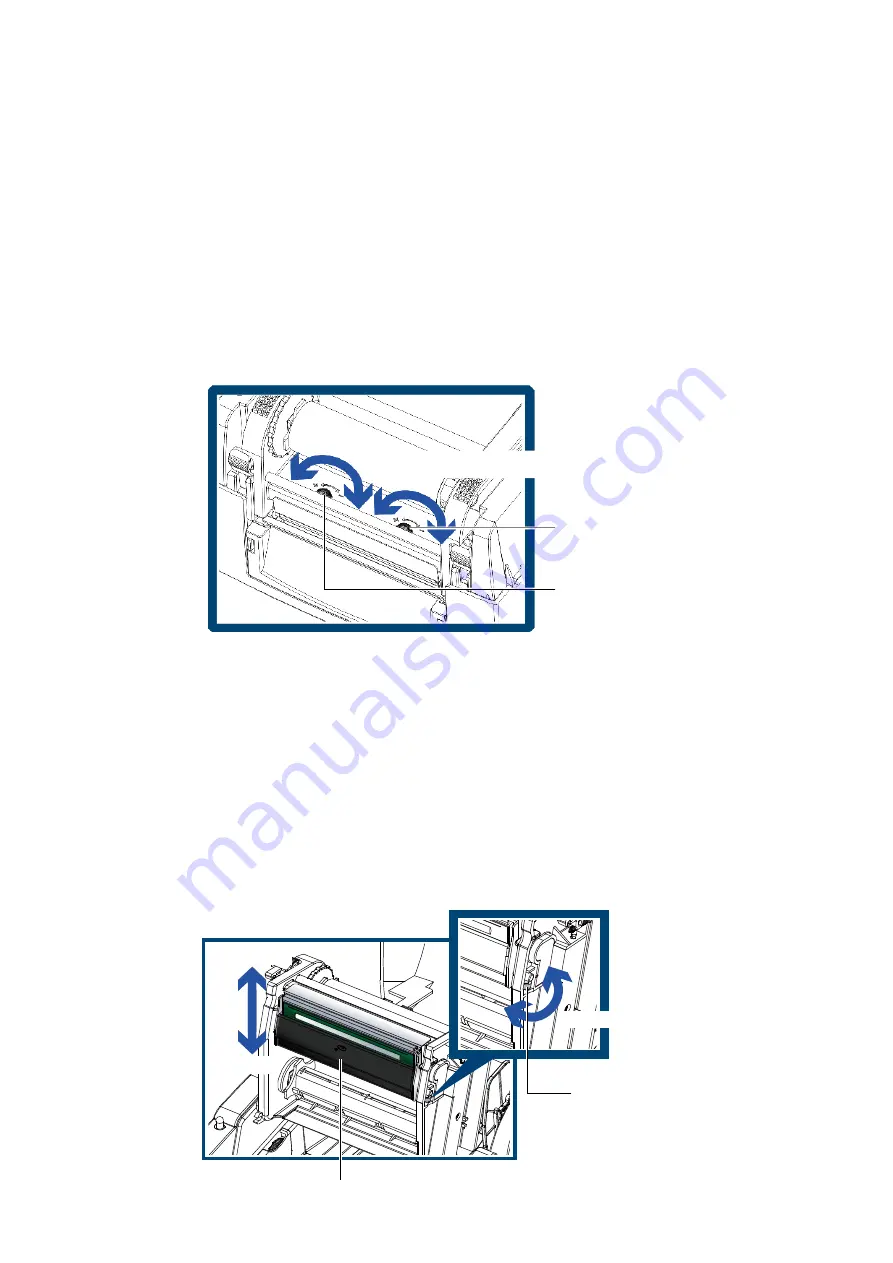
5.2 Adjusting The Print Head Pressure
When printing on special media (with varying material thickness), the print quality may suffer. You will then need to
adjust the print head pressure.
Adjustment Steps
1. Open the printer cover.
2. Remove the ribbon.
3. Use a screw driver and slowly turn the adjustment screws for the print head to increase or reduce the print
head pressure. Do not screw it hard, otherwise the machine will be broken.
4. Turn the adjustment screws according to actual position which is unsuccessful printed. Turn t(Plus)
indicates : The pressure is increased
;
Turn towards –(Minus) indicates : The pressure is reduced.
5-3 Adjusting The Print Line
When the print line is incorrectly set, the print quality on one side of the medium may suffer.
In such a case, the print line must be adjusted so it is positioned parallel to the paper feed roller.
Adjustment Methods
1. To move the print head in direction A as indicated by the blue arrow, turn the adjustment wheel
anticlockwise (see arrow 1).
2. To move the print head in direction B as indicated by the blue arrow, turn the adjustment wheel clockwise
(see arrow 2).
Turn the adjustment screws
SCREW ( RIGHT )
Screw for adjusting the print head pressure
on right side
SCREW ( LEFT )
Screw for adjusting the print head
pressure on left side
1
2
Direction-A
Direction-B
Turn the adjustment wheel
ADJUSTMENT WHEEL
PRINT HEAD


