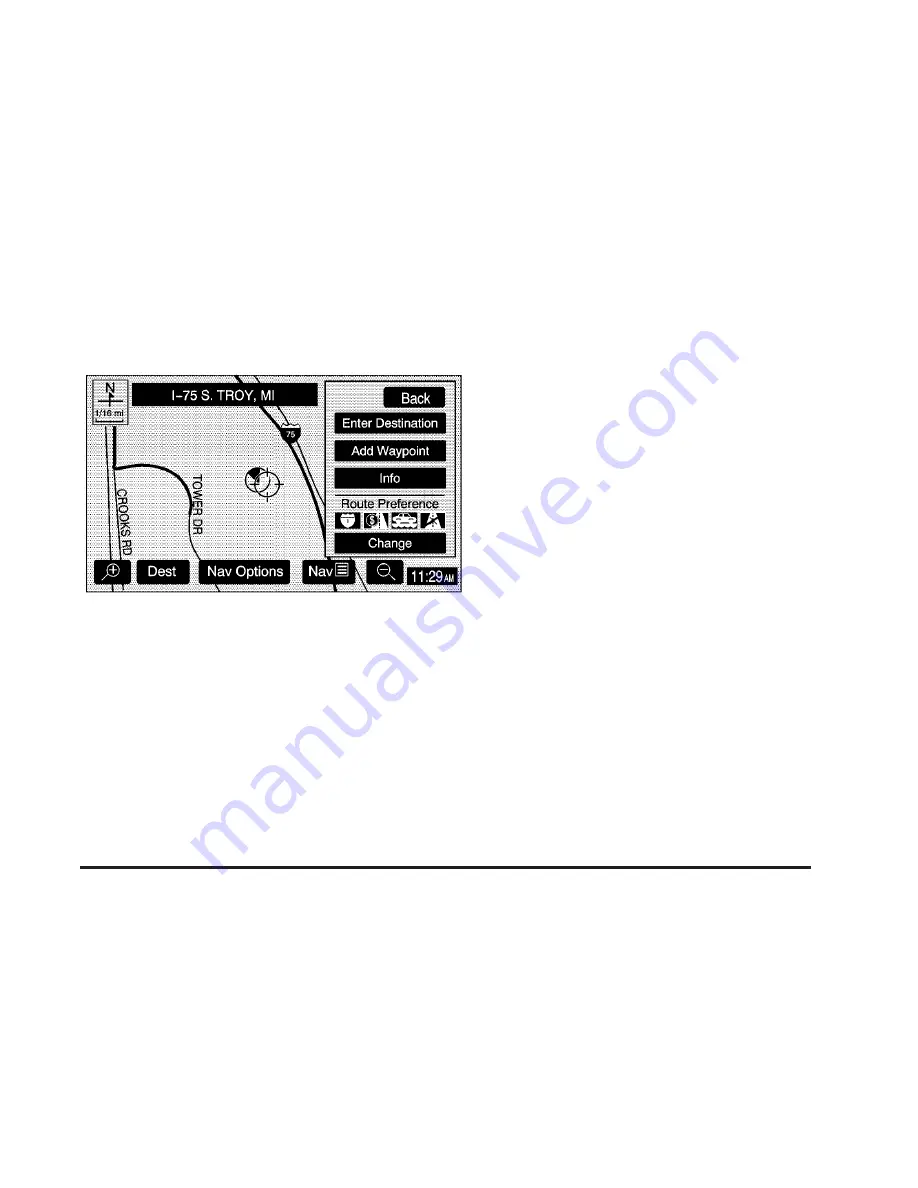
Destination Preview Menu
Each time a destination is entered, a screen with the
destination preview menu will appear. This screen
will display a zoomed in view of the destination, as well
as the following options:
Enter Destination: Touch this screen button to set the
current destination as the only destination in the
system. The route will be calculated and the Route
Preview screen will display.
Add Waypoint: Touch this screen button to add the
current destination to your current trip. The Add
Waypoint screen will display. Touch the Add screen
button that corresponds with where you would like
to add the current destination.
Info (Information): When a POI icon is selected on the
screen, touch this screen button to display the name,
address, and telephone number, if available, for
the selected POI. See “Navigation Options” later in this
section for more information on POIs and their icons.
Route Preference: This option will display the
Route Preference screen. To adjust route preferences,
touch Change. See “Edit Route” under Navigation
Menu on page 2-8 for more information.
Once the desired adjustments from the destination
preview menu are complete, the route overview menu
can be displayed. See “Route Overview Menu” following
in this section for more information.
Once you have entered your destination by touching the
Enter Destination screen button, you can do one of
the following:
•
Press the NAV hard key to begin route guidance.
•
Start driving to begin route guidance.
•
Touch the Route screen button on the map screen
displaying the new destination to make further
changes. See “Route Overview” following in this
section for more information.
2-27
Summary of Contents for 2006 Yukon XL
Page 4: ...Overview Navigation System Overview 1 2...
Page 50: ...NOTES 2 38...


