Revision: 02 - 16/11/2020 - A
Electric Models:
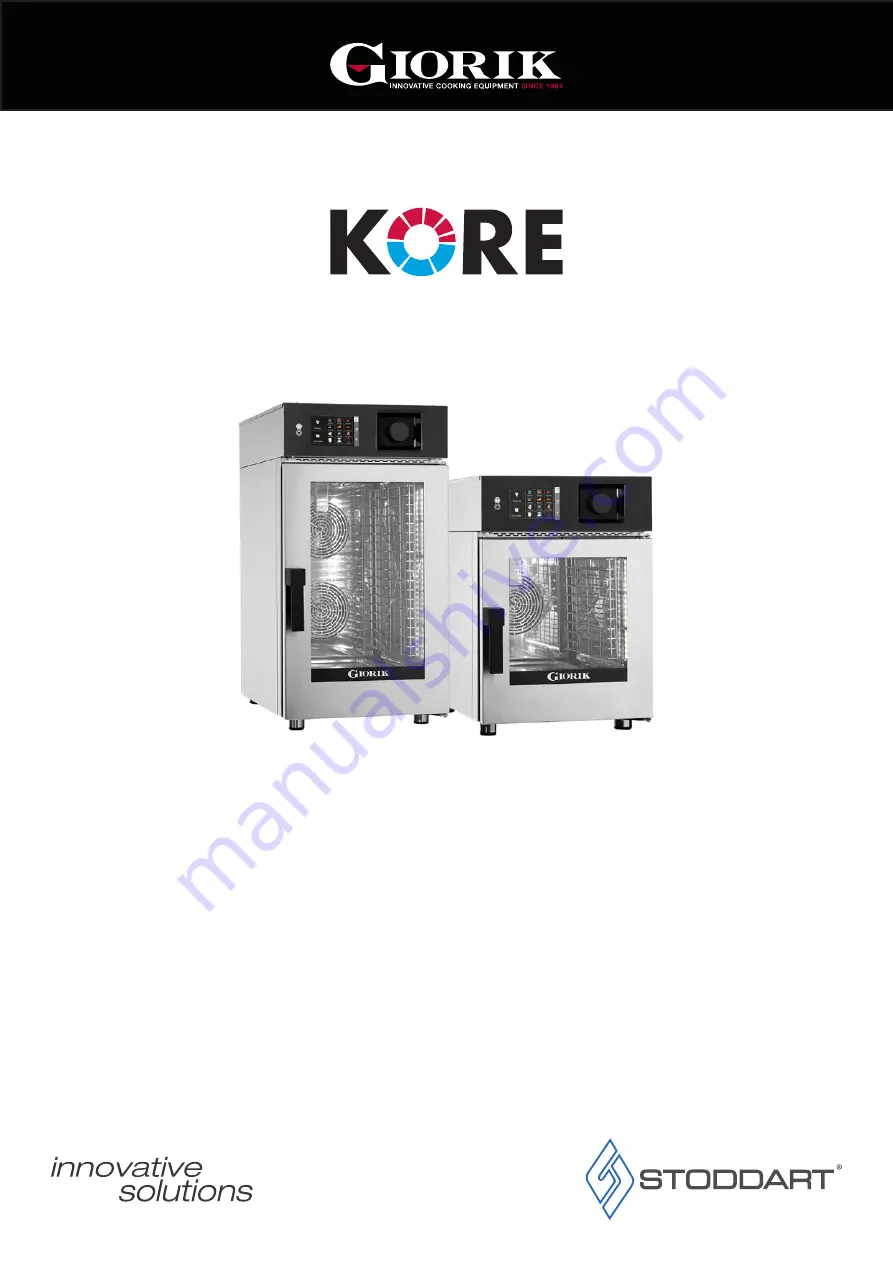
KB061WT / KB101WT
Gas Models:
KBG061WT / KBG101WT
ESSENCE OF EVOLUTION
COMBI OVENS
SPECIFICATION, INSTALLATION
& OPERATION MANUAL
(READ ALL INSTRUCTIONS BEFORE USE)
Page 1: ...Revision 02 16 11 2020 A Electric Models KB061WT KB101WT Gas Models KBG061WT KBG101WT ESSENCE OF EVOLUTION COMBI OVENS SPECIFICATION INSTALLATION OPERATION MANUAL READ ALL INSTRUCTIONS BEFORE USE...
Page 2: ...Page Intentionally Left Blank Page 1 Due to continuous product research and development the information contained herein is subject to change without notice www stoddart com au www stoddart co nz...
Page 3: ...Water Connections 2 10 Oven Testing 23 2 10 1 Gas Oven Operation 3 0 Specification 3 1 Technical Specifications 24 3 1 1 KB061WT 3 1 2 KB101WT 3 1 3 KBG061WT 3 1 4 KBG101WT 4 0 Operation 4 1 General O...
Page 4: ...oor Seal 5 1 12 Inspect Light Switch 5 1 13 Rinse Head 5 2 Automatic Cleaning 56 5 2 1 Wash Selection 5 2 2 Start the Wash Program 5 2 3 Stop the Wash Program 5 3 Boiler Descaling 58 5 3 1 Automatic 5...
Page 5: ...at occur to persons units or others due to abuse and misuse of this unit in regards to installation removal operation servicing or maintenance or lack of conformity with the instructions indicated in...
Page 6: ...ion All Stoddart manufactured and distributed products are covered by Stoddart s standard Australia and New Zealand Product Warranty minimum 12 month on site parts and labour terms and conditions appl...
Page 7: ...ault is detected refer to troubleshooting The manufacturer declines any liability for damages to persons and or things due to an improper wrong and or unreasonable use of the machine Only specifically...
Page 8: ...trolley or similar the forks should reach completely beneath the pallet Check the unit for damage before and after unpacking If unit is damaged contact the distributor and manufacturer Should any ite...
Page 9: ...Do not allow cables or other items to rest hang over the exhaust vents Do not install unit under a bench No equipment is to be installed placed on the Service compartment top of oven excluding stacke...
Page 10: ...rt co nz 2 0 Installation Using a spirit level ensure that the Combi oven is level Adjust the foot height to level Combi oven If using a stand level the stand by adjusting the feet then level the Comb...
Page 11: ...nt and unplug the power supply lead by the plug body If the power point is not readily accessible turn the equipment off at the isolation switch or the circuit breaker in the switchboard Attach a yell...
Page 12: ...nnecting wires use a multimeter to check active Neutral Earth connections 3 Reinstall service compartment cover 4 Secure wiring cable by fastening the cable gland nut 2 3 2 Wiring KB061WT KB101WT PE N...
Page 13: ...the regulator Universal LPG the supplied regulator must be fitted to the appliance inlet connection Gas pressure must be adjusted to 2 70 kPa when the burner is operating at high flame the appliance t...
Page 14: ...Enter to confirm E Press Gas Test F The gas test must be carried out with the door open G Phase 1 Burner Off Press Forward to begin the gas test procedure H Phase 2 Burner ignition I Phase 3 Minimum...
Page 15: ...the extraction hood check that the following indications are respected The volume extracted must be higher than that of the flue gases generated see current regulation The material with which the hood...
Page 16: ...The display should read 000 2 Insert lower end of the TDS meter into water to be tested approx 20mm of water DO NOT completely submerge 3 Wait 5 10 seconds 4 The number displayed on meter is the TDS...
Page 17: ...toddart 1300 307 289 Chloride Cl TDS Greater Than 32PPM Parts Per Million Stoddart Supplied Standard Filter Stoddart Supplied Reverse Osmosis Unit Less Than 32PPM Less Than 20PPM Greater Than 20PPM 2...
Page 18: ...outlet Water Temperature Cold water connection Min 10 C Max 35 C Steam Generation The Combi oven requires filtered water supplied to its steam generation system Water pressure must be 150 350 kPa at o...
Page 19: ...ve 350 600 Kpa I 1 x Nipple 3 4 Male J 1 x 5m 3 8 Tube Water K 1 x 3m 1 4 Tube Drain L 11 x John Guest Locking Clip M Spare outlet IMPORTANT This oven must be installed in accordance with AS NZS 3500...
Page 20: ...he outside of the grid rack Remove the bottle caps from both descaler and detergent Drill a 8mm hole in the centre of each cap Feed the detergent line and the rinse aid hose through the bottle caps At...
Page 21: ...t com au www stoddart co nz 2 0 Installation Magnet 2 8 Optional Hand Shower with Magnetic Holder Position the magnetic hand shower holder over the top edge of the oven in a convenient location Connec...
Page 22: ...he manufacturer its service agent or similarly qualified persons in order to avoid a hazard Please contact Stoddart for parts and we will advise how to do this in order to avoid any electrical hazard...
Page 23: ...25mm drain hose to the exhaust hood drain secure with one hose clamp 3 Cut the oven wash system line after the PLV Insert the two cut ends into the water connection T Piece pre installed to the hood I...
Page 24: ...if the door is opened and starts to work when the door is closed The thermostat that regulates the temperature in the cooking chamber is triggered when the set temperature is reached and the heating...
Page 25: ...49 5 49 5 420 105 703 573 56 50 40 792 806 865 300 82 98 89 122 124 40 40 A E A D Cle 50 B C F Legend A Electrical connection B Steam generation water inlet 3 4 BSP C Wash system water inlet 3 4 BSP D...
Page 26: ...124 703 573 105 806 865 1032 D B C Legend A Electrical connection B Steam generation water inlet 3 4 BSP C Wash system water inlet 3 4 BSP D Drain connection E Humidity vent F Detergent rinse aid inle...
Page 27: ...B 3 1 3 KBG061WT Legend A Electrical connection B Steam generation water inlet 3 4 BSP C Wash system water inlet 3 4 BSP D Drain connection E Humidity vent F Detergent rinse aid inlet G Gas emission...
Page 28: ...0 C G B 3 1 4 KBG101WT Legend A Electrical connection B Steam generation water inlet 3 4 BSP C Wash system water inlet 3 4 BSP D Drain connection E Humidity vent F Detergent rinse aid inlet G Gas emis...
Page 29: ...screen C Navigation Dial The dial is used to set the values on the screen If the dial is pressed the value entered is confirmed D Manual Cooking Recipe settings are entered manually E Recipe Book Def...
Page 30: ...ed humidity Cannot be adjusted Flue vent always closed Vacuum cooking sous vide Cooking of delicate dishes Cooking of creams and sauces Pasteurisation Regeneration Leavening Smoking It allows the user...
Page 31: ...uch the value to be changed B Turn the navigation dial to the right to increase the value or to the left to decrease it C Press the navigation dial to save the set value The symbols on the right hand...
Page 32: ...zone by selecting your geographic area e g Australian EST GMT 10 Note If the oven is connected to a network the oven can be set to automatically change to daylight savings time 1 the time is updated a...
Page 33: ...A Enter the Configuration menu B Select Buzzer Volume C Slide the white bar to adjust the Buzzer Volume D Press Save to confirm System information allows the user to view the firmware information ser...
Page 34: ...d cooking programs that can have up to 9 different phases plus pre heating Every cooking phase is represented by a cooking mode convection mixed steam etc with specific time humidity ventilation param...
Page 35: ...o indicate that the oven is ready to load When the door is closed phase 1 automatically starts according to the set parameters preheat off preheat on This screen displays the current temperature in th...
Page 36: ...to adjust the temperature value D Press the navigation dial to save the set value 4 3 5 Time Setting 4 3 6 Core Probe Note To make the oven works continuously Touch the time field and turn the navigat...
Page 37: ...er minus Probe core temperature The Delta T t function is used mainly for slow low temperature cooking In Delta T t mode the product core temperature is set and the chamber temperature is set between...
Page 38: ...ing time set without the need for setting anything else When using convection cooking choose for the flue to be opened or closed When using Combi or Steam cooking methods the humidity value must be se...
Page 39: ...and 4 appears Touch any phase to display them all After setting all phase 1 parameters additional cooking phases can be set if required Up to 9 cooking phases can be programmed each cooking phase can...
Page 40: ...e holding phase by default has the humidity set at 20 and the fan speed set at 1 For effective holding it is recommended not to adjust the fan speed When holding roasted products a humidity setting of...
Page 41: ...ss or add bacon A Select the text icon B Touch the Enter message field C Select the message among those available e g add salt by touching on it or create a new message D Using the pop up keypad click...
Page 42: ...he search parameters to assign to the recipe this will help to find it easily in the future Press FORWARD to confirm E Assign a name to the recipe using the keypad e g Lasagne press ENTER to confirm F...
Page 43: ...ature touch the set button Time remaining until the end of the cooking cycle if set by the time or temperature measured by core probe if set with the core probe To know the set value touch the set but...
Page 44: ...d end of cooking with core probe or Delta T At the end of the cooking cycle the audible sound is emitted and a window will pop up indicating cooking has completed and to remove the trays from the cham...
Page 45: ...entered value E Begin the cooking cycle by pressing Start Where applicable wait for the end of the preheating phase before introducing the food to be cooked The recipe book contains pre set and custom...
Page 46: ...n the set temperature value for the probe inside the food has been reached The regeneration function can be set two ways CRISPY Ideal for lasagne crepes and potatoes SOFT Ideal for delicate products s...
Page 47: ...the set temperature an audible sound will be emitted and the message End will display to warn the operator about which trays are ready to be removed from the oven while the others keep cooking the ove...
Page 48: ...arn the operator about which trays are ready to be removed from the oven while the others keep cooking the oven runs in INFINITE MODE 4 5 3 Rack Control Menu Setting Manual Setting A Press Rack Contro...
Page 49: ...Rack Control Easy Service PUSH SET C Manual Setting A Press Rack Control B Select the customised menu e g Breakfast C Enter the cooking parameters D Select Easy Service E Select menu items Menu items...
Page 50: ...e can be carried out with the door closed or open It is recommend keeping the door closed until the temperature has dropped 4 6 Special Functions 4 6 1 Cooling Of The Chamber CAUTION Hot Steam and Wat...
Page 51: ...type of wash date and time in which it was carried out HACCP Of the alarms triggered Of the wash cycles carried out Files can be imported exported in FAT32 format to a USB stick The USB port is on the...
Page 52: ...ernationally recognised method of identifying and managing food safety through the use of preventative procedures that ensures hygiene and health in food This protocol begins with the analyses of the...
Page 53: ...r Extreme Heavy and Light duty operation Additionally a service technician is required to perform the Scheduled Maintenance Services refer to page 63 This schedule is a guide only Item 0 hours 1month...
Page 54: ...these can lead to rust and further damage to the product Mild rust and or corrosion can be treated with a commercial cleaning agent that contains citric oxalic nitric phosphoric acid DO NOT use cleani...
Page 55: ...drain This is to prevent blockages and possible back flow 3 Re insert the drain cover Normally the automatic wash cycles clean internal racks effectively However if required these can be easily remove...
Page 56: ...t Door Seal 5 1 11 Inspect Light Switch 1 Clean the door gasket with a clean damp cloth 2 Check the door seal for any splits 1 Clean the door light switch with a clean damp cloth ensure there is no so...
Page 57: ...nds using the Stoddart supplied tablets or liquid detergent specific for the Giorik ovens Use of non approved or recommended chemical will void warranty Note Stoddart recommends using the Stoddart sup...
Page 58: ...tanks have been replaced The liquid detergent tank has been replaced The rinse agent descaler tank has been replaced IMPORTANT During a wash cycle do not open the oven s door Risk of injuries and int...
Page 59: ...tion will display to give the option to start this function A When the warning pop up appears press either yes or no YES to start the descaling process NO to postpone the descaling process B Select th...
Page 60: ...and the rinse agent hose through the bottle caps Attach the weights to each line Place both lines and weight back into the bottles and secure bottle caps ensure to place correct line in the correct ch...
Page 61: ...for water creating error messages 5 5 2 Stoddart Supplied RO Filter Cartridges A reverse osmosis filter is required in areas where the water has high chlorides or other corrosive minerals present Whe...
Page 62: ...he Stoddart service department The fans stops during operation Turn off the oven and wait for the thermal breaker of the motor to be restored automatically Make sure the cooling vents are not obstruct...
Page 63: ...team Contact the Stoddart service department E21 No water No water for the production of steam alarm Cooking stopped at combi steam Check the water valve Press the navigation dial to reset the alarm I...
Page 64: ...e required at specific time intervals Contact the Stoddart Service Department to book a service 0 1month Date Hours Technician Initial Inspection 2500 hours 12 months whichever occurs first Date Hours...
Page 65: ...Sous Vide Probe SPGI CBH 002 Wall Mount Bracket liquid chemical SPGI CBH 001 Side Stand mounting liquid chemical SPAR XSE AX10 CCF 1 Sediment and Dirt Particles Removal Cartridge SPAR XSE AX10 GAC 2 C...
Page 66: ...Page 65 Due to continuous product research and development the information contained herein is subject to change without notice www stoddart com au www stoddart co nz 6 1 Notes 6 0 Notes...
Page 67: ...Page 66 Due to continuous product research and development the information contained herein is subject to change without notice www stoddart com au www stoddart co nz 6 0 Notes...
Page 68: ...7694 New Zealand Sales Spare Parts Tel 0800 79 1954 Email sales stoddart co nz Email spares stoddart co nz Service Spare Parts Tel 0800 935 714 Email service stoddart co nz Email spares stoddart co nz...