


36
If there is an obvious gap, it means the distance between the nozzle and the build platform is too far,
the extruded filament will not be closely attached to the build platform. In this case, please click
to upraise the build platform to reduce the distance between the extruder and the build platform until
there is only a little gap between the nozzle and the build platform, and then click the button [OK] to
save the current printing height.
If you can‘t see any gap, it means the distance between the nozzle and build platform is too close.
The filament can‘t be extruded out or can even be jammed, In this case, please click
to lower the
build platform to increase the distance between the nozzle and build platform until you can see a little
gap between the nozzle and the build platform, then click the button [OK] to save the current printing
height.
During this process, you can use the z+/z- to fine-tune the height of the platform.
You can choose to move 0.5mm/0.05mm per click.
Click [OK] and save the printing height of Z axis.
4.2 Fine tuning
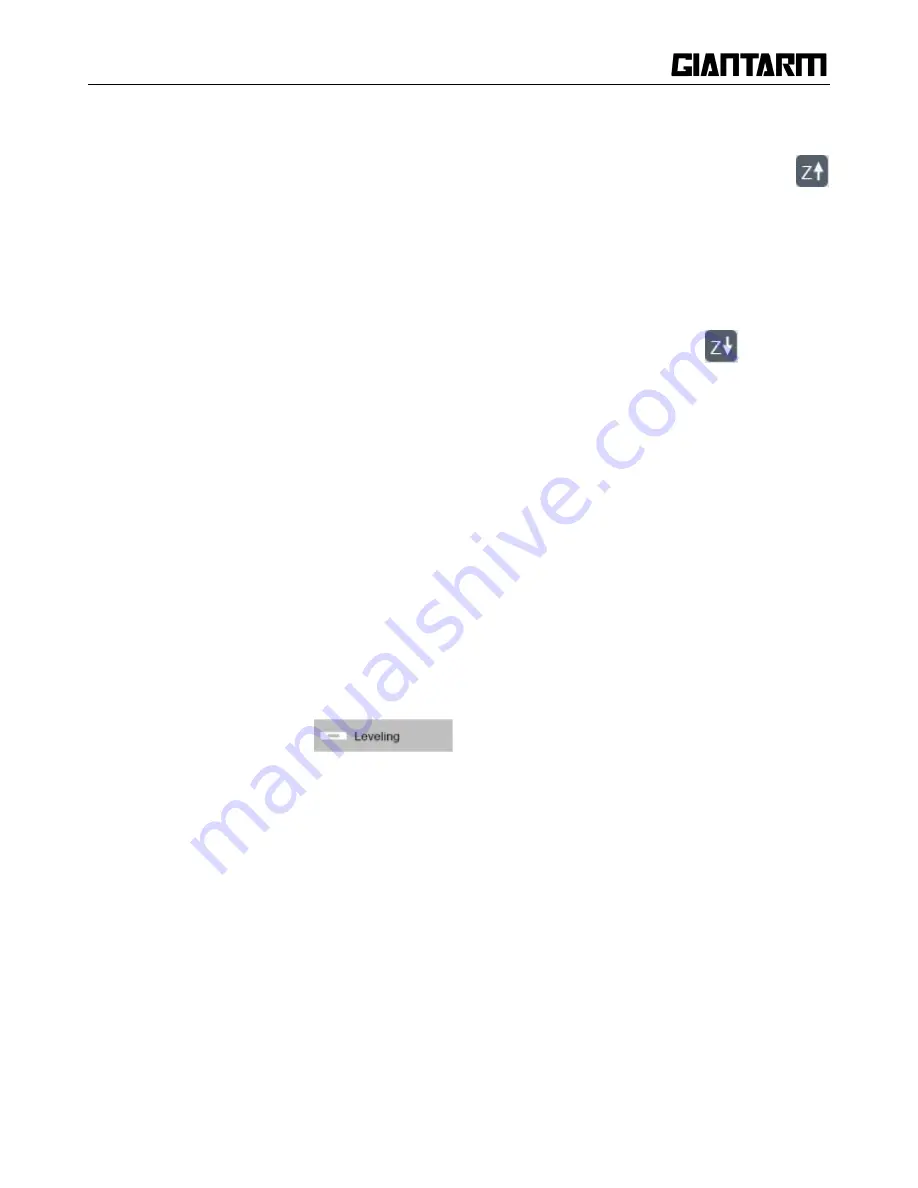
Step1. Choose [Leveling] icon
to enter the interface to start to level the hotbed.
Meanwhile the motors will be homed and Z axis will rise to 0mm.
Summary of Contents for D200
Page 1: ...1 GiantArm D200 User Manual Version 1 ...
Page 7: ...7 1 Extruder 2 Control panel 3 SD card slot 4 Heat resistant glass 5 Heatbed 6 Build platform ...
Page 34: ...34 printing via SD card or Wi Fi printing via serial port printing via SD card or Wi Fi ...
Page 56: ...56 333 66mm 5m 27 s 6 Octagram Spiral 318 63mm 5m 15 s 7 Honeycomb 362 73mm 5m 39s 5 Filament ...
Page 66: ...66 ...
Page 68: ...68 ...
Page 85: ...85 Click OK to automatically return to the Filament interface as shown in the picture below ...


