1 2
1 1
Pausing LINE-IN Recording
Press the MENU button while recording to pause.
Ending LINE-IN Recording
Pressing the STOP button to complete the recording process
will display the number of file (ENC01...) recording has been
made onto and that file will be stored in memory.
Playing Back LINE-IN Recording
Select a file by using the UP/DOWN buttons, then press the
PLAY button to start playback.
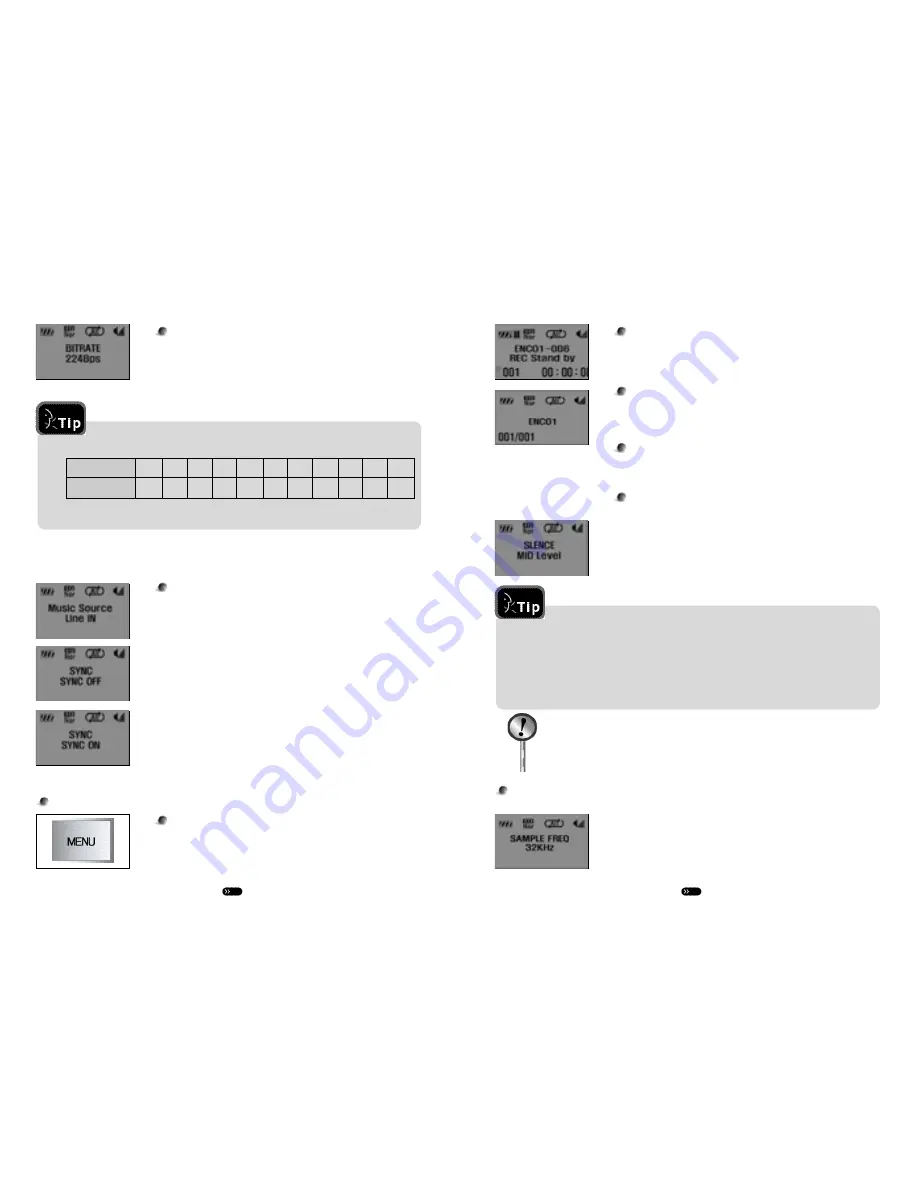
Configuring Silence Detection Level
This is used to configure the sensitivity in detecting the silence
between tracks in SYNC MENU.
Press the MENU button in succession in STOP MENU to
access SILENCE MID. Use the UP/DOWN buttons to select a
desired LEVEL.
Configuring Silence Detection Level
SILENCE HIGH - Set sensitivity high when silence level bet ween tracks or if there
’
s
minimal noise.
SILENCE MID - Select when making general recordings. (default)
SILENCE LOW - Set sensitivity low when silence level is high or if there
’
s large
amount of noise.
Recording may not be made if the
sound source is too low
Record Lengths by Bit Rate Levels (based on 128MB memory capacity)
For general use, please select 32kbps
VOICE Bit Rate Adjustment
Select 'Bit Rate 32kbps' by pressing the MENU button in STOP
mode. Select a bit rate value using the UP/DOWN buttons.
Starting LINE-IN Recording
First, connect the audio connecting (LINE-IN) cable. With the
external source playing back, long-press the MENU button to
start recording.
LINE-IN Recording Configuration
Press the MENU button in succession in STOP mode to access
Music Source. Pressing the UP/DOWN buttons will display
‘Line-in’ on the LCD. Connect the LINE-IN cable and long-press
the MENU button to begin recording.
SYNC OFF: Records from start of LINE-IN recording until the
STOP button has been pressed as one single file.
SYNC ON: Automatically divides LINE-IN source tracks to
record each section as a separate file.
LINE-IN Audio
Bit Rate(Kbps)
08
16
24
32
40
48
56
64
80
96 1 1 2 5
Minute
2106 1080 720 540 432 360 312 2 7 0
216 180 1 5 6
2) LINE-IN Recording Mode
Configuring Sampling Frequency for External Source
R e c o r d i n g s
Press the MENU button in succession in STOP mode to access
Sampling Freq. Use the UP/DOWN buttons to select sampling
f r e q u e n c y .