Recording
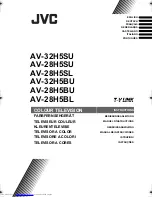
6.3 Schedule Recording
You can access Schedule Recording from the
Settings Menu as described in Chapter 5.1.2
and Chapter 5.2.4. Here you can see a list of
items scheduled to record.
By clicking on the
Add
Button, you are able to
add a new scheduled recording, the
Delete
button cancels the highlighted scheduled
recording and the
Edit
button lets you change
the settings of a scheduled recording.
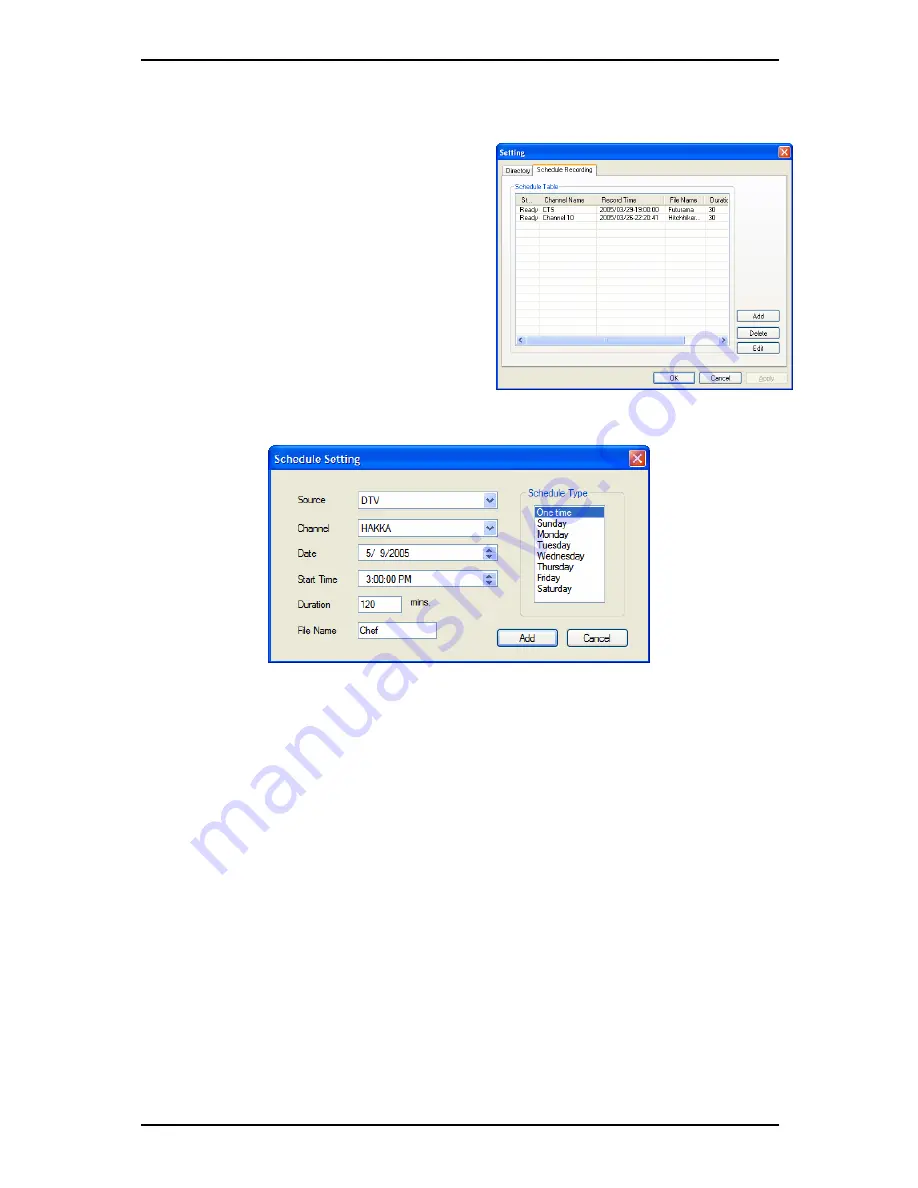
The
Add
and
Edit
buttons open a second menu:
First, select the
Schedule Type
from the right side of the screen. Click “One time” if
this is a one-time only recording. To make a weekly recording, click on the days you
want the program to record on. Select the
Source
you want to record from, then the
Channel
if you are recording from a TV source. Select the
Date
if this is a one time
recording. Enter the
Start Time
and
Duration
of the program you want to record.
Finally, enter a
File Name
for the recorded file – if this is a weekly recording, a number
will be added to this name for each recording. (Example: FileName01.mpg,
FileName02.mpg, etc.)
Click on the
Add
button to finish scheduling the recording.
You can also schedule recordings on digital TV using EPG information. For more
details, refer to section 4.10.
25