background image

DTV 

4.9 Teletext 

 
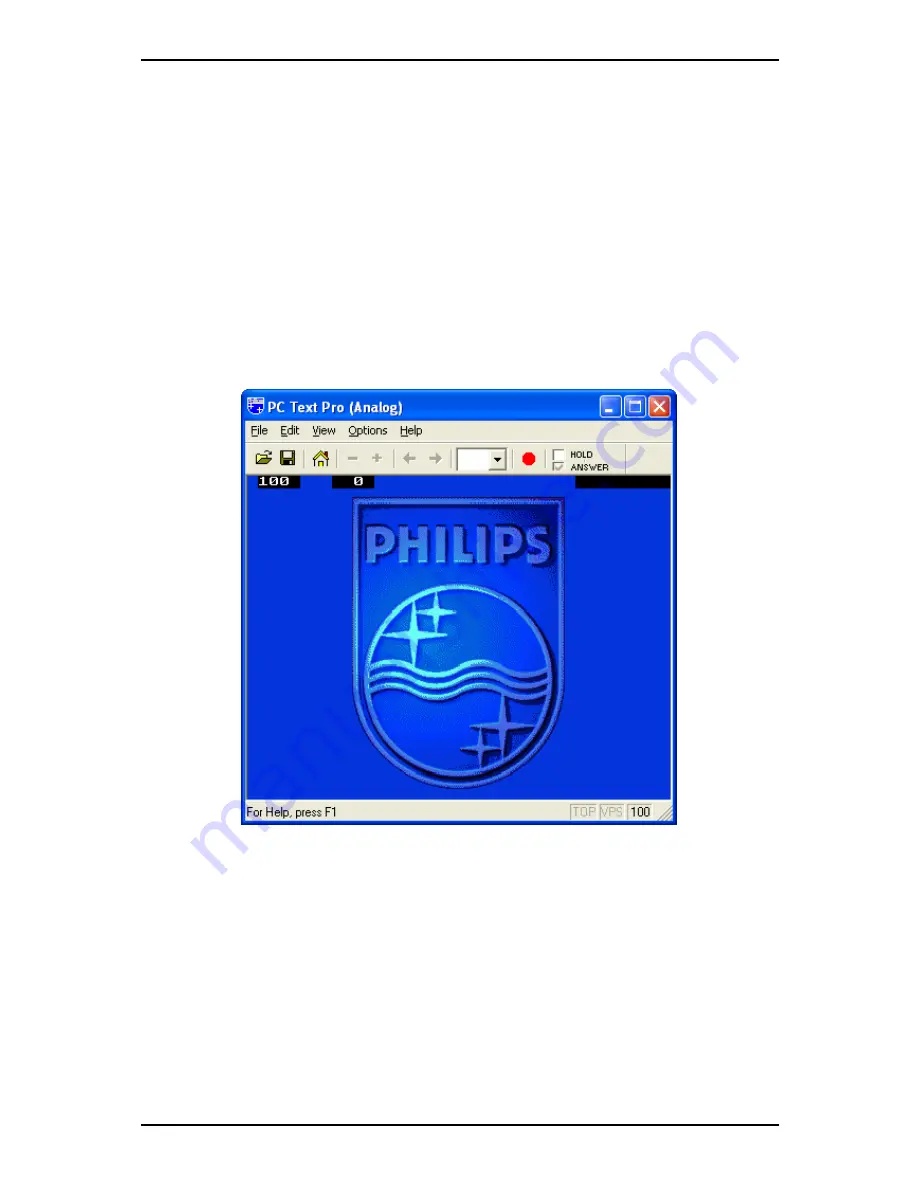
Simply clicking the Tx button opens the Teletext window. Not all TV stations provide 
Teletext service.  Everyday, however, competent editorial offices provide a selection of 
quickly and easily accessible information, which you can access for free, since it is 
constantly transferred along with the TV picture via the so-called vertical blanking 
interval of the picture signal.  Surfing through the pages is conveniently easy thanks to 
the preloaded text tables. Use the arrow buttons (on the software interface, the PC 
keyboard or the remote control) to navigate from one page to another or enter a page 
number directly. You can also click a page reference directly to call up its content, 
practically with no delay. 
 
For further information about using Teletext, click on 

Help

 at the top right of your 

screen to read the Help file. 

15 

Summary of Contents for USB 2.0 DVB-T Tuner

Page 1: ...USB 2 0 DVB T Tuner User Manual Ver 1 9...

Page 2: ...for any consequential incidental direct indirect special punitive or other damages including without limitation damages for loss of profits interruptions loss of information pecuniary loss etc even i...

Page 3: ...allation of the DTV software 7 4 DTV 8 4 1 DTV Interface Overview 8 4 2 Scanning for TV Channels Digital 9 4 3 Scanning and editing channels Analog 11 4 4 Scanning for stations FM Radio 12 4 5 Choosin...

Page 4: ...6 5 Play Mode 26 7 The Remote Control and Keyboard Shortcuts 27 7 1 Remote Control 27 7 2 Keyboard Shortcuts 28 8 Technical Support 29 8 1 Troubleshooting 29...

Page 5: ...full screen TimeShifting functions Capture still images Listen to DVB radio Compatible with Windows 2000 and XP 1 3 Package Contents When removing the contents of the package please inspect all items...

Page 6: ...MB RAM recommended Windows 2000 or Windows XP VGA card or chipset with full DirectX 9 0 support DirectX 9 0c or higher installed installer included on installation CD CD ROM or DVD drive 100 MB avail...

Page 7: ...L Connects external audio to unit left channel 4 Audio In R Connects external audio to unit right channel 5 S Video In Connects to S Video sources 6 IR Sensor Onboard IR sensor for remote control 7 An...

Page 8: ...he installation CD and an installation menu should load automatically If the Autostart program does not appear automatically when you insert your Installation CD start it manually by running the Insta...

Page 9: ...tenna to the USB 2 0 DVB T Tuner and use the USB cable to connect it to the USB 2 0 port on your PC Note Use the primary USB connector to connect the USB 2 0 DVB T Tuner to your computer plug in the s...

Page 10: ...the Installation CD into your CD ROM drive Select Install from a list or specific location Advanced and click Next Now select Search for the best driver in these locations make sure Search removable...

Page 11: ...Installation 3 4 Installation of the DTV software Install the DTV software by clicking on DTV Setup Just follow the prompts to install the software 7...

Page 12: ...5 Switch to FM Radio 17 Mute on off 6 Switch to DVB TV 18 Volume bar 7 Open Scan settings 19 Show hide channel list 8 Switch to Play mode 20 Snapshot button 9 Teletext 21 Signal Strength Meter 10 Open...

Page 13: ...is setting by running the Set Region application from the installation CD Services Information This shows information about the currently selected channel when available During a scan this will show i...

Page 14: ...croll to the right and click on the Audio setting to change between available broadcasted audio languages You can uncheck a channel so it does not appear in your channel list or you can select it and...

Page 15: ...tandard directly by using the dropdown boxes You can change the Input Type to designate whether you use an antenna Air or cable TV Cable You can edit your channel list by using the checkboxes next to...

Page 16: ...ou can also manually enter a frequency by clicking on Set to tune to that frequency and then clicking on Add to add the frequency to your station list Clicking on Previous or Next will autoscan to the...

Page 17: ...to Analog TV reception Switches to an external device connected to the composite video input Switches to an external device connected to the S Video input Switches to FM Radio reception Switches to D...

Page 18: ...own box and choosing Radio In FM Radio mode your radio stations will be listed 4 7 Volume controls At the bottom of the interface is the volume bar Click on the bar to set the volume to that level or...

Page 19: ...e via the so called vertical blanking interval of the picture signal Surfing through the pages is conveniently easy thanks to the preloaded text tables Use the arrow buttons on the software interface...

Page 20: ...the day and record them Click the EPG button to open the EPG window Click on Update to update the EPG information Date start time duration and program name will appear in the table Selecting an entry...

Page 21: ...ck Browse go to the folder you want and click OK Capture Size Setting When checked this will split recorded files into parts at the size entered as the File split size This is useful if you want to sa...

Page 22: ...Setting 5 1 2 Schedule Recording Here you find programs scheduled to be recorded Please refer to Chapter 6 3 for a description how to use Scheduled Recording 18...

Page 23: ...ke Brightness Contrast Hue Saturation and Sharpness Clicking on Default will put the settings back to the factory default 5 2 2 Record Settings Record Settings let you adjust how you record files from...

Page 24: ...Modify an existing one Duplicate a profile and Remove one or all of the existing profiles Create Profile General Here enter a name for the profile and a comment to help identify it Select MPEG 1 or M...

Page 25: ...nverted Deinterlaced and or Off Line Audio Here you can choose the Bit Rate Sample Rate and how many Channels to use for recorded audio 1 mono 2 stereo Record SYSTEM By selecting SYSTEM in the Record...

Page 26: ...acceleration Please note that not all graphics cards support this feature 5 2 4 Schedule Recording Here you find programs scheduled to be recorded Please refer to Chapter 6 3 for a description how to...

Page 27: ...AV In you record the signal in the format that you have specified in Record Settings Chapter 5 2 2 In FM Radio mode you record to a standard WAV file In all modes recorded files will be saved to the w...

Page 28: ...o Clicking it again will begin playback right where you left it You will see a green bar at the bottom of the screen with a slider that shows your current position You can rewind or fast forward by us...

Page 29: ...the screen Click One time if this is a one time only recording To make a weekly recording click on the days you want the program to record on Select the Source you want to record from then the Channe...

Page 30: ...2 3 You can see the snapshots you have taken by entering Play Mode Chapter 6 5 6 5 Play Mode You can see the files you have already recorded by clicking on Play on the left side of the interface Here...

Page 31: ...is active 4 Power Turns on off the DTV Program 5 Rewind Rewinds current TimeShift or recorded video 6 TimeShift Starts and pauses the TimeShifting of the current program 7 Forward Moves forward throug...

Page 32: ...0 9 NumPad 0 9 Channel Number BackSpace Recall Previous Channel M Mute on off T Switch between TV Radio reception A Switch to Second Audio Language Channel Up Channel Down Volume Up Volume Down Enter...

Page 33: ...2 Last connect both the primary and secondary connection to your computer Q I just started the DTV application and there are no channels available A You need to scan for available channels the first...

Reviews: