GeoVision GV-NVR Quick Start Manual Download Page 4

Quick Start Guide

Note: 

1.  The default resolution for Live View images (CIF) cannot be changed. 

2.  Once the GV-IPCAM H.264 is connected to the GV-NVR System Lite, you 

can only change the video resolution and codec on the GV-NVR System Lite.

Basic Configuration

4

4

Changing Video Codec and Resolution

The default video resolution, frame rate and codec for Live View and Recording 

images are listed below. 

• 

Default live view images:

 320 x 240 (CIF), 15 fps and H.264.

• 

Default recording images: 

1280 x 1024 (1.3M), 15 fps and H.264.

Besides the default image settings, you have the following options for Live View and 

Recording images. 

• 

Live view images:

 320 x 240 (CIF), 30 fps and any codec

(H.264 / MJPEG / MPEG4)

• 

Recording images: 

640 x 480 (VGA), 30 fps and any codec 

(H.264 / MJPEG / MPEG4)

Installing GV-IPCAM H.264

Configuring an IP Address

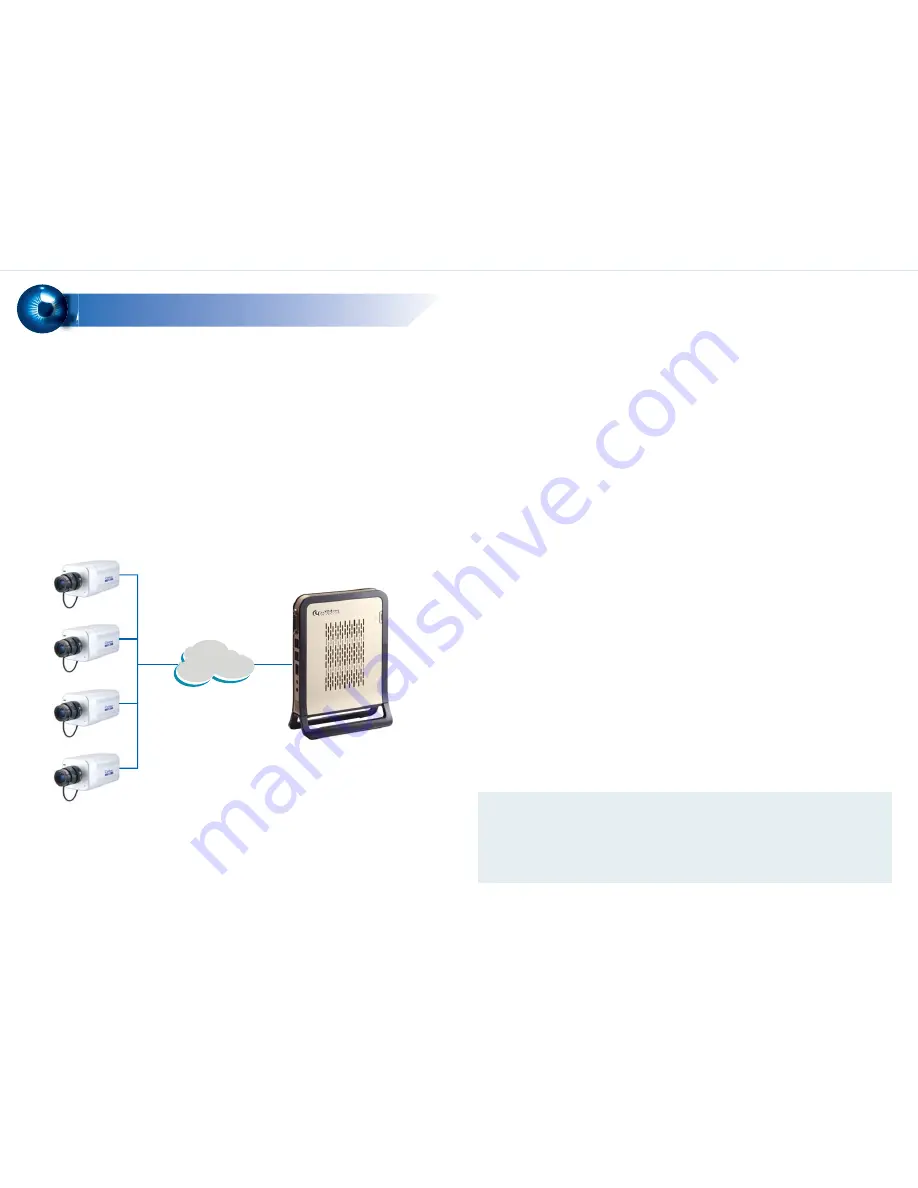
The GV-NVR System Lite supports up to 4 channels and is exclusively designed for 

GV-IPCAM H.264. The GV-IPCAM H.264 can be automatically connected to the 

GV-NVR System Lite once the GV-IPCAM H.264 is connected to the same network 

with GV-NVR System Lite and the GV-NVR System Lite is turned on.

The default IP address of the GV-NVR System Lite is 

192.168.0.200

 (subnet mask of 

255.255.255.0). The default IP range of the GV-IPCAM H.264 is set from 

192.168.0.201

 to 

192.168.0.204

 (subnet mask of 255.255.255.0). Only the GV-IPCAM 

H.264 set within the default IP range can be automatically connected to the GV-NVR 

System Lite.

The GV-NVR System Lite has a default IP address to connect to the GV-IPCAM 

H.264 automatically. However, you can still configure the IP address for network 

connection arrangement.

To configure an IP address, use Windows’s 

Network Connections

 feature. To access 

the feature, click the 

Programs

 button on the GV-Desktop, and select 

Control Panel.


You will be prompted for an ID and a password. The default ID and password are 

0000

”. For details to configure an IP address, see 

3.7 Configuring an IP Address

 in 

GV-NVR System Lite User’s Manual 

(GV-Desktop < 

Program

 button < 

Multicam 

Installation

).

Network

Summary of Contents for GV-NVR

Page 1: ...ation 1 1 RoHS Network Left Side 5 6 8 Thank you for purchasing GV NVR System Lite This guide is designed to assist the new user in getting immediate results from the GV NVR System Lite For advanced i...

Page 2: ...supplied power adapter and power cord connect the unit to the power outlet The power of the GV NVR System Lite will be automatically turn on once the GV NVR System Lite is connected to the power outl...

Page 3: ...ng or damaged contact your dealer to arrange a replacement Packing List 2 2 Mounting Method 3 3 The GV NVR System Lite package includes the following items Important Please keep the original carton an...

Page 4: ...H 264 can be automatically connected to the GV NVR System Lite once the GV IPCAM H 264 is connected to the same network with GV NVR System Lite and the GV NVR System Lite is turned on The default IP...

Page 5: ...of IP cameras you want to link to and click Configure This dialog box appears 3 Click Scan Camera to detect all the IP cameras on the same LAN After the scanning process is finished this dialog box a...

Page 6: ...s limited to run the selected programs If you need to exit to Windows desktop follow these steps 1 On the GV Desktop click the Settings button and type the valid ID and password The default ID and pas...

Page 7: ...ol 2 Right click the hard drive in the MediaMan Tools window select Add for recording and then select the storage group from the drop down list The Storage 1 is created by default 3 Click OK to automa...

Page 8: ...refer to Adjusting Individual Camera Chapter 1 DVR User s Manual GV Desktop Program button Multicam Installation 4 3 2 4 In the MedianMan Tools window if the hard drive is successfully added to store...

Page 9: ...efer to Recording Schedule Chapter 1 DVR User s Manual GV Desktop Program button Multicam Installation Recording Schedule Setup 6 6 3 2 4 5 6 7 You can play back video recorded during a particular dat...

Page 10: ...creen and select Video Audio Log 3 Click on the functional panel 4 Select CD Using OS Burning to burn files with the inbuilt software of Windows XP 5 Click Add time frame 6 Enter the Start Time and En...

Page 11: ...Playing Backup Files Open the backup folder run EZViewLog500 exe and then follow the instructions in the Play Back Video section 6 9 7 8 4 5 10...

Page 12: ...the hidden partition To restore the operating system and all preinstalled software follow the steps below 1 Restart the GV NVR System Lite This image appears 3 Select Recovery GeoVision NVR System 4...

Reviews: