7 7
English
MARKER
Markers allow identifying points
of interest and are stored in the
unit’s memory.
Inserting a marker
Move the cursor to the position
desired, then press the
ENTER
key. By the
CURSOR
key, select
MARKER from the dialog box
and confirm the choice by
EN-
TER
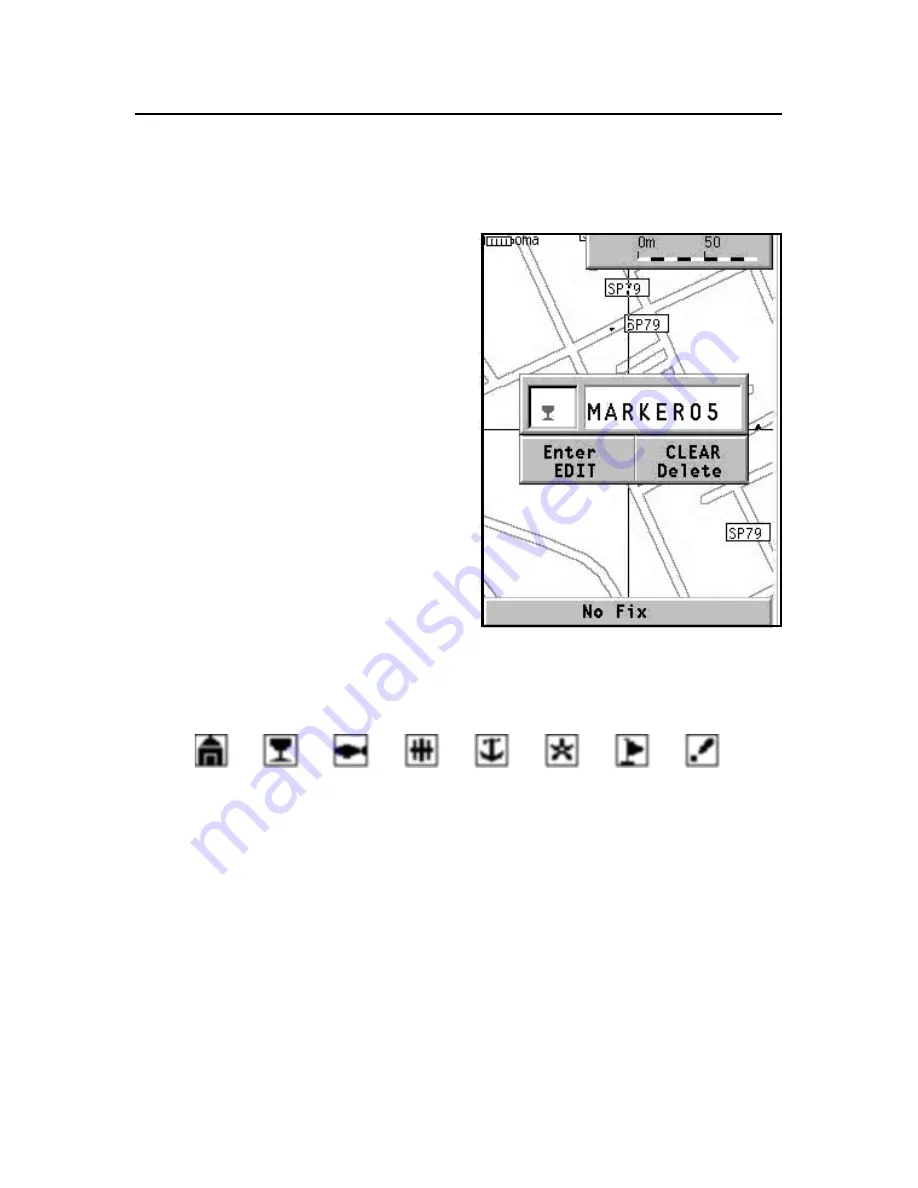
. A window will allow defin-
ing the marker’s symbol and
name.
Use the
CURSOR
key to change
the marker’s symbol as well as
the alphanumeric characters
forming the marker’s name.
The symbols available are the following:
Menu marker
Press
GOTO,
then select the marker desired by
CURSOR
. After
pressing
ENTER
, a window will allow defining the marker as a
Starting point or Destination by means of
CURSOR
. Confirm
the operation by pressing
ENTER
.
If defined as Destination, the marker will be represented on
the map by a symbol for finish, whereas, if defined as a Start-
ing point, it will be represented by a flag.
NOTE: If a Starting point and Destination are present, the itinerary will be calculated
and highlighted in green on the map.
Marker
Summary of Contents for 4 gipsy
Page 1: ......
Page 3: ......
Page 4: ...User and Installation Guide 4 4 4 4 4GIPSY...
Page 5: ......
Page 10: ...7 English...
Page 19: ...16 English...
Page 20: ...17 English Marine Navigation MARINE NAVIGATION...
Page 68: ...6 5 English Road Navigation ROAD NAVIGATION...
Page 89: ...8 6 English...


