English
-48-
Step 2: Connecting the digital still camera to your computer
1. Turn the camera on.
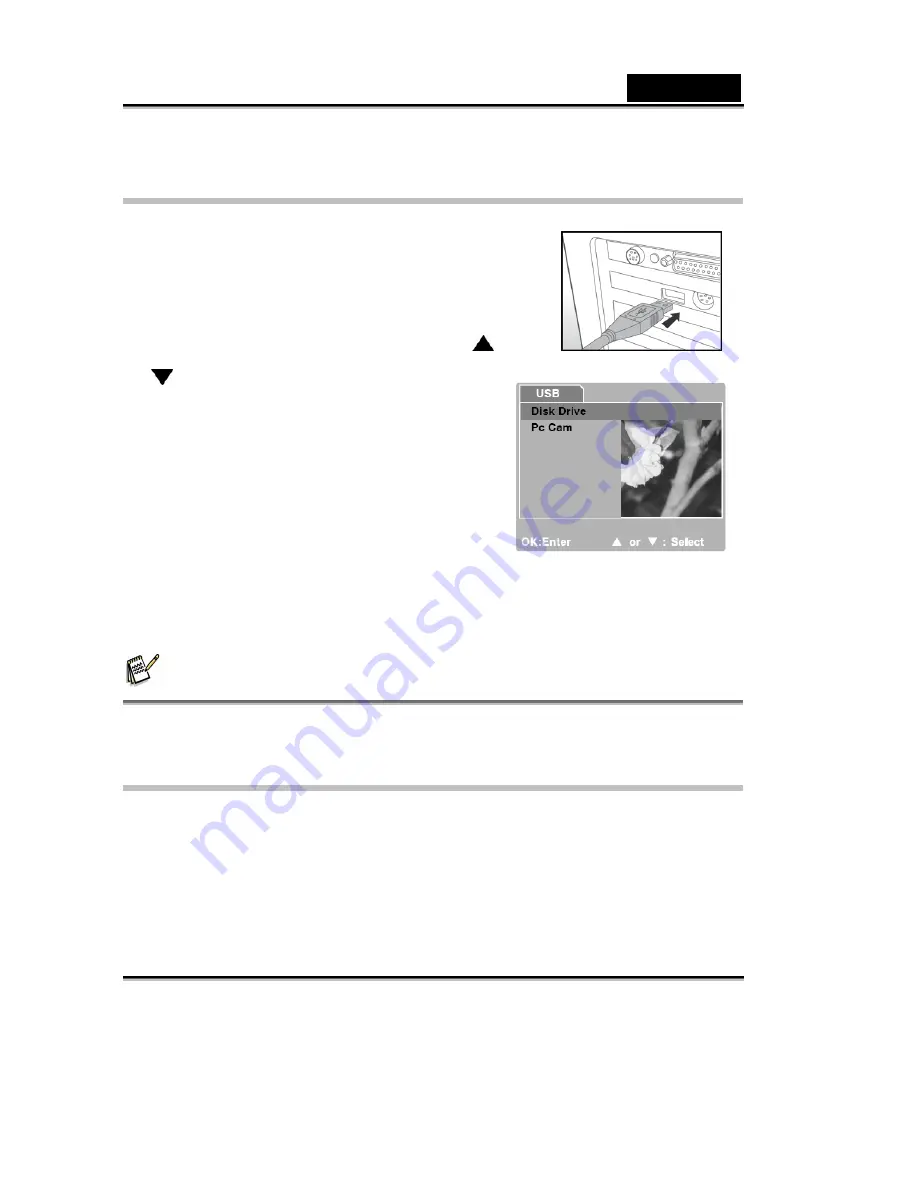
2. Connect one end of the USB cable to an available USB
port on your computer.
3. Connect the other end of the USB cable to the USB
terminal on the camera.
4. The [USB] mode screen is displayed. Use the
/
button to select [Disk Drive], then press the
OK button.
5. Look for a new “Removable Disk” icon
appearing in the “My Computer” window.
Your recorded images/video clips will be in a
folder on this “removable disk”.
(For Mac users, double-click the “untitled” disk
on the desktop.)
Mac users:
Double-click the “untitled” or “unlabeled” disk drive icon on our desktop.
iPhoto may automatically launch.
NOTE
While transferring images to your computer, the other buttons on your digital still camera will
not perform any functions.
Step 3: Downloading images/video clips
When the camera is turned on and connected to your computer, it is considered as a disk
drive, just like a floppy disk or CD. You can download (transfer) images/video clips by
copying them from the “removable disk” (“untitled” disk on a Macintosh) to your computer
hard drive or to another kind of disk.


