English
2
z
Adding/Removing pictures into the Photo Viewer.
1. Install the photo viewer driver.
(A) Insert the CD-ROM and install the file “ PhotoViewer” and Follow the on screen instructions.
(B)The application Photo Viewer will be installed on your computer and a shortcut to the application
will appear on your desktop.
<DO NOT LAUNCH THE SOFTWARE YET.>
2. Add pictures into the DPF-101K.
Turn on the DPF-101K, connect the PC USB port and the photo viewer USB port with the provided
USB cable. After a few of seconds, the photo viewer will display:
USB Charge/ USB Update
Select “USB Update” mode.
Note:
1.
Do not use “My Computer”
→
double click “Removable Disk *G: to add photo files into the player, or an
error will occur.
2.
When connecting to your PC, do not select “g:” disk when selecting the disk location on the Photo
Viewer software or there will be an error message.
(G:): DPF-101K might not always be shown as (Disk g) when connecting to the PC.
3.
You can remove the DPF-101K from the PC directly.
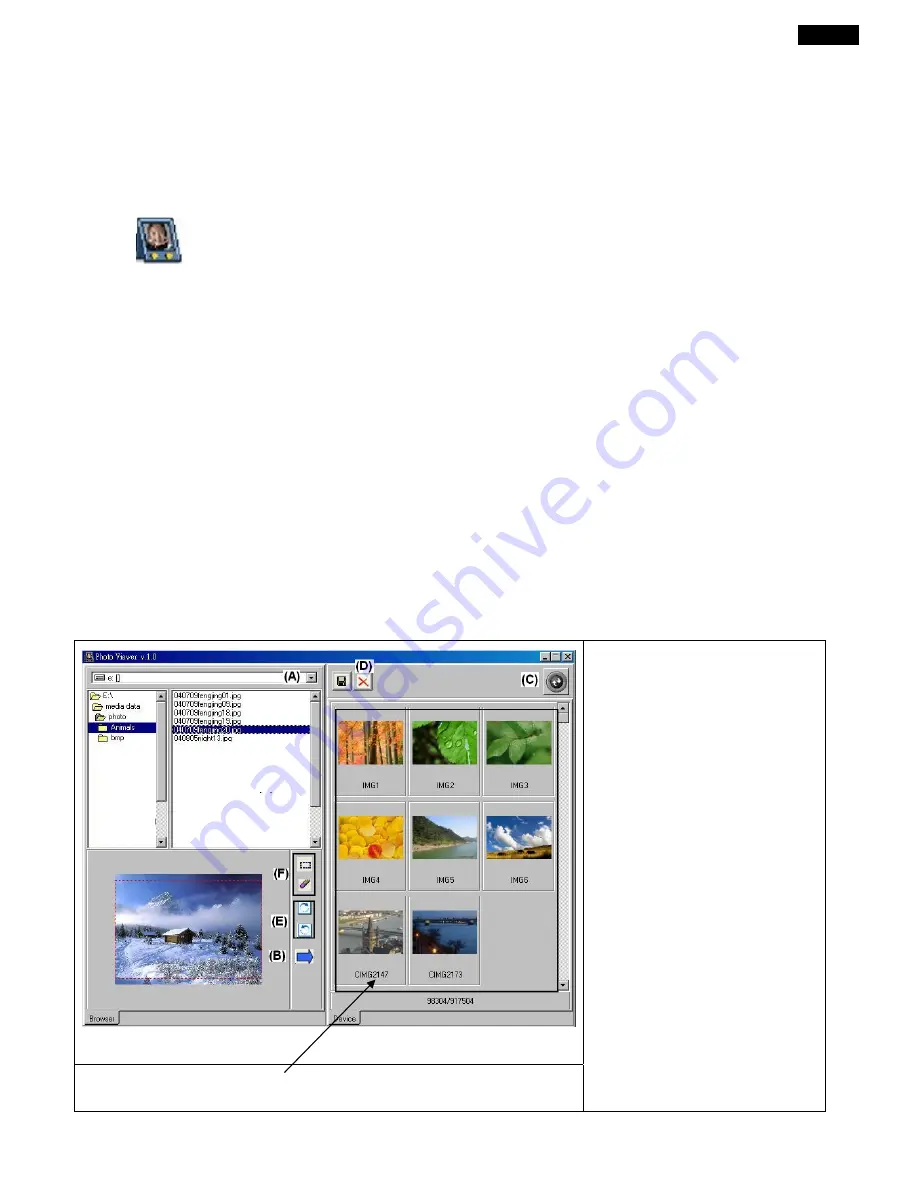
You can see the photos in DPF-101K from this area.
1.
Check (A) to select the
photos stored in your
computer.
2.
Press (B) to add the photos
to DPF-101K.
3.
Press (C) to match photos
to DPF-101K or press (D) to
delete the photo.
4.
To rotate photos, press (E).
(The rotate speed depends
on your photo size). You
can also use item (F) to
frame the photo area.