


29
Ultra High Resolution Digital Day/Night Vandal Resistant Dome Camera
28
Ultra High Resolution Digital Day/Night Vandal Resistant Dome Camera
PRIVACY AREA SETUP
1. AREA
2. MODE
3. MASK COLOR
4. MASK TONE
5. TOP
6. BOTTOM
7. LEFT
8. RIGHT
9. RETURN
AREA1
OFF
GREEN
1
39
79
12
51
●
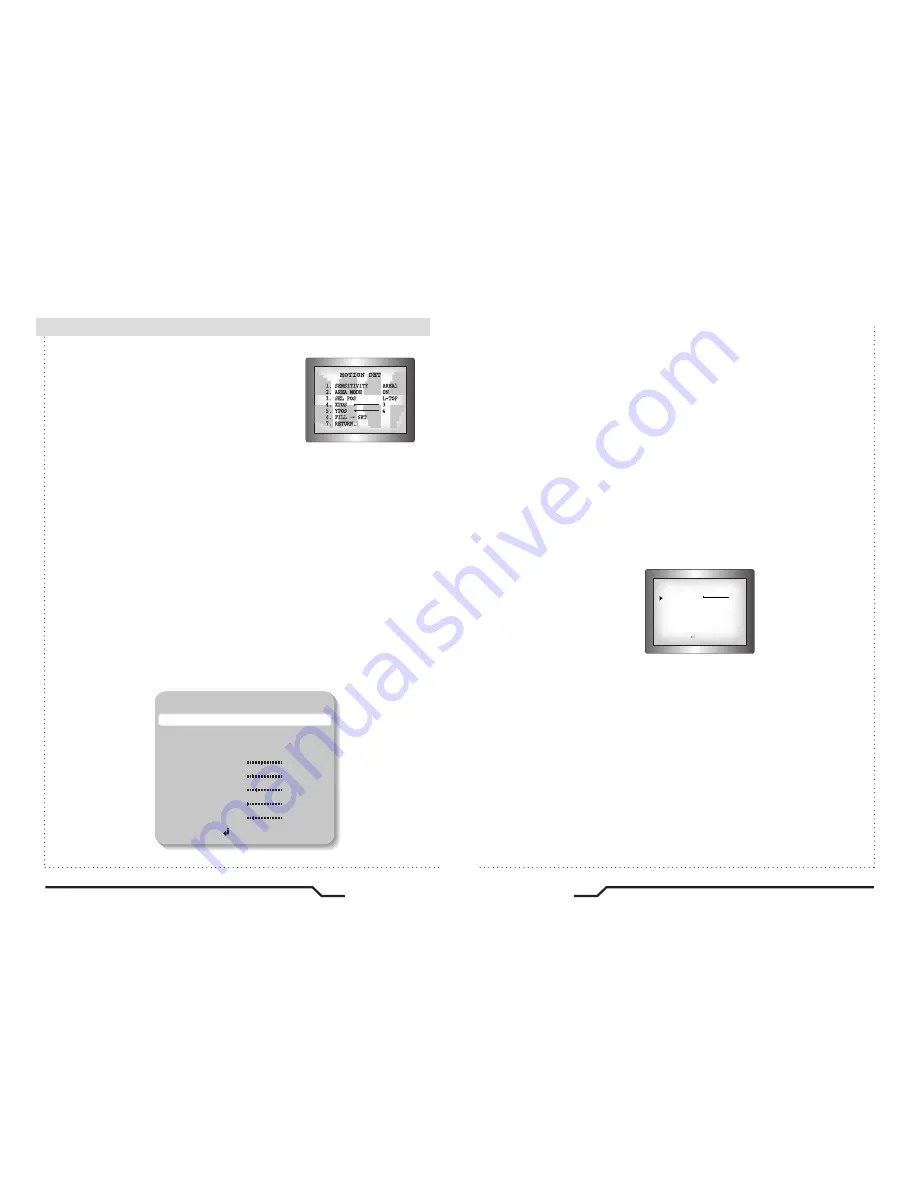
MOTION DET
:
This product has a feature that allows you
to observe movement of objects in 8 different
areas on the screen, and the words
'MOTION DETECTED' appear on the screen
when movement is detected.
you can monitor activity more efficient.
1) When the SPECIAL menu screen is displayed, press the Up and
Down buttons so that the arrow indicates 'MOTION DET'.
2) Set up the mode using the 4 direction buttons.
- SENSITIVITY : You can select up to 8 MD areas. When SENSITIVITY
number is high, motion detection sensitivity is increased to recognize
even small movement.
- AREA MODE : Determines whether to use the MD area selected
in SENSITIVITY.
- SEL POS : Determines which of the 4 vertices of each MD area
is to be used.
- XPOS : Determines the coordinate of the horizontal axis for SEL POS.
- YPOS : Determines the coordinate of the vertical axis for SEL POS.
- FILL
→
SET : Fills in a selected MD area. Fills in a selected MD area.
The colour of filling is sequentially selected as brown, orange, blue,
cyan, yellowish green, yellow and red.
- RETURN : Select this to save the MOTION DET menu settings
and return to the SPECIAL menu.
●
PRIVACY
: Mask an area you want to hide on the screen.
●
COMM ADJ (Communication Adjustment)
:
This function sets up the camera communication status when controlling
the camera through an external control device.
1) When the SPECIAL menu screen is displayed, press the Up and
Down buttons so that the arrow indicates 'PRIVACY'.
2) Set up the mode using the 4 direction buttons.
- AREA SEL : You can select up to 12 PRIVACY areas.
- MODE : Determines whether to use the area selected in the AREA SEL.
- MASK COLOUR : Determine area colour. You can select Green,
Red, Blue, Black, White, Gray.
- MASK TONE : Adjust the brightness of MASK COLOUR.
- TOP/BOTTOM/LEFT/RIGHT : Adjust the size and position of the
selected area.
- RETURN : Select this to save the PRIVACY menu settings and
return to the SPECIAL menu.
COMM SETUP
1.CAM ID
2.BAUD RAET
3.UART MODE
4.RET PKT
5.DISP ID
6.PROTOCOL
7.RETURN
2
4800
8-N-1
DISABLE
OFF
PELCO-D
①
When the SPECIAL menu screen is displayed, press the Up and
Down buttons so that the cursor points to 'COMM ADJ'.
②
Set up the mode using the 4 direction buttons.
- CAM ID : Determines the camera's identification number.
(between 0 and 255).
- BAUD RATE : Select 2400/4800/9600/19200/38400/57600 bps.
- UART MODE : Select NONE, EVEN or ODD for the parity bits.
- RET PKT : Determines whether to send a command back to
the controller device when a communication control command
is sent to the camera.
- DISP CAM ID : Display the camera title on the top left corner
of the screen.
- PROTOCOL : STW(SPD), PELCO-D, PELCO-P, SEC, BOSCH
HONEY WELL, VICON, PANA
■
How to Use the Camera
Summary of Contents for AVRCD-6351
Page 18: ... MEMO ...


