1.
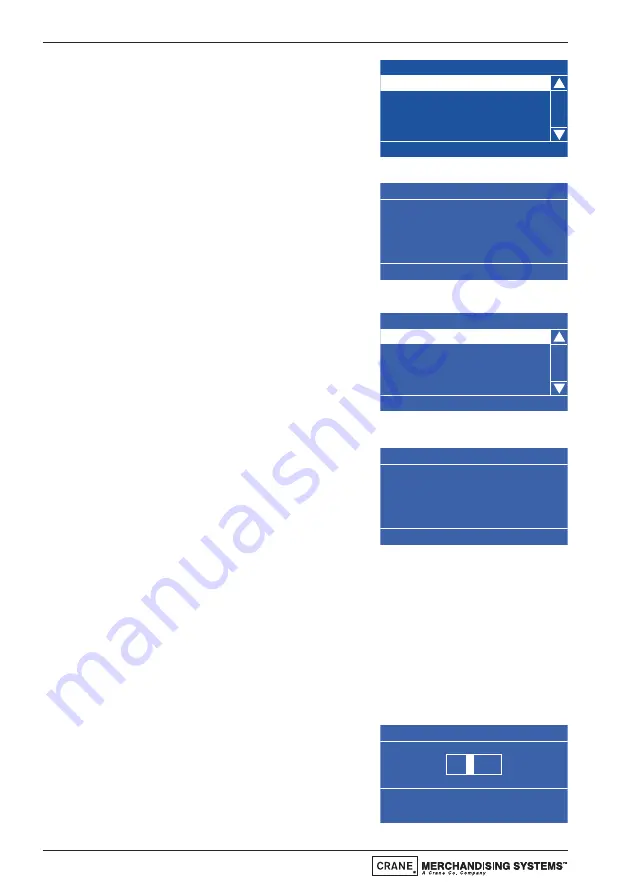
Scroll down and highlight Backup/Restore
from the System Settings menu. Press the
↵
(Edit) key to access the menu. If this is
the first time that a backup has been
selected the LCD will display the screen as
shown.
2.
Press the
↵
(Edit) key to access the menu.
The LCD will display the screen as shown.
To backup the memory press the
↵
(Edit)
key. After a few seconds the machine will
beep once and the Initialising screen will
be displayed before the machine returns
to standby mode, ready to vend.
3.
When accessing the Backup/Restore sub-
menu after backups of the memory have
been made, the information changes and
the engineer is presented with the screen
as shown. The first sub-menu, Last Backup
is highlighted with the date and time this
occurred displayed at the bottom of the screen.
4.
To restore the machines memory to the
last available backup, scroll down using the
▼
(down) key, highlight Restore Data and
press the
↵
(Edit) key to access the menu.
The LCD will display the screen as shown.
Press the
↵
(Edit) key to restore the
backed up data. After a few seconds the machine will beep once and the
Initialising screen will be displayed before the machine returns to standby
mode, ready to vend.
Screen Contrast
Crane machines are factory set with a default screen contrast setting of 12
which should be suitable for most installations. For installations with special
considerations, e.g. very low or high ambient light levels, the engineer can
adjust the screen contrast via this menu to improve screen legibility.
1.
From the System Settings menu, scroll
down using the
▼
(down) key to highlight
the Screen Contrast menu and press the
↵
(Edit) key. The LCD will display the screen
as shown opposite. Enter a new value
between 05 - 20 using the drink selection
keypad.
Technical Manual
60
Scree n Co ntr ast
0-9 to E dit Value
EDIT whe n Finis hed
1
2
Backup/ Resto re
Press E DIT to Select
Bac kup D ata
Backup Data
Are you sur e you want
to bac kup all
NVM data ?
CANCEL - EXIT OK - EDIT
Backup/ Resto re
23-09-05 11:17
Last B acku p
Bac kup D ata
Restor e Data
Restore Data
Are you sur e you want
to re store t he da ta
from th e back up?
CANCEL - EXIT OK - EDIT
Summary of Contents for B2C/Teapot
Page 136: ...Technical Manual 134...
Page 138: ...2 3 4 5 6 7 8 9 1 10 11 12 13 Exterior View Technical Manual 136...
Page 140: ...1 2 3 4 5 6 2 7 8 9 10 11 12 13 14 16 15 17 18 19 Door Interior Technical Manual 138...
Page 142: ...1 2 3 4 5 6 7 8 9 10 11 12 13 14 15 16 Console Assembly Technical Manual 140...
Page 144: ...1 2 3 4 5 6 7 8 9 11 10 Interior View Instant Machines Technical Manual 142...
Page 148: ...1 2 3 4 5 6 7 8 9 10 11 12 13 14 15 16 Interior View Freshbrew Machines Technical Manual 146...
Page 162: ...1 11 8 4 9 10 7 6 3 2 4 5 Tall Canister Assembly Technical Manual 160...
Page 164: ...6 1 4 6 7 8 9 3 2 4 5 Short Canister Assembly Technical Manual 162...
Page 166: ...8 1 3 2 4 5 4 6 7 Coffee Canister Assembly Freshbrew Machines Technical Manual 164...
Page 168: ...1 2 3 4 5 6 7 8 9 10 11 Dispense Head Assembly Technical Manual 166...
Page 170: ...1 2 3 4 5 6 7 8 9 10 Dispense Head Assembly Technical Manual 168...
Page 174: ...1 2 3 4 5 6 7 8 9 10 1 2 3 4 5 6 7 8 9 10 Mixing System Hygiene Kit Technical Manual 172...
Page 176: ...1 2 3 4 5 6 7 8 10 10 10 9 Power Supply Assembly Technical Manual 174...
Page 178: ...2 3 5 4 1 6 7 8 9 Brewer Motor Assembly Freshbrew Machines Technical Manual 176...
Page 186: ...8 7 11 1 2 9 10 12 18 17 5 4 6 3 CoEx Brewer Motor Assembly B2C Machines Technical Manual 184...
Page 190: ...3 2 1 4 Water Inlet Pressure Valve Assembly B2C Machines Technical Manual 188...
Page 192: ...3 2 1 4 5 6 7 Water Inlet Pressure Valve Assembly B2C Machines Technical Manual 190...
Page 196: ...1 2 4 3 Fresh Bean Container B2C Machines Technical Manual 194...
Page 198: ...3 2 1 Water Filter Assembly Brita Aquaquell Technical Manual 196...
Page 200: ...1 3 4 2 Water Filter Assembly Brita 06B Technical Manual 198...
Page 202: ...2 3 3 4 1 Water Filter Assembly Everpure Technical Manual 200...
Page 206: ...Technical Manual 204...
Page 208: ...Notes Technical Manual 206...
Page 209: ......


