Sample content installation
(continued)
7
• There is some optional sample content that can be installed for use with the
ClassComm system.
This step will add complete, mapped educational content for use with the
ClassComm system.
• From the ClassComm Installation Menu Screen, select the
Sample Content
button.
• Follow the on-screen wizard instructions to install the required sample con-
tent.
• When the main ClassComm software is launched, the sample content will be
installed into the Resources area.
Step 4
ClassComm software installation
(continued)
6
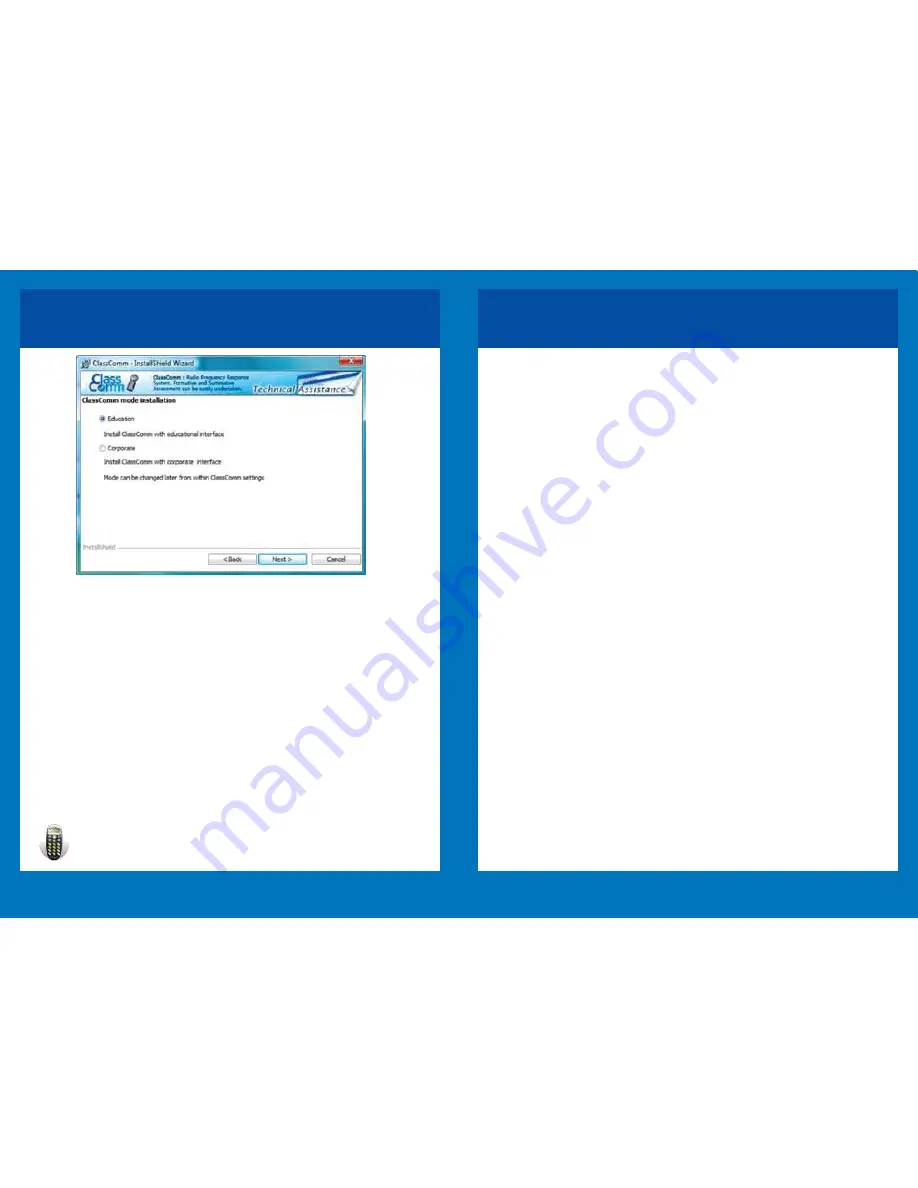
ClassComm can be installed in EDUCATIONAL mode or CORPORATE mode.
The core difference between the two modes of installation is the terminology
used throughout the application.
Educational mode uses STUDENT, TEACHER, CLASS and TEST. Corporate
mode uses PARTICIPANT, PRESENTER, GROUP and EVENT. The mode
selected from this screen can be changed later from within the ClassComm
software.
Also, ClassComm has an Interface Editor that can be used to further customise
the ClassComm software with your organisations preferred terminology – See
ClassComm
Help > Advanced Functionalities > Interface Editor
for details.
For the purpose of this Quick Setup Guide, educational mode terminology will
be used.
The main ClassComm software installation is now complete.
Note
– Do not launch the software at this stage. Follow through this
guide to completion.


