Cinterion
®
LGA DevKit User Guide
2 Quickstart
27
lga_devkit_ug_v02
2019-05-27
Preliminary
Page 6 of 28
2
Quickstart
Please complete the following steps to quickly get started with your LGA DevKit.
•
Mount the LGA DevKit Socket onto the LGA DevKit (for details see
).
•
Insert the fixing frame and then the module into the Socket and close the retention lid by
pressing it down and turning it clockwise.
•
Connect the provided antenna to the SMA connector named "MAIN".
•
Check that the jumpers are set to their default delivery positions.
•
Connect your host PC to either the USB or the USB VCP connector (depending on the mod-
ule). In case of USB VCP connections, install FT232R drivers.
•
Set the switches PWR & ASC0 at the DevKit's lower right corner to "USB". Now, the green
"PWR" LED lights up.
•
Shortly press the ON button to start the module. Now, the white "ON" LED lights up
The red "ERROR" LED may indicate issues that should be corrected. For de-
tails see
Note: By scanning the QR code at the back of the LGA DevKit you will also find
further information, videos and available drivers.
2.1
Mounting the LGA DevKit Socket
Before operating, the socket has to be mounted onto the LGA DevKit
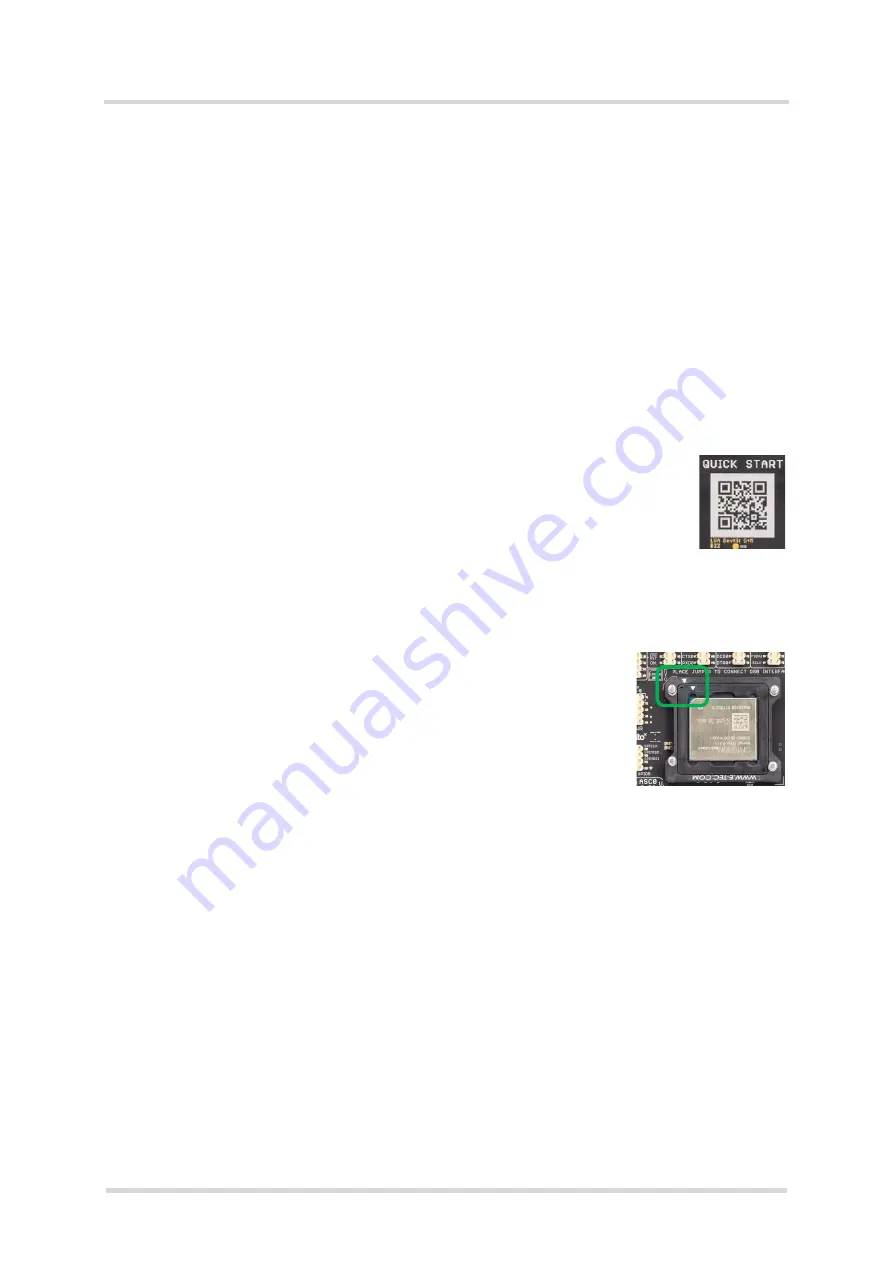
with 4 screws. Scanning the QR code on the DevKit's back and/or the
quick start guide will lead you to the DevKit's web home where you find
a short introduction and video on how to do this.
The white printing on the DevKit shows how the socket shall be orien-
tated and mounted. You can quickly adapt to different module foot-
prints by using dedicated fixing frames. All contacts have low-
resistivity needles that can withstand a permanent DC current up to
1.7A per needle.
Note:
The module's thermal encapsulation inside the Socket increases the thermal resistance
(Rth). Thus, you need to be aware that the board temperature may rise quite quickly until au-
tomatic thermal shutdown takes effect, especially at higher environmental temperatures or high
radio output power.


