For Windows
®
Vista
1. Turn on your computer.
2. Once your computer has loaded; insert the enclosed Driver CD into the CD-ROM drive of
your computer.
3. The “
AutoPlay
” dialog box will appear, select “
Run Install.exe
”. If the “
AutoPlay
” dialog
box does not appear, click “
Start
” then “
Computer
”. At the “
Computer
” screen, double-
click the icon of the CD-ROM drive that you are using.
4. If you have turned on the “
User Account Control
” function and the control dialog box
appears, please click “
Allow
” to proceed.
5. At the setup menu, click “
Install Camera Driver
” button.
6. At the
USB2.0 Motor Tracking Camera
welcome screen, click “
Next
”.
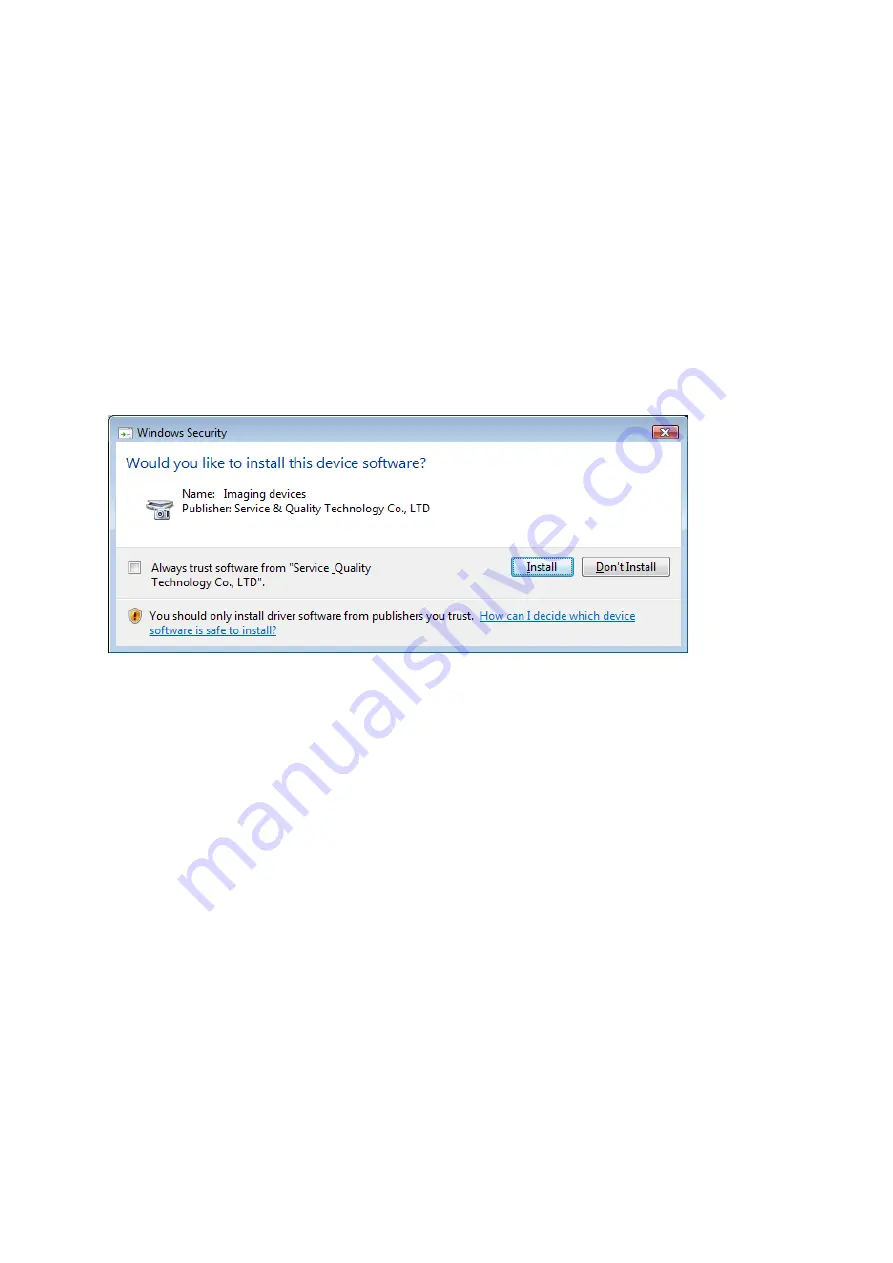
7. Follow the onscreen instructions to complete the driver installation and restart your
computer (
NOTE
: if the Windows
®
Security appears during the installation, please click
“
Install
” to proceed).
8. After your computer has loaded; plug the USB connector for your Webcam into an available
USB 2.0 port on your computer, and then plug the microphone jack into an available mic-in
port on your computer.
9. Windows
®
will install your Webcam automatically (
NOTE
: it may take a several minutes to
complete the installation, please be patient while you are waiting).
10. Once the installation is complete, your Webcam is ready to be used.
6


