11
Operating Instructions
Safety Instructions
Consumer Support
Tr
oubleshooting T
ips
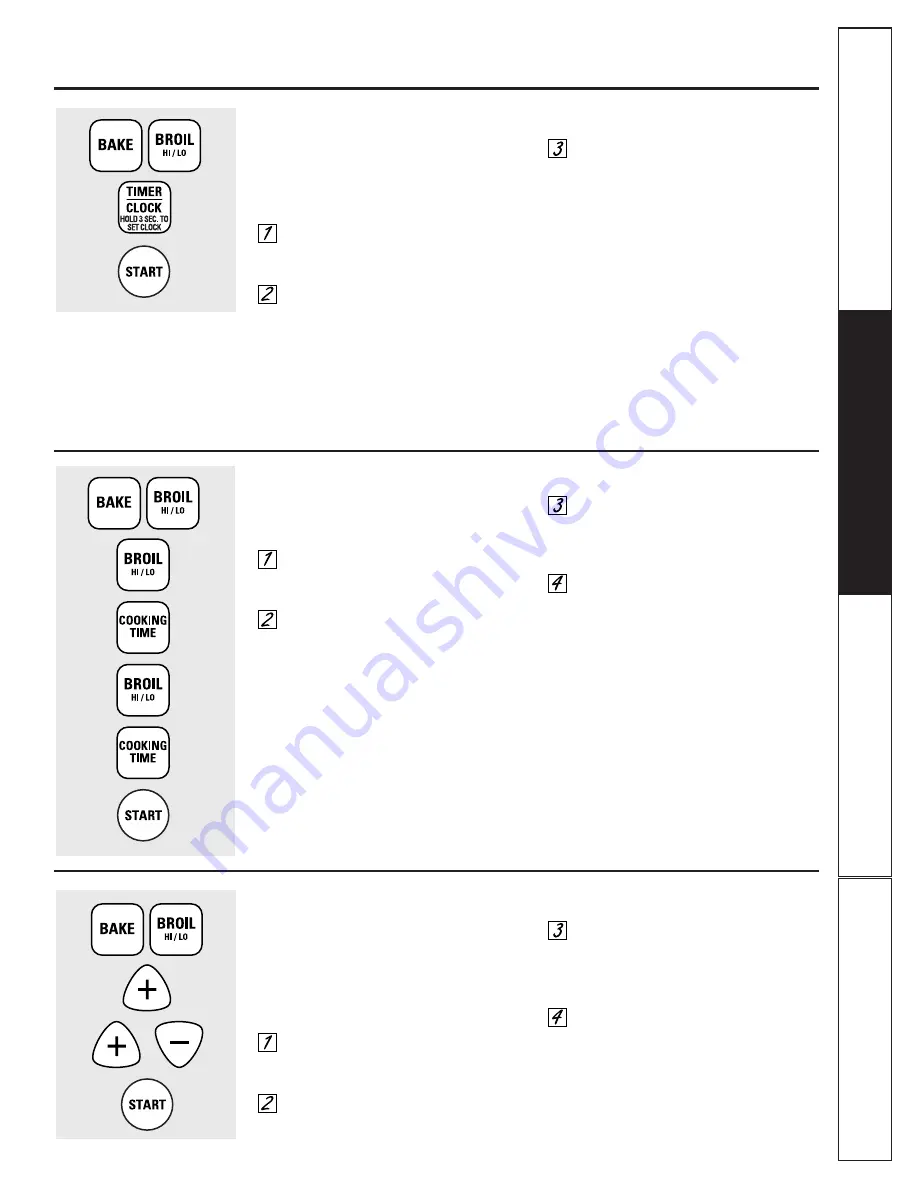
12-Hour, 24-Hour or Clock Black-Out
Your control is set to use a 12-hour clock.
If you would prefer to have a 24-hour
military time clock or black-out the clock
display, follow the steps below:
Touch the
BAKE
and
BROIL HI/LO
pads at the same time for 2 seconds
until the display shows
SF.
Touch the
TIMER/CLOCK
pad once.
The display will show
12 hr
.
Touch the
TIMER/CLOCK
pad again to
change to the 24-hour military time
clock. The display will show
24 hr
.
Touch the
TIMER/CLOCK
pad again to
black-out the clock display. The display
will show
OFF
.
Touch the
START
pad to activate your
choice and leave the control set in this
special features mode.
NOTE:
If the clock is in the black-out mode you will
not be able to use the Delay Start function.
ge.com
Fahrenheit or Centigrade Temperature Selection
Your oven control is set to use the Fahrenheit
temperature selections but you may change this
to use the Centigrade selections.
Touch the
BAKE
and
BROIL HI/LO
pads
at the same time for 2 seconds until
the display shows
SF.
Touch the
BROIL HI/LO
and
COOKING
TIME
pads at the same time for 2
seconds. The display will show
F
(Fahrenheit).
Touch the
BROIL HI/LO
and
COOKING
TIME
pads again at the same time for
2 seconds. The display will show
C
(Centigrade).
Touch the
START
pad.
Changing the Speed of the +/– Pads
As you use the +/– pads when setting a time or
temperature, you may notice the display changes
slowly. This special feature allows you to change
the speed.
To set the speed you prefer, follow the
steps below:
Touch the
BAKE
and
BROIL HI/LO
pads
at the same time for 2 seconds until
the display shows
SF.
Touch the
+
pad. The display will
show you a set speed between 1 and 5.
Touch the
+
pad to increase the speed
up to the number 5.
Touch the
–
pad to decrease the
speed down to the number 1.
Touch the
START
pad to activate the
setting and leave the control set in this
special features mode.
Summary of Contents for JGRS06BEJ
Page 30: ...30 Operating Instructions Safety Instructions Consumer Support Troubleshooting Tips Notes...
Page 31: ...31 Notes Operating Instructions Safety Instructions Consumer Support Troubleshooting Tips...
Page 32: ...32 Operating Instructions Safety Instructions Consumer Support Troubleshooting Tips Notes...


