GE M
EDICAL
S
YSTEMS
D
IRECTION
5184024-100, R
EVISION
5
LOGIQ
WORKS
B
ASIC
S
ERVICE
M
ANUAL
Chapter 4 Functional Checks
4-17
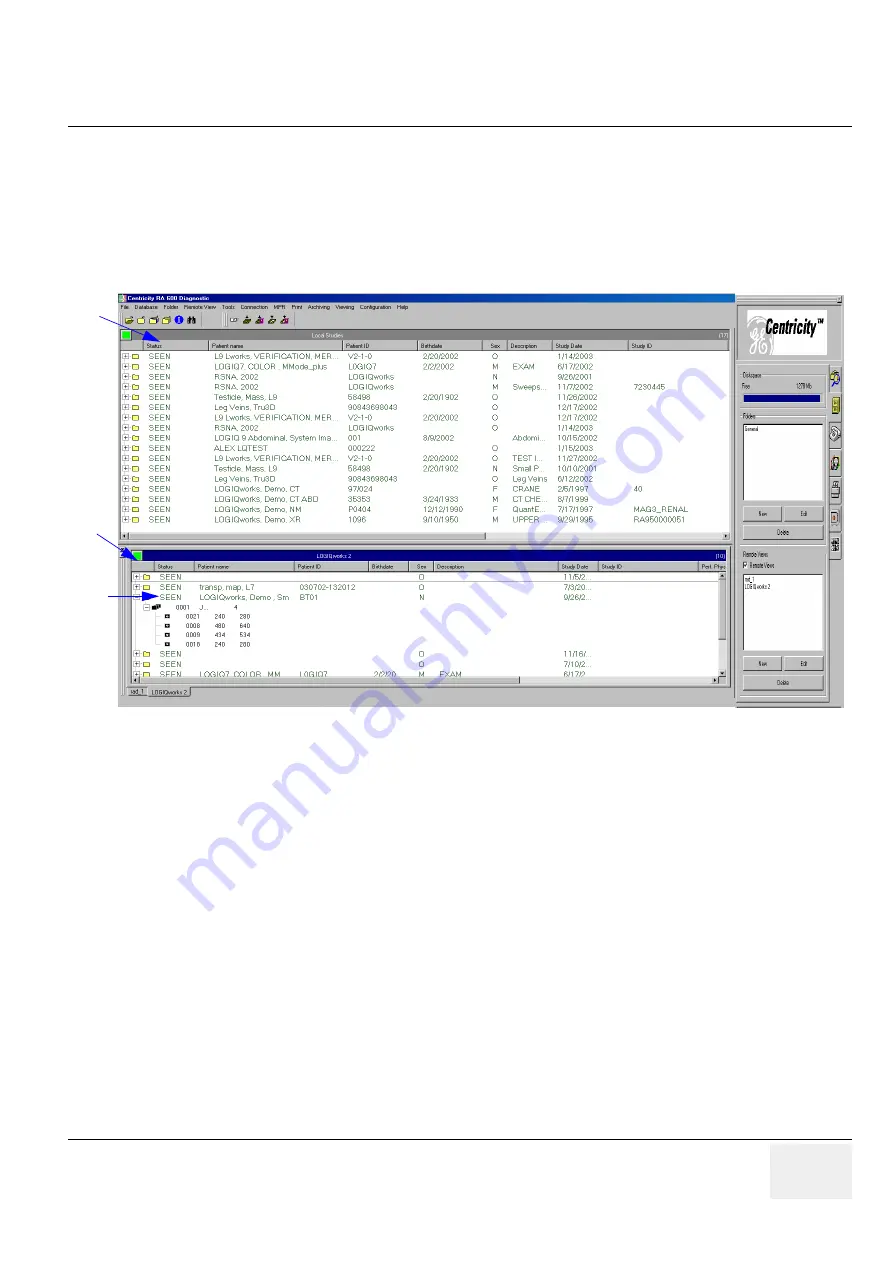
4.) In the center of your screen you have your local view at the top [4a] and beneath is a second window
showing one of your remote views [4b]. If you have multiple remote views, you see tabs at the
bottom of this window.
5.) A green indicator light at the left upper edge shows that the connection has been properly
established.
4-3-3-11
Configuring the scanner
1.) On the scanner choose "Utility" > "Connectivity"
2.) Choose the "TCP/IP" tab. Do not change the Computer Name.
1.) Enter the "IP-Address" and the "Subnet Mask" values.
3.) Choose the "Device" tab.
1.) Enter the "Name" and the "IP Address".
4.) Choose the "Service" tab.
1.) Choose in the "Destination Device" field the "LOGIQworks" entry from the pull-down
menu.
2.) Choose the "Dicom Image Storage" from the text field below.
Figure 4-17 Remote View
5
4b
4a


