


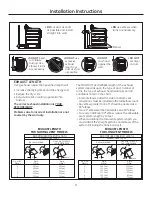


3 1/2”
(8.9 cm)
Installation Instructions
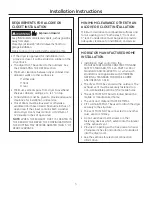
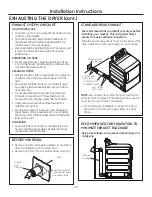
Tilt the dryer sideways and remove the foam
shipping pads by pulling at the sides and breaking
them away from the dryer legs. Be sure to remove all
of the foam pieces around the legs.
Remove the bag containing the literature.
UNPACKING YOUR DRYER
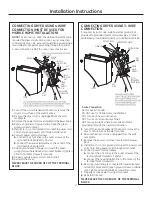
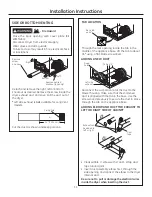
STEAM WATER HOSES:
GE strongly recommends the use of factory specified parts.
These hoses are manufactured and tested to meet GE
specifications.
GE strongly recommends the use of new water supply hoses.
Hoses degrade over time and need to be replaced every 5
years to reduce the risk of hose failures and water damage.
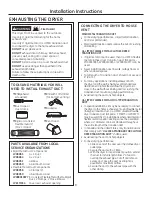
Parts and Accessories
Order on-line at
GEApplianceParts.com
, 24 hours a day or
by phone at
800.626.2002
during normal business hours.
Part Number
Accessory
WE25X20060
Complete kit (hoses, Y-adapter
washers)
(included)
OR
WE1M847
Long hose and
WE01X22395 Short
hose
PM14X10056
Dryer door opening vent brush
(not
included)
WX14X10007
LintEater™ dryer rotary tube brush
(not
included)
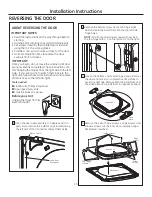
POWER CORDS:
GE strongly recommends the use of factory specified parts.
Select the power cord to fit your installation requirements.
Order on-line at
GEApplianceParts.com
, 24 hours a day or
by phone at
800.626.2002
during normal business hours.
Part Number
Type
Length
Amperage
WX9X2
3-Prong
4 Feet
30
WX9X3
3-Prong
5 Feet
30
WX9X4
3-Prong
6 Feet
30
WX9X18
4-Prong
4 Feet
30
WX9X19
4-Prong
5 Feet
30
WX9X20
4-Prong
6 Feet
30
2
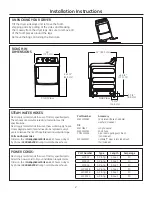
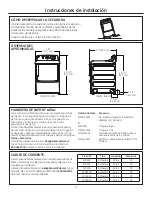
ROUGH-IN
DIMENSIONS
Side View
Front View
32” (81.3 cm)
44 1/2”
(113 cm)
28”
(71.1 cm)
44 1/2”
(113 cm)
5 3/4”
(14.6 cm)


