35
Replacing the keyboard
www.gateway.com
6
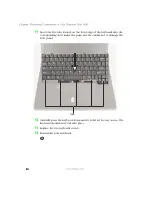
Pull up on the plastic keyboard connector tabs using two fingers. After
the connector is in the raised position, carefully pull the cable out of the
connector. Be careful not to touch or damage any other components.
7
Place the new keyboard
keys-down
on your notebook with the space bar
away from you.
8
Pull up on the keyboard connector tabs to verify the connector is in the
raised position.
9
Slide the end of the keyboard cable into the keyboard connector.
10
Use two fingers to press down on the keyboard connector tabs. This locks
the keyboard cable into the keyboard connector.
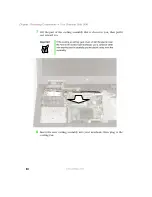
Important
The keyboard cable should slide easily into the keyboard
connector. The cable is correctly oriented if it is not twisted.
Tabs
Summary of Contents for Solo1450
Page 1: ...Gateway Solo 1450 Service Guide...
Page 2: ......
Page 4: ...ii...
Page 44: ...39 Replacing the cooling assembly www gateway com 6 Unplug the cooling fan...
Page 71: ...66 Chapter Replacing Components in Your Gateway Solo 1450 www gateway com...
Page 72: ......


