


31
www.gateway.com
Using the keyboard
System key combinations
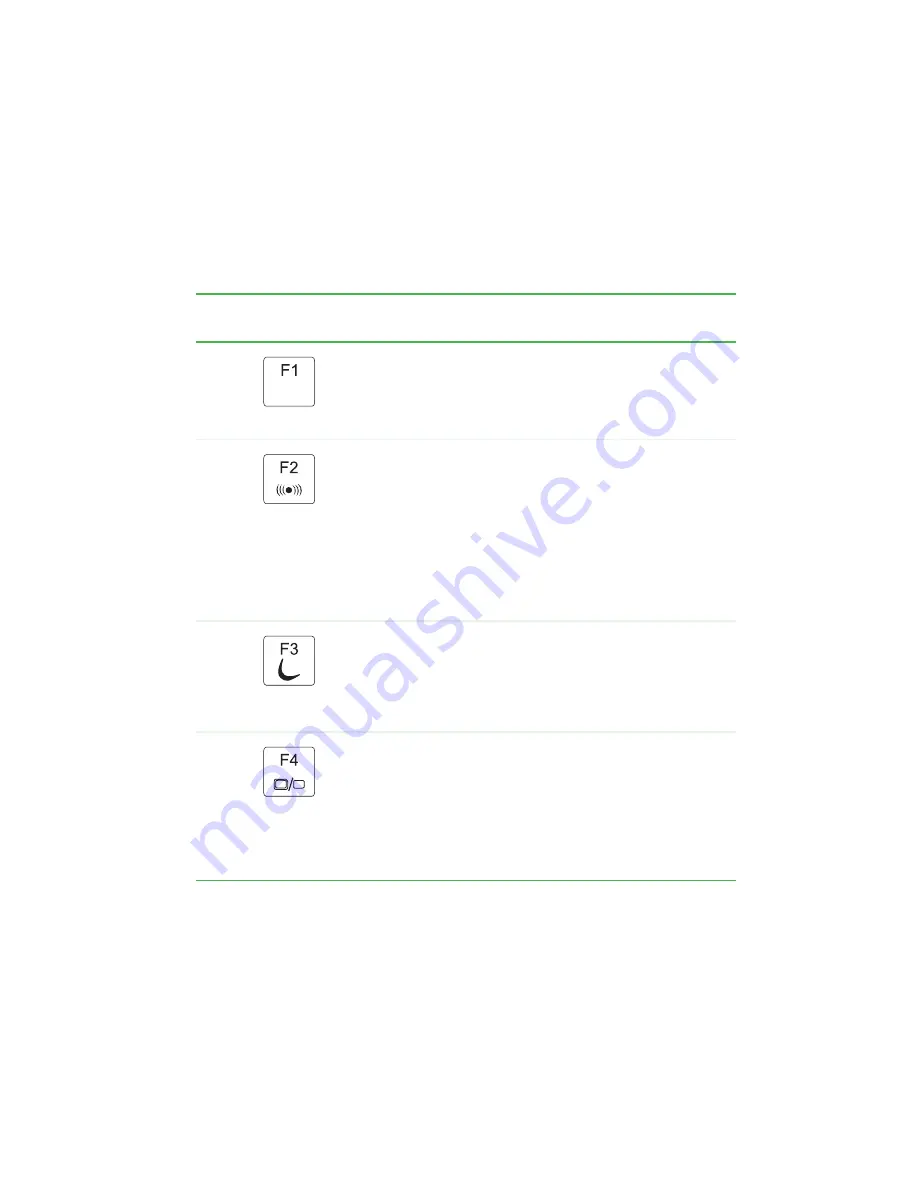
When you press the
F
N
key and a system key at the same time, your
notebook performs the action identified by the text or icon on the key.
Press and hold
F
N
, then
press this system key...
To...
Toggle the status indicators on or off. For more
information, see
“Status indicators” on page 28
.
Turn the optional wireless network on or off. For more
information, see the printed network guide that came
with your notebook.
Warning: Radio frequency wireless communication can
interfere with equipment on commercial aircraft. Current
aviation regulations require wireless devices to be turned
off while traveling in an airplane. 802.11g (also known
as wireless Ethernet or Wifi) communication devices are
examples of devices that provide wireless
communication.
Enter Standby mode. Press the power button to leave
Standby mode. For more information, see “Changing
Power-Saving Settings” in
Using Your Computer which
has been included on your hard drive. To access this
guide, click Start, All Programs, then click Gateway
Documentation.
Toggle the notebook display in the following order:
■
The LCD
■
An external monitor or projector (a monitor or projector
must be plugged into the monitor port on your
notebook)
■
Both displays at the same time
For more information, see
Summary of Contents for MX6650 - Pentium M 1.86 GHz
Page 1: ...U S E R G U I D E P L A T I N U M E D I T I O N...
Page 2: ......
Page 67: ...Chapter 6 61 Upgrading Your Notebook Adding and replacing memory Replacing the hard drive...
Page 78: ...72 www gateway com Chapter 6 Upgrading Your Notebook...
Page 94: ...88 www gateway com Chapter 7 Maintaining Your Notebook...
Page 122: ...116 www gateway com Chapter 8 Troubleshooting...
Page 143: ......
Page 144: ...MAN BLADE PLATINUM USR GDE R111 05...


