


: Upgrading Your Notebook
100
12
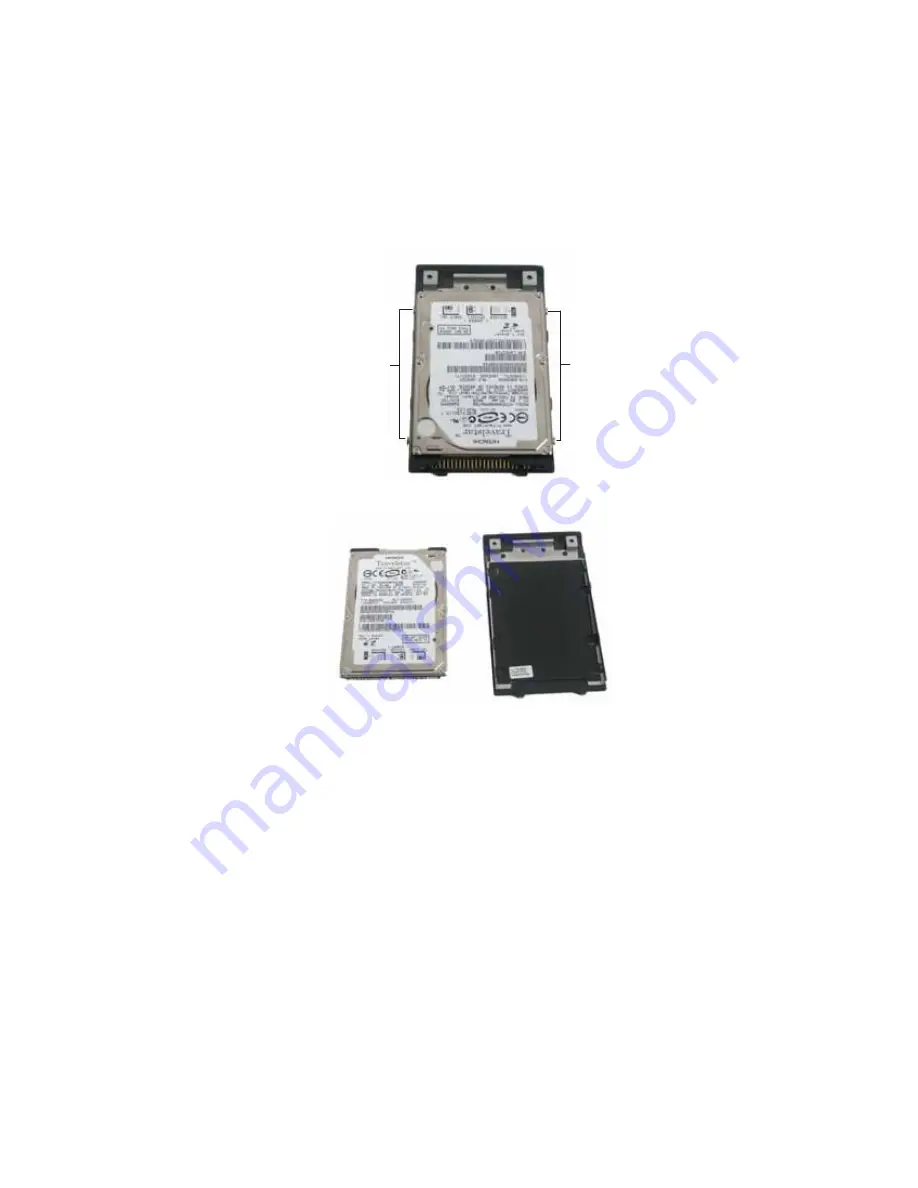
Remove the four screws that secure the hard drive to
the hard drive bay cover.
13
Remove the cover from the old drive.
14
Place the new drive, label side up, onto the cover so the
screw holes line up.
15
Replace the screws that secure the cover to the drive.
16
Slide the new hard drive kit into your notebook, then
replace the screws that secure the hard drive kit to the
notebook.
17
Insert the main and optional secondary batteries, then
turn your notebook over.
18
Connect to the optional port replicator.
-OR-
Connect the power adapter, modem cable, and network
cable
Screws
Screws
Summary of Contents for 200E
Page 1: ...NOTEBOOK REFERENCEGUIDE...
Page 2: ......
Page 7: ...www gateway com v Appendix A Legal Information 133 Index 143...
Page 8: ...Contents vi...
Page 13: ...CHAPTER2 5 Checking Out Your Notebook Front Left Right Back Bottom Keyboard area...
Page 64: ...CHAPTER 4 Using Drives and Accessories 56...
Page 110: ...CHAPTER 8 Upgrading Your Notebook 102...
Page 111: ...CHAPTER9 103 Troubleshooting Safety guidelines First steps Troubleshooting Telephone support...
Page 140: ...CHAPTER 9 Troubleshooting 132...
Page 161: ...153 www gateway com troubleshooting 123 working safely 14...
Page 162: ...154 Index...
Page 163: ......
Page 164: ...MAN MYSTIQUE REF GDE V R1 4 07...


