IRONCLAD TS-1 Operator Manual
9 of 12
Operator Manual
IRONCLAD
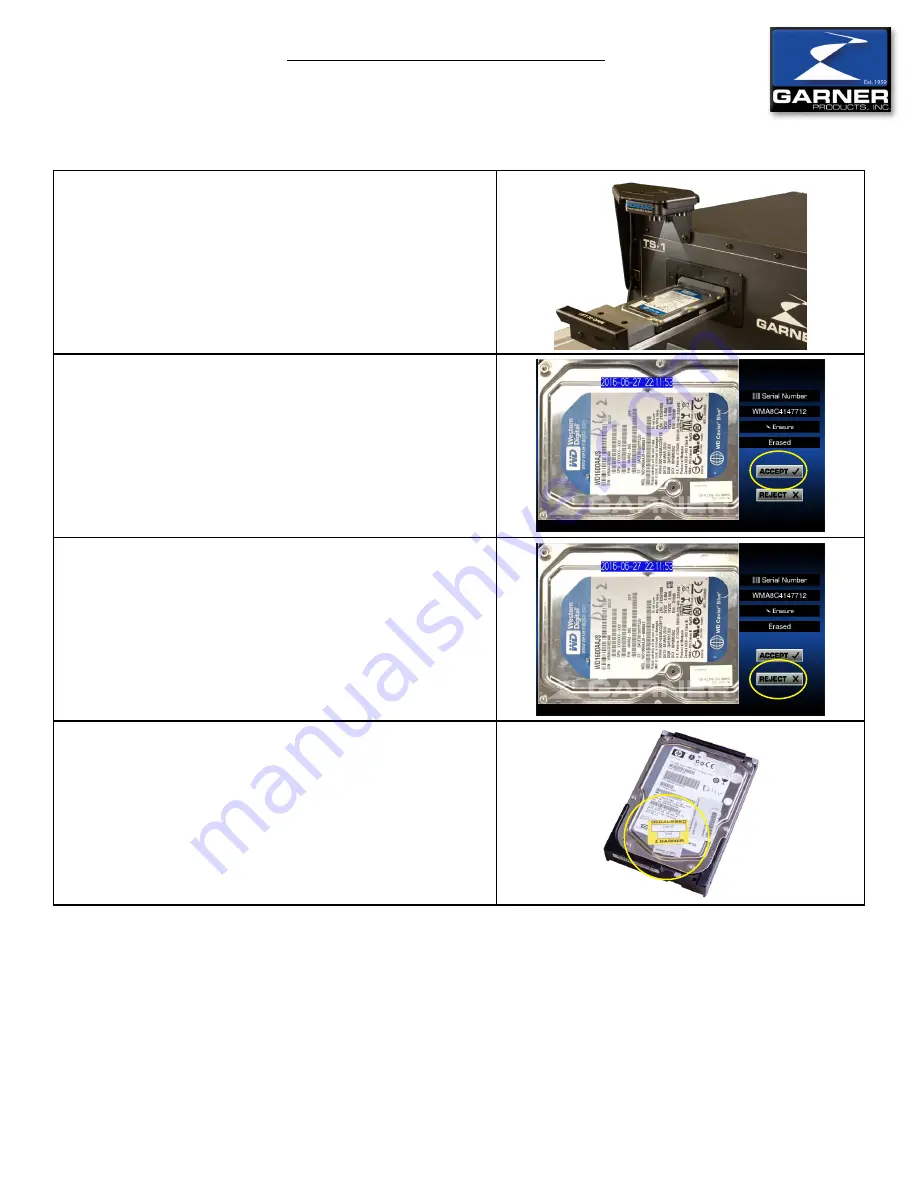
Step 12: TS-1
• Once degaussing is complete, open the
TS-1
drawer
and wait to remove hard drive.
• The
IRONCLAD
camera will automatically capture an
image of the degaussed hard drive.
Step 13: Accept/Reject Image Screen
• Examine the image to verify the clarity of the image.
• If acceptable, press the
ACCEPT
button.
Step 14: Accept/Reject Image Screen
• If the image is blurry, press the
REJECT
button.
• Pressing the
REJECT
button will return you to the Data
Entry Screen to begin the degauss process again.
• Repeat Steps 7-14.
Step 15: “Degaussed” Labels
• Remove the degaussed hard drive from the media
drawer.
• Place a “degassed” label on the hard drive.
• The
IRONCLAD
advances to the Data Entry Screen to
begin processing the next hard drive.
Degaussing with the IRONCLAD Erasure Verification
System and TS-1 Degausser Continued...


