User’s manual maps + more
Navigation
- 51 -
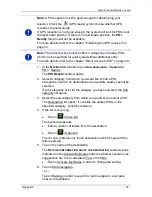
1. Tap on Options > Save route.
2. Enter a name for the route.
3. Tap on
(Save).
The destination is now saved to the
S
AVED ROUTES AND TRACKS
list.
The dialog window closes.
7.4.5
Loading routes or tracks
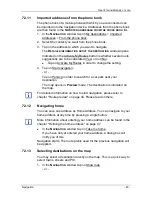
1. Tap on Options > Saved routes and tracks.
The
S
AVED ROUTES AND TRACKS
list opens. It shows all the saved
routes and tracks in alphabetical order.
A symbol in front of the name indicates whether it is a route (
)
or a track (
).
If you want to load a route:
2. Tap on the route that you want to load.
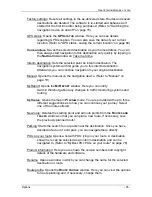
3. Tap on
(Load route).
The
R
OUTES AND TRACKS
window opens. The starting point and the
route points of the loaded route have been entered. When
navigation starts, the starting point is replaced by the current
position. You will now be guided to the first route point.
If you want to load a track:
2. Tap on the track that you want to load.
3. Tap on Load track.
The
R
OUTES AND TRACKS
window opens. The current location is
entered as the starting point. The loaded track is entered as route
point 1. Navigation then leads first to the starting point of the track.
For details about navigating along recorded tracks refer to chapter
"Navigation in Track mode" on page 66.
7.4.6
Calculating and displaying routes
It is possible to calculate and display a planned route on the map even
without GPS reception in order to get an impression of the journey.
The
R
OUTES AND TRACKS
window is open. The starting point and at
least one route point have been entered.
►
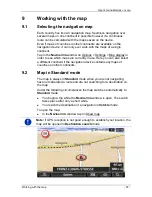
Tap on Show route.
The map opens in
Preview
mode.

