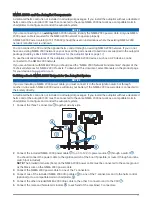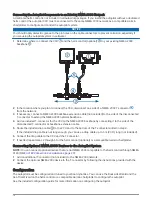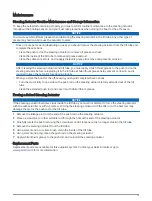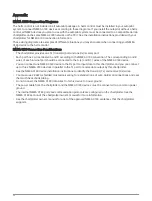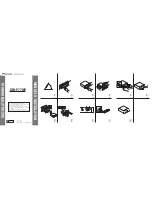
Installing the Right-Angle Bracket and Linkage Arm
Because Kicker motors create excessive vibration under use, you must apply a humidity-cured ethyl-based
thread-locking compound, such as LOCTITE
®
435 to the threads on the motor bracket, the bushing, and the nut
in this assembly. You must follow the directions on the product and allow for proper curing time before
assembling and installing the bracket.
You should use the right-angle bracket when installing the steering actuator on motors with bolts on the tiller
arm of the kicker motor, such as Honda or Mercury motors.
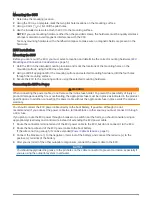
1 Locate the bolts on the tiller arm of the kicker motor that align with the holes on the bracket.
2 Remove and retain the bolts.
3 Using the existing bolts , secure the bracket to the tiller arm.
NOTE: If there is adequate clearance for you to tighten the bolts after the linkage is assembled, you may find
it easier to secure the bracket to the kicker motor tiller arm after you have assembled the linkage on the
bracket.
On some Mercury motors, removing the bolts allows the tiller arm to separate from the motor. You should
place the bracket between the tiller arm and the motor when securing it with the bolts.
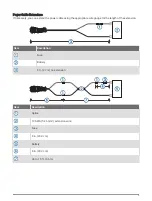
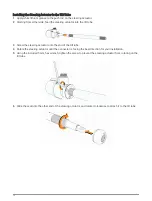
4 With the wrench flats on the bushing pointing away from the bracket, screw the bushing onto the
threaded rod on the bracket.
5 Using an 11 mm (
7
/
16
in.) wrench, tighten the bushing onto the bracket.
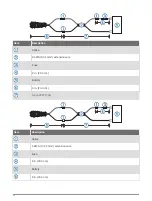
6 Place a nylon washer over the bushing on the bracket.
7 With the notched end of the linkage arm facing away from the bracket, place the linkage arm over the
bushing on the bracket.
8 Place the other nylon washer over the bushing on the bracket.
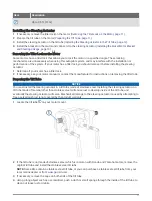
9 With the narrow end of the nut facing towards the bracket, screw the nut onto the end of the threaded
rod.
10 Using a 15 mm (
19
/
32
in.) wrench, tighten the nut to secure the linkage arm to the bracket.
14


