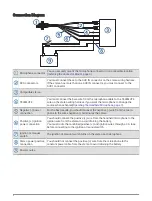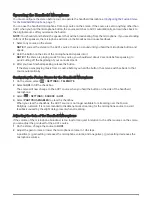
Installing the Connector Mount
Before drilling a hole to mount the connector, you should verify that the microphone cable is long enough to
reach the back of the stereo and the connector mounting location.
You can use the included hardware to mount the connector on the end of the microphone cable onto the
dashboard or other mounting surface.
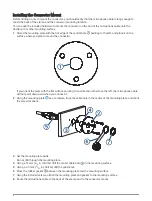
1 Orient the mounting plate with the flat edge of the central hole pointing to the left, and place it on the
surface where you plan to mount the connector.
If you orient the plate with the flat surface pointing to any direction other than the left, the microphone cable
will not point downward when you connect it.
2 Using the mounting plate as a template, trace the cable hole in the center of the mounting plate, and mark
the screw locations.
3 Set the mounting plate aside.
Do not drill through the mounting plate.
4 Using a 16 mm (
5
/
8
in.) drill bit, drill the center cable hole in the mounting surface.
5 Using a 2.5 mm (
3
/
32
in.) drill bit, drill the pilot holes.
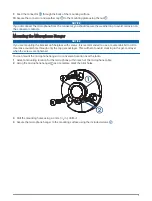
6 Place the rubber gasket between the mounting plate and the mounting surface.
7 Using the included screws, attach the mounting plate and gasket to the mounting surface.
8 Route the microphone cable to the back of the stereo and to the connector mount.
4

