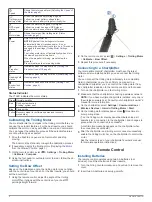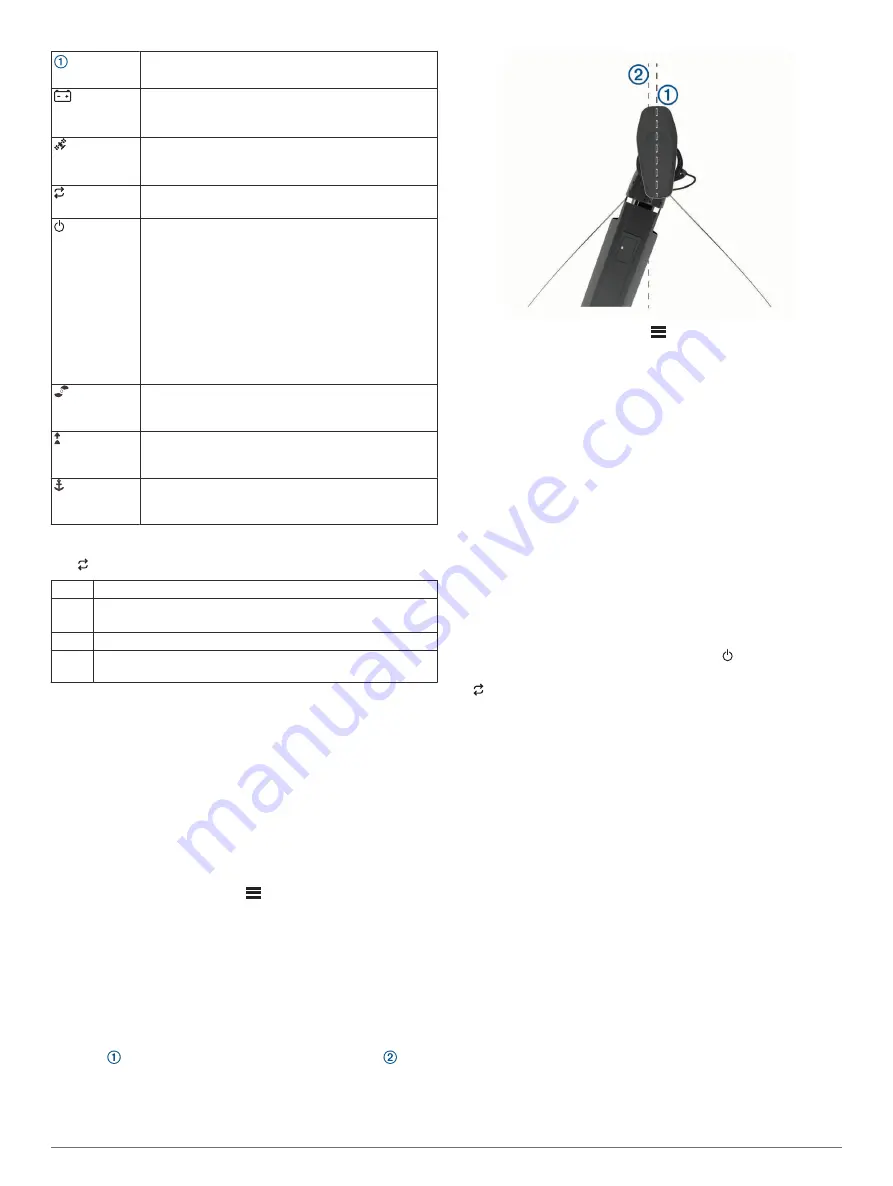
Speed
Shows the motor speed level (
).
Trolling motor
battery status
Green: the motor battery voltage is good.
Yellow: the motor battery voltage is low.
Red: the motor battery voltage is critically low.
GPS signal
status
Green: the motor has a good GPS signal.
Yellow: the motor has a poor GPS signal.
Red: the motor does not have a GPS signal.
Motor status
Shows the status of the trolling motor (
).
Power
Hold to turn the motor off.
NOTE:
By default, the trolling motor turns on
automatically when it receives power. It is not
necessary to push this button to turn it on. This can be
changed in the settings (
).
The trolling motor turns off automatically when it is in
the stowed position for two hours.
When the propeller is turning, press to stop the
propeller.
Press three times to enter pairing mode.
Propeller
status
Illuminates when the propeller is on (
).
Heading hold
status
Illuminates when heading hold is on (
).
Anchor lock
status
Illuminates when anchor lock is on (
).
Status Indicator
The LED indicates the motor status.
Green Normal operation
Red
Solid: system booting
Blinking: system error
Blue
Pairing mode
Yellow Recovery mode (for software updates and recovery
procedures)
Calibrating the Trolling Motor
You must calibrate the compass in the trolling motor before you
can use the autopilot features. For the best results, you should
calibrate the motor on a day with little or no wind on calm water.
You can repeat the calibration process if the autopilot features
are not performing as expected.
1
Drive the boat to an open area of calm water and stop
moving.
The boat must be stationary to begin the calibration process.
2
If necessary, deploy the trolling motor (
).
3
On the remote control, select
>
Settings
>
Trolling Motor
>
Calibrate
>
Compass
.
4
Using the foot pedal or outboard motor to steer, follow the on-
screen instructions.
Setting the Bow Offset
Based on the installation angle, the trolling motor may not align
with the center line of your boat. For the best results, you should
set the bow offset.
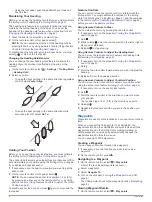
1
Using the remote control, adjust the angle of the trolling
motor so it aligns with the center line of your boat ,
pointing straight forward.
2
On the remote control, select
>
Settings
>
Trolling Motor
>
Calibrate
>
Bow Offset
.
3
Repeat this procedure if necessary.
Connecting to a Chartplotter
Your compatible Garmin
®
chartplotter must have the latest
software version installed before you can connect the trolling
motor.
You can connect the trolling motor wirelessly to a compatible
Garmin chartplotter on your boat. After you connect to a
compatible chartplotter, you can control the trolling motor from
the chartplotter in addition to the remote control and foot pedal.
1
Turn on the chartplotter and the trolling motor.
2
Make sure that the chartplotter is hosting a wireless network.
NOTE:
If you have multiple chartplotters installed, only one is
the wireless network host. Consult your chartplotter's owner's
manual for more information.
3
On the chartplotter, select
Settings
>
Communications
>
Wireless Devices
>
Garmin Trolling Motor
>
Start
.
4
On the trolling motor display panel, press three times to
enter pairing mode.
on the trolling motor display panel illuminates blue as it
searches for a connection to the chartplotter, and changes to
green when the connection is successful.
A confirmation message appears on the chartplotter when
the connection is successful.
5
After the chartplotter and trolling motor connect successfully,
enable the trolling motor bar on the chartplotter to control the
motor.
See the latest version of your chartplotter's owner's manual
for complete operation instructions.
Remote Control
Installing Batteries
The remote control operates using two AA batteries (not
included). Use lithium batteries for best results.
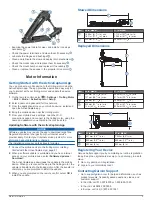
1
Turn the D-ring counter-clockwise, and pull up to remove the
cover.
2
Insert two AA batteries, observing polarity.
2
Remote Control
Summary of Contents for Force
Page 1: ...FORCE TROLLINGMOTOR Owner sManual...
Page 4: ......
Page 16: ...support garmin com August 2019 190 02521 00_0A...


