on the trolling motor display panel changes to green when
the connection is successful.
Status Indicator
The LED on the foot pedal indicates the foot pedal status.
Illuminates green
The foot pedal is powering on.
Illuminates blue
The foot pedal is pairing. The LED turns off when
it connects to the trolling motor or the pairing
process times out without connecting.
Flashes green
when pushing a
button
The foot pedal is connected to the trolling motor
and sending a command for the button being
pushed.
Flashes red when
pushing a button
The foot pedal is not connected to the trolling
motor.
Off
The LED turns off when the pedal is connected to
the trolling motor and not sending commands.
This prolongs battery life.
Operation
You can use the remote control, the foot pedal, a compatible
Garmin chartplotter, or a combination of these devices to
operate the trolling motor.
In general, most of the instructions provided for the remote
control also apply to a connected chartplotter. For specific
chartplotter instructions, see the latest owner's manual for your
chartplotter.
NOTE:
Some features available when using the remote control
and chartplotter are not available when using the foot pedal
only.
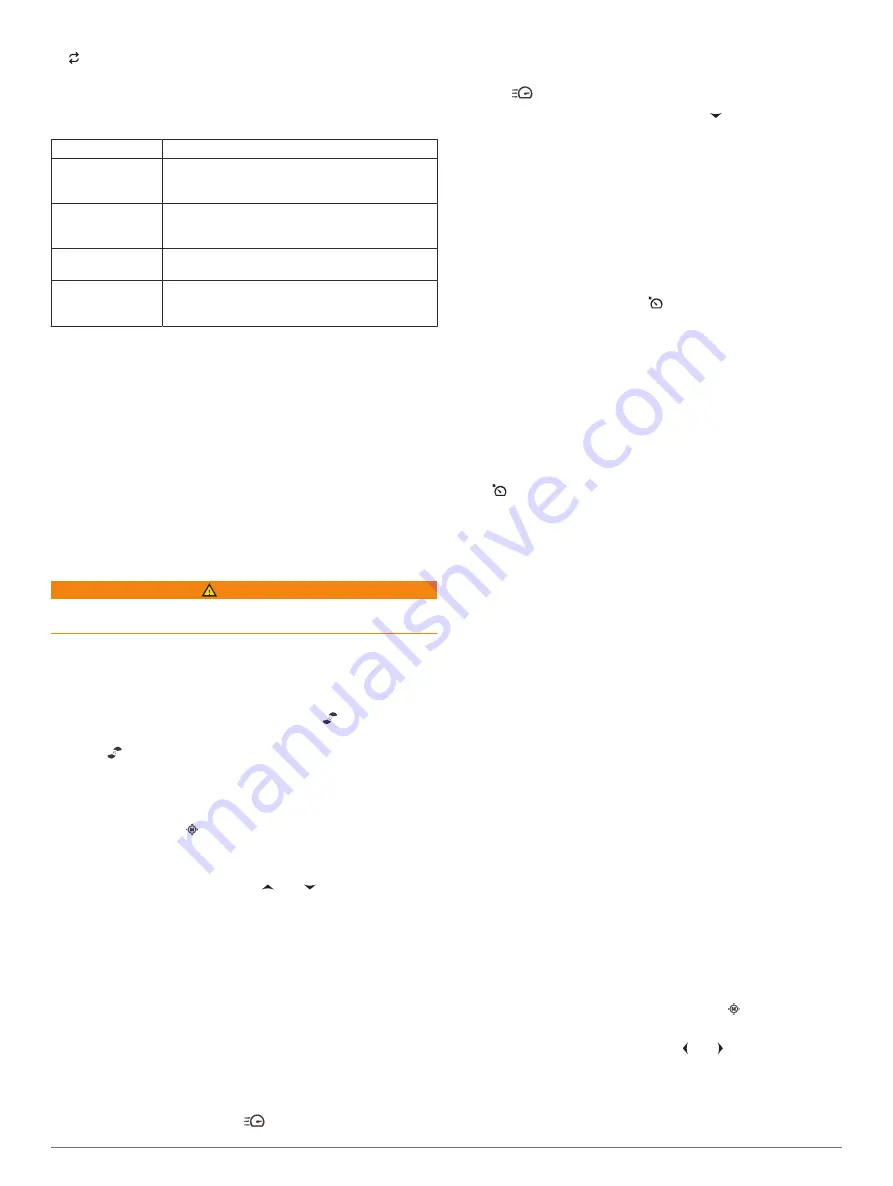
Turning the Propeller On and Off
WARNING
Do not use the motor in areas where you or other people in the
water may come into contact with the rotating propeller.
1
If necessary, deploy the trolling motor (
).
NOTE:
The propeller cannot turn on when the trolling motor
is in the stowed position.
2
On the remote control or foot pedal, press to turn on the
propeller.
3
Press to turn off the propeller.
Adjusting the Speed of the Motor
You can adjust the speed of the trolling motor using the remote
control or the foot pedal.
1
If necessary, press on the remote control, or steer with the
foot pedal, to enter manual mode.
2
Select an option:
• On the remote control, press and to increase and
decrease the speed of the motor.
• On the foot pedal, rotate the speed wheel away from you
and toward you to increase and decrease the speed of the
motor.
The PROP field on the remote control and the bars on the
display panel indicate the propeller speed (
).
3
If necessary, turn on the propeller (
).
The propeller speed you selected is retained if the propeller is
turned off or if you start another function of the motor such as
cruise control or anchor lock.
Toggling Full Speed
1
On the remote control, press
.
The trolling motor propeller speed quickly increases to full
speed.
2
Press
to return to the previous propeller speed.
TIP:
When at full speed, you can press on the remote
control to slowly decrease the propeller speed.
Maintaining Your Speed
Before you can use the cruise control feature, you must calibrate
the trolling motor (
Calibrating the Trolling Motor
).
The cruise control feature is an autopilot function that sets and
maintains a specific speed over ground, adjusting for changes in
current and wind automatically.
NOTE:
You can enable the cruise control feature from the
remote control only, but can control the speed and direction from
both the remote control and foot pedal.
1
On the remote control, press .
Cruise control is enabled at the present speed.
2
Using the remote control or foot pedal, adjust the speed as
needed.
3
Using the remote control or foot pedal, adjust the heading as
needed.
TIP:
You can use cruise control to set the speed while using
the heading hold feature (
).
To disable cruise control and turn off the propeller, you must
press .
Operating the Propeller When Partially Deployed
You can operate the trolling motor propeller with the motor only
partially deployed for specific situations, such as when you pass
over weeds or submerged obstacles.
1
With the trolling motor in the deployed position, pull the pull-
cable up until it stops to release the latch, and continue to
hold it tight.
2
Lift the pull-cable up and backward to lift the motor slowly
until it is in position to pass over the weeds or obstacle.
The propeller stops rotating, and the motor turns to the side.
3
Use the remote control or foot pedal to turn on the propeller,
and steer the motor as needed.
NOTE:
If you raise the motor beyond the halfway point, the
propeller automatically stops as a safety measure, but the
motor does not turn to the side.
4
When you are past the obstacle, slowly lower the motor to
the deployed position, or raise the motor to the stowed
position.
After operating the motor when partially deployed, you may
need to turn the motor to one side manually before raising it to
the stowed position so it rests properly on the mount rails.
Steering
Steering the Trolling Motor Manually
Manual mode is the default operational mode of the trolling
motor. In manual mode, you can adjust the direction and speed
of the trolling motor as needed.
NOTE:
The trolling motor is in manual mode by default when
you turn it on.
1
If necessary, on the remote control, select .
2
Select an action:
• Using the remote control, press and to steer.
NOTE:
You can also use gesture controls to steer the
boat manually using the remote control (
).
Operation
5
Summary of Contents for Force
Page 1: ...FORCE TROLLINGMOTOR Owner sManual...
Page 4: ......
Page 16: ...support garmin com August 2019 190 02521 00_0A...


