background image

Using Suggested Routes

Before you can use this feature, you must save at least one 

location and enable the travel history feature.
Using the myTrends

 feature, your device predicts your 

destination based on your travel history, the day of the week, 

and the time of day. After you have driven to a saved location 

several times, the location may appear in the navigation bar on 

the map, along with the estimated time of travel, and traffic 

information.

Select the navigation bar to view a suggested route to the 

location.

About Exit Services

NOTE: 

You must be on a major highway or road to view exit 

services.
While navigating a route, you can find businesses and services 

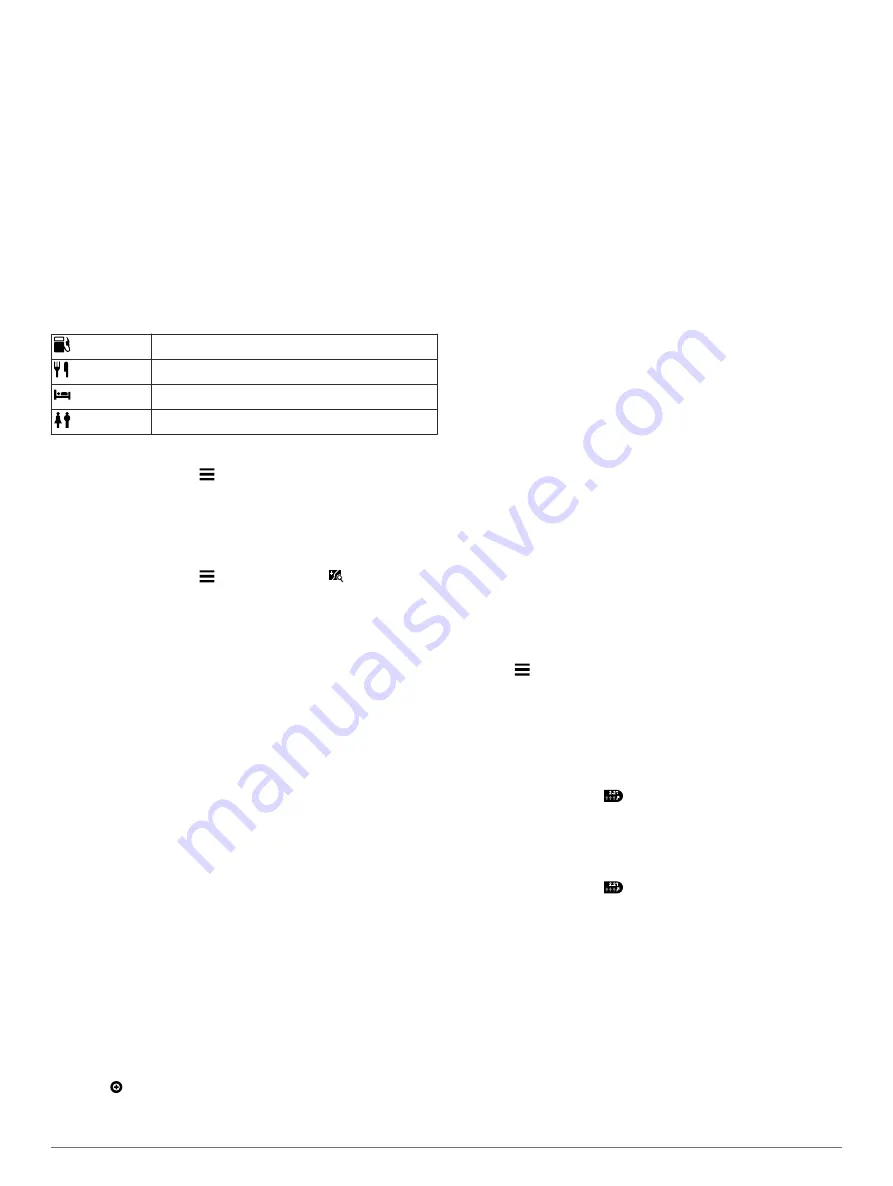
near upcoming exits. Services are listed by category.

Gas

Food

Lodging

Restrooms

Finding Exit Services

1

From the map, select   > 

Exit Services

.

2

Use the arrows to select an upcoming exit.

3

Select an exit service tab.

4

Select a point of interest.

Navigating to an Exit

1

From the map, select   > 

Exit Services

 >  .

2

Select 

Go!

.

Map Pages

Customizing the Map

Customizing the Map Layers

You can customize which data appear on the map, such as 

icons for points of interest and road conditions.

1

Select 

Settings

 > 

Map & Vehicle

 > 

Map Layers

.

2

Select the layers to include on the map, and select 

Save

.

Viewing the Trip Log

Your device keeps a trip log, which is a record of the path you 

have traveled.

1

Select 

Settings

 > 

Map & Vehicle

 > 

Map Layers

.

2

Select the 

Trip Log

 check box.

Changing the Map Data Field

1

From the map, select a data field.

NOTE: 

You cannot customize Speed.

2

Select a type of data to display.

3

Select 

Save

.

Customizing Map Buttons

You can include up to three icons on the right side of the main 

map.

1

Select 

Settings

 > 

Map & Vehicle

 > 

Map Buttons

.

2

Select an icon, and select 

OK

.

3

Select  .

4

Select a different icon.

5

Select 

Save

.

Removing Buttons from the Map

You can remove all buttons from the right side of the map.

1

Select 

Settings

 > 

Map & Vehicle

 > 

Map Buttons

.

2

Select an icon, and select 

OK

.

3

Select 

Save

.

Changing the Map Dashboard

The dashboard displays trip information at the bottom of the 

map. You can select different dashboards to change the style 

and the layout of the information.

1

Select 

Settings

 > 

Map & Vehicle

 > 

Dashboards

.

2

Use the arrows to select a dashboard.

3

Select 

Save

.

Changing the Map Perspective

1

Select 

Settings

 > 

Map & Vehicle

 > 

Driving Map View

.

2

Select an option:
• Select 

Track Up

 to display the map in two dimensions (2-

D), with your direction of travel at the top.

• Select 

North Up

 to display the map in 2-D with north at 

the top.

• Select 

3-D

 to display the map in three dimensions.

Viewing Route Activity

Viewing a List of Turns

While navigating a route, you can view all of the turns and 

maneuvers for your entire route and the distance between turns.

1

While navigating a route, select the text bar on the top of the 

map.

2

Select a turn.
The details for the turn appear. If available, an image of the 

junction appears for junctions on major roadways.

Viewing the Entire Route on the Map

1

While navigating a route, select the navigation bar at the top 

of the map.

2

Select   > 

Map

.

Viewing the Next Turn

While navigating a route, a preview of the next turn, lane 

change, or other maneuver appears in the upper-left corner of 

the map.
The preview includes the distance to the turn or maneuver and 

the lane in which you should be traveling, if available.

From the map, select 

 to view the next turn on the map.

Viewing Junctions

While navigating a route, you can view the junctions on major 

roadways. When you approach a junction in a route, the image 

of that junction appears briefly, if available.

From the map, select 

 to view the junction, if available.

Viewing Traffic Alerts

While navigating a route, a traffic alert may appear in the 

navigation bar.

Select the alert to view more information.

Viewing the Trip Computer

The trip information page displays your present speed and 

provides statistics about your trip.

NOTE: 

If you make frequent stops, leave the device turned on, 

so it can accurately measure elapsed time during the trip.

From the map, select 

Speed

.

Resetting Trip Information

1

From the map, select 

Speed

.

6

Map Pages

Summary of Contents for BMW Motorrad Navigator VI

Page 1: ......

Page 2: ... USA and other countries BaseCamp myGarmin myTrends nüMaps Guarantee nüMaps Lifetime and trafficTrends are trademarks of Garmin Ltd or its subsidiaries These trademarks may not be used without the express permission of Garmin The Bluetooth word mark and logos are owned by the Bluetooth SIG Inc and any use of such name by Garmin is under license microSD is a trademark of SD 3C Windows is a register...

Page 3: ...he power key before the prompt appears the device enters sleep mode 2 Select Off Resetting the Device You can reset your device if it stops functioning Hold the power key for 10 seconds Removing the Battery You can remove the battery if you do not intend to use the device for an extended period of time 1 Loosen the screws and remove the battery compartment cover 2 Press and hold the release tab À ...

Page 4: ...Follow the on screen instructions Activating Lifetime Maps NOTE Lifetime Maps are not applicable to products that do not have pre loaded maps NOTE Lifetime Maps entitle you to receive map updates when and as such updates are made available by Garmin during the useful life of one compatible Garmin product or as long as Garmin receives map data from a third party supplier whichever is shorter For th...

Page 5: ... applicable select a destination from the Quick Search list 5 If necessary select the appropriate destination Finding a Location Using the Search Bar You can use the search bar to search for locations by entering a category brand name address or city name 1 Select Where To 2 Select Enter Search in the search bar 3 Enter all or part of the search term Suggested search terms appear below the search ...

Page 6: ...s select a location 3 Select 4 Select Save Saving Your Current Location 1 From the map select the vehicle icon 2 Select Save 3 Enter a name and select Done 4 Select OK Starting a Route to a Saved Location 1 Select Where To Saved 2 If necessary select a category or select All Saved Places 3 Select a location 4 Select Go Editing a Saved Location 1 Select Where To Saved 2 If necessary select a catego...

Page 7: ... at all times Garmin will not be responsible for any traffic fines or citations you receive for failing to follow all applicable traffic laws and signs The route is marked with a magenta line A checkered flag marks your destination As you travel the device guides you to the destination with voice prompts when the device is in the automotive mount or connected to a Bluetooth headset arrows on the m...

Page 8: ... OK 3 Select Save Changing the Map Dashboard The dashboard displays trip information at the bottom of the map You can select different dashboards to change the style and the layout of the information 1 Select Settings Map Vehicle Dashboards 2 Use the arrows to select a dashboard 3 Select Save Changing the Map Perspective 1 Select Settings Map Vehicle Driving Map View 2 Select an option Select Trac...

Page 9: ... Navigator device select Settings Bluetooth Scan for Devices 5 Select OK A list of nearby Bluetooth devices appears 6 Select your headset from the list and select OK Your device sends navigation prompts to your headset as you navigate a route Enabling or Disabling Headset Features You can enable or disable features for your paired Bluetooth headset 1 Select Settings Bluetooth 2 Select your paired ...

Page 10: ...ve Services Saved locations and recently found locations are synchronized with your phone each time your device connects to Smartphone Link Downloading Smartphone Link Smartphone Link is available for some smartphones See the application store for your phone for compatibility and availability information Download Smartphone Link from the application store on your supported phone See your phone own...

Page 11: ...ocial Network Accounts for the Garmin Tracker App Before you can post your location on social networks using the Garmin Tracker app you must enable your social network accounts in the Smartphone Link app on your smartphone 1 On your compatible smartphone open the Smartphone Link app 2 Select Social Networks Sharing Your Status and Location Before you can share your location or status updates with ...

Page 12: ...aring Trips You can share trips with compatible Garmin devices using Bluetooth wireless technology 1 Place your device within 33 ft 10 m of a compatible Garmin device 2 Select Apps Trip Planner Share Bluetooth 3 Select a trip and select Done 4 Select a device from the list and select OK Creating a Round Trip Route The device can create a round trip route using a specified starting location and a d...

Page 13: ...rency 7 Enter a value and select Done 8 Select OK Media Player The media player can play music or audio from these sources Music files stored on your Navigator device Bluetooth audio from a paired phone Bluetooth audio from a compatible iPod mp3 player About the Media Player Before you can use the media player you must pair your device with a compatible Bluetooth headset that supports the A2DP pro...

Page 14: ...o Viewing Traffic on the Map The traffic map shows color coded traffic flow and delays on nearby roads 1 From the map select Traffic 2 If necessary select Traffic Legend to view the legend for the traffic map Traffic in Your Area Searching for Traffic Incidents 1 From the map select Traffic Traffic Conditions 2 Select 3 Select an item in the list 4 If there is more than one incident use the arrows...

Page 15: ...ctive route Avoidances Sets road features to avoid on a route Custom Avoidances Allows you to avoid specific roads or areas Advanced Detours Sets the length of a detour Toll Roads Sets preferences for avoiding toll roads Tolls and Fees Sets preferences for avoiding toll roads and toll stickers NOTE This feature is not available in all areas Safe Mode Disables all functions that require significant...

Page 16: ...hicle power cable when it is in the automotive mount Connect the device to a computer using the included USB cable Connect the device to an optional power adapter accessory such as a wall power adapter Device Care NOTICE Avoid dropping your device Do not store the device where prolonged exposure to extreme temperatures can occur because it can cause permanent damage Never use a hard or sharp objec...

Page 17: ... garmin com poiloader 2 Follow the on screen instructions Using the POI Loader Help Files For more information on the POI loader refer to the Help file With the POI loader open click Help Finding Custom POIs Before you can find custom POIs you must load custom POIs on your device using the POI Loader software Installing POI Loader page 15 1 Select Where To Categories 2 Scroll to the Other Categori...

Page 18: ...s locked up or frozen 1 Hold the power key for 10 seconds The device powers off 2 Turn on the device Turning On the Device page 1 I need to erase all my user data 1 Connect the device to your computer 2 Using the file browser on your computer open the device drive or volume and open the Internal Storage folder 3 In the Internal Storage folder delete the GPX folder 4 Disconnect the device from your...

Page 19: ......

Page 20: ...aps Lifetime and trafficTrends are trademarks of Garmin Ltd or its subsidiaries These trademarks may not be used without the express permission of Garmin The Bluetooth word mark and logos are owned by the Bluetooth SIG Inc and any use of such name by Garmin is under license microSD is a trademark of SD 3C Windows is a registered trademark of Microsoft Corporation in the United States and or other ...

Reviews: