background image

11 

Troubleshooting


If the problem is:

And this condition exists:

Then do this

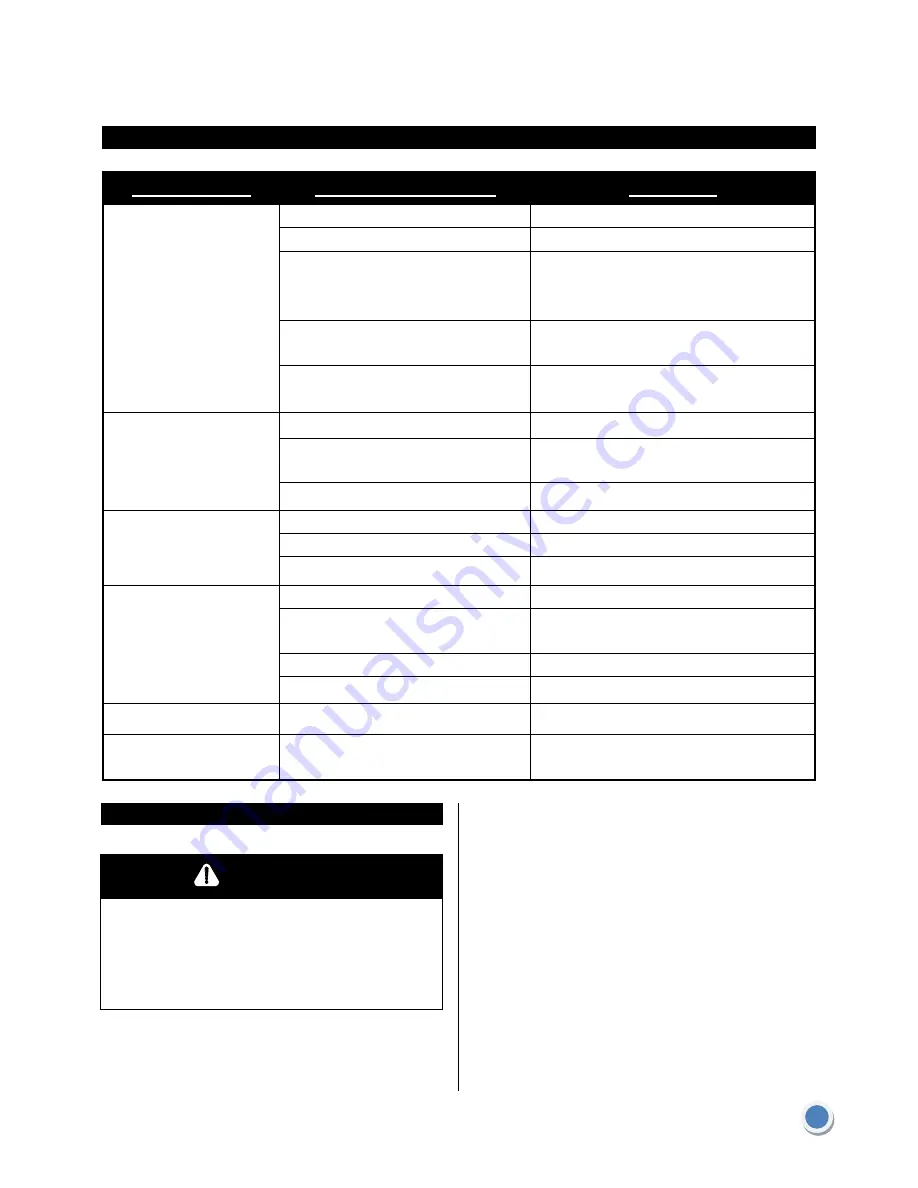
Pilot won’t light 

Cylinder valve is closed   

Open valve   

Blockage in orifice or pilot tube   

Clean or replace orifice or pilot tube   

Air in gas line   

Open  gas  line  and  bleed  it  (pressing  control   

knob in) for not more than 1 - 2 minutes or    until 

you smell gas   

Low  gas  pressure  with  cylinder  valve   

fully open   

Turn cylinder valve OFF and replace    cylinder   

Note: 

Heater 

operates 

at 

reduced  efficiency  below  40ºF 

(5ºC)

Igniter fails   

Use match to light pilot; obtain new igniter    and 

replace   

Pilot won’t stay lit 

Dirt built up around pilot   

Clean dirt from around pilot   

Connection between gas valve and   

pilot assembly is loose   

Tighten connection and perform leak check   

Thermocouple is not operating    correctly    Replace thermocouple   

Burner won’t light

Gas pressure is low   

Turn cylinder valve OFF and replace    cylinder   

Blockage in orifice   

Clear blockage   

Control knob is not in ON position   

Turn control knob to ON   

Burner flame is low 

Gas pressure is low   

Turn cylinder valve OFF and replace    cylinder   

Outdoor  temperature  is  less  than    40ºF 

and tank is less than 1/4 full   

Use a full cylinder   

Supply hose is bent or kinked   

Straighten hose   

Control knob fully ON   

Check burner and orifices for blockage   

Carbon build-up 

Dirt or film on reflector and burner screen    Clean reflector and burner screen   

Thick black smoke 

Blockage in burner   

Remove  blockage  and  clean  burner  inside  and 

outside   

Maintenance

 WARNING

FOR YOUR SAFETY:  

•  Do  NOT  touch  or  move  heater  for  at  least  45  minutes 

after use. 

• Reflector is hot to the touch. 

• Allow reflector to cool before touching. 


Air  flow  must  be  unobstructed.  Keep  controls,  burner, 

and circulating air passageways clean. Signs of possible 

blockage include: 

a. Keeping the appliance area clear and free from combustible 
   materials , gasoline and other flammable vapors and liquids.

d. Visually checking burner flames , with pictorial representations.

e. Cleaning the appliance , including special surfaces , with 
    recommended cleaning agents , if necessary.

f.  Lubrication of moving parts and the type and amount of lubricant 
    to be used. 

g. When applicable , visually checking portions of the hose 
    assembly located within the confines of the heater post. 

b. Not obstructing the flow of combustion and ventilation air.

c.Keeping the ventilation opening(s) of the cylinder enclosure
   free and clear from debris.

Summary of Contents for GS4400BK

Page 1: ...al Requirement NO 5 90 US 5th Edition IMPORTANT Read this manual carefully before assembling using or servcing this heater keep this manual for future reference PATIO HEATER R R GS4400SS GS4400GN GS4400BK GS4400CP GS4400GD GS4400WH ...

Page 2: ...when using storing and servicing Using this equipment with the respect and caution demanded will reduce the possibilities of personal injury or property damage The following symbols shown below are used extensively throughout this manual Always heed these precautions as they are essential when using any mechanical or fueled equipment DANGER DANGER indicates an imminently hazardous situation which ...

Page 3: ...as Code ANSI Z223 1 In Canada installation must conform to local codes If no local codes exist follow the current National standards of CANADA CAN CGA B 149 2 DANGER CARBON MONOXIDE HAZARD This heater is a combustion appliance All combustion appliances produce carbon monoxide CO during the combustion process This product is designed to produce extremely minute non hazardous amounts of CO if used a...

Page 4: ... air and can accumulate in low places If you smell gas leave the area immediately Never install or remove propane cylinder while heater is lighted near flame pilot lights other ignition sources or while heater is hot to touch This heater is red hot during use and can ignite flammables too close to the burner Keep flammables at least 3 feet from sides 2 feet from top Keep gasoline and other flammab...

Page 5: ...able opening wrench Leak Detection Solution Instructions on how to make solution are included in step Note You must follow all steps to properly assemble heater For models without Wheels skip to Step 2 Step 1 Attach Wheel Assembly to Base Line up holes in Wheel Bracket with corresponding holes in Base Insert 2 Medium Bolts through holes finger tighten 2 Large Flange Nuts Be sure that the Wheel Ass...

Page 6: ...st onto three Support Brackets Attach Post to Support Brackets using six large bolts six flange nuts Fully tighten all of the screws Step 5 Load Cylinder Housing onto Post Load Cylinder Housing onto Post Slide Cylinder Housing down Step 6 Attach Reflector Studs to Screen Cover Insert 3 Reflector Studs 3 Flat Washers Tighten studs securely Step 7 Attach Head Assembly to Post Screw off 4 small bolts...

Page 7: ...reflector sections loose each screw prior to further assembly and retighten after sections are aligned Slide two Reflector Panels together Insert one Small Screw Slide one Small Flat Washer over threaded end of screw and screw on Cap Nut loosely Slide Reflector Plate onto Reflector Panels Insert one Small Screw Slide one Small Flat Washer over threaded end of screw and screw on Cap Nut loosely Rep...

Page 8: ... purpose of input adjustment for propane gas The pressure regulator and hose assembly supplied with the appliance must be used The installation must conform with local codes or in the absence of local codes with National Fuel Gas Code ANSI Z223 1 A dented rusted or damaged propane cylinder may be hazardous and should be checked by your cylinder supplier Never use a propane cylinder with a damaged ...

Page 9: ...st Complete installation Operation DANGER CARBON MONOXIDE HAZARD For outdoor use only Never use inside house or other unventilated or enclosed areas This heater consumes air oxygen Do not use in unventilated or enclosed areas to avoid endangering your life DANGER EXPLOSION FIRE HAZARD Never store propane near high heat open flames pilot lights direct sunlight other ignition sources or where temper...

Page 10: ...cified by manufacturer Lighting Note This heater is equipped with a Pilot Light that allows for safer startups and shutdowns Pilot must be lit before Main Burner can be started 4 Push and release the Igniter button until pilot flame is visible through Viewing Hole 5 Release Control Knob after 30 60 seconds Pilot Light will remain lit If not return to step 1 6 immediately Flame is visible through V...

Page 11: ... Down Turn Control Knob clockwise to Pilot Normally burner will make a slight popping sound when extinguished Burner will extinguish but Pilot will remain ON To extinguish Pilot depress Control Knob and continue to turn it clockwise to OFF Turn Cylinder Valve clockwise to OFF and disconnect Regulator when heater is not in use Note After use some discoloration of the emitter screen is normal Operat...

Page 12: ...less than 40ºF and tank is less than 1 4 full Use a full cylinder Supply hose is bent or kinked Straighten hose Control knob fully ON Check burner and orifices for blockage Carbon build up Dirt or film on reflector and burner screen Clean reflector and burner screen Thick black smoke Blockage in burner Remove blockage and clean burner inside and outside Maintenance WARNING FOR YOUR SAFETY Do NOT t...

Page 13: ...creen or domes Storage Between uses Turn Control Knob OFF Disconnect LP source Store heater upright in an area sheltered from direct contact with inclement weather such as rain sleet hail snow dust and debris If desired cover heater to protect exterior surfaces and to help prevent build up in air passages Note Wait until heater is cool before covering During periods of extended inactivity or when ...

Reviews: