MODEL AT3
3 – 3
MENU OPERATION
All menu choices can be modified or activated merely by pressing the button corresponding to the menu
item. If a screen contains more than six menu items the choice "<More>" will appear as the lower
right menu choice, and pressing this will take the user to the next page of choices. See Figure 3-
<2. Some menu items act as gateways, and pressing them takes the user to another screen. Other
menu items can cause a certain action to be performed when they are pressed. Most items,
however, allow the user to change the parameters and operation of the instrument
Setpt1: XXX.XXX PPM
Setpt Mode: High
SETPOINTS
Setpt1 Hysteresis: XXX.XXX PPM
Setpt1 Delay: XX Sec
<More>
Figure 3-2: <More>
Example
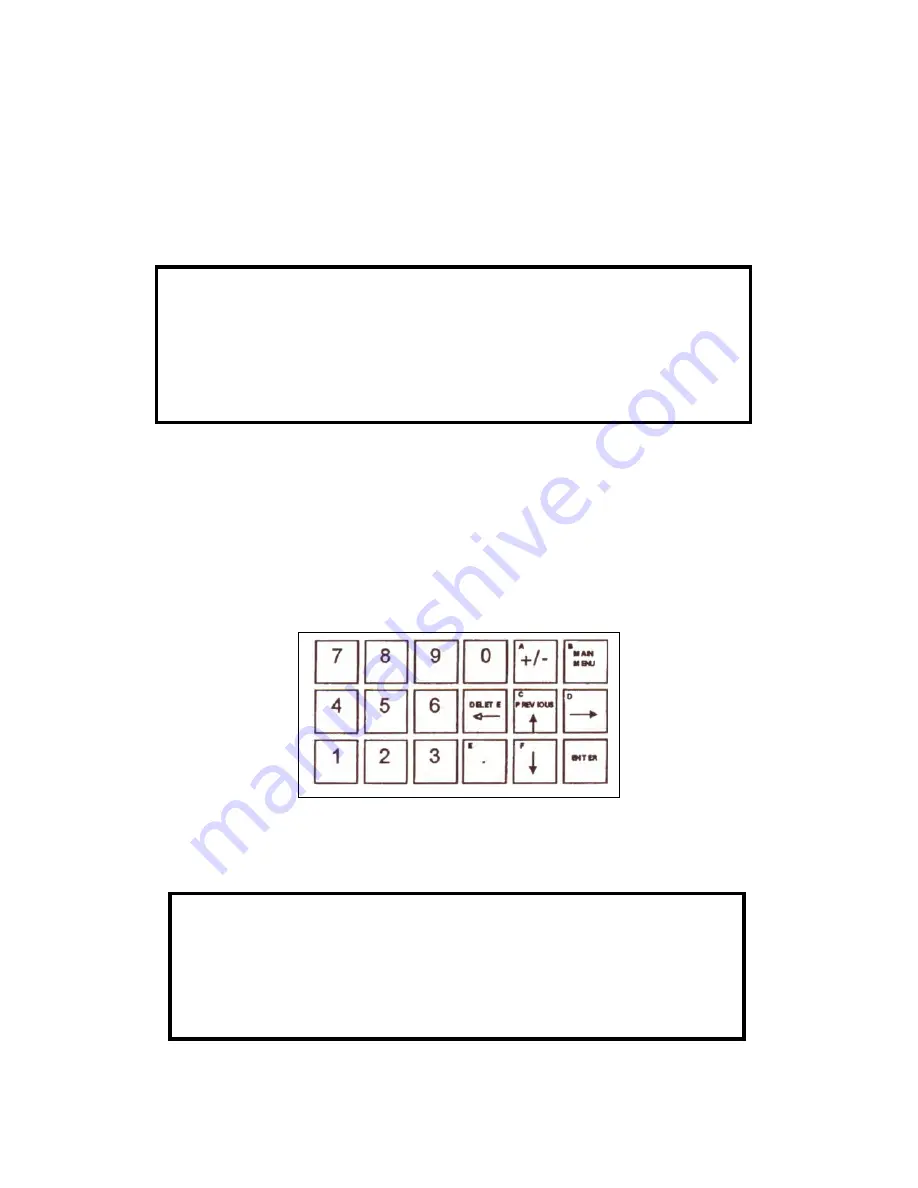
Numerical items,
when pressed, display a flashing cursor to prompt for an input and expect the user to
enter a number. The numerical keys, decimal point, and +/- key may all come into play depending
on the type of number the instrument expects. See Figure 3-3. If a mistake is made, the left arrow
can be used as a backspace. If the number entered is outside the expected range, the Instrument
will flash in the center of the bottom line "NUMBER TOO HIGH" or "NUMBER TOO LOW' and the
entered number will be rejected. In general, the bottom line is dedicated to messages to the user.
See Figure 3-4. If an item is expressed in scientific notation, the UP arrow can be used to enter
the exponent
Figure 3-3: AT3 Front Panel Numerical Control Pad
Low X value: X.XXX CNTS
PARTIAL PLOT
High X Value: X.XXX CNTS
NUMBER TOO HIGH
PLOT
Figure 3-4: Example of Message Location
Summary of Contents for Monitek AT3
Page 23: ...MODEL AT3 3 11...


