background image


1


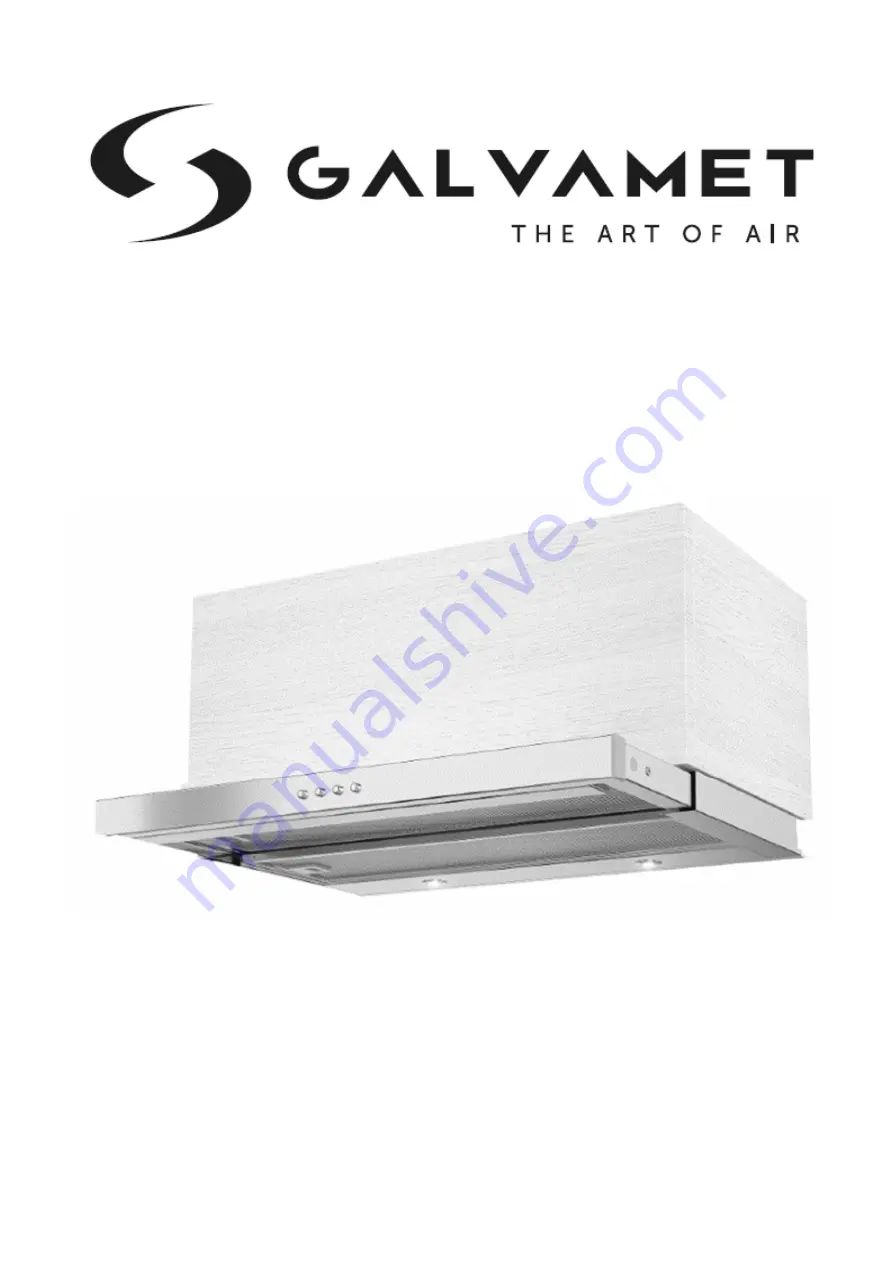
SKID EVO 


IT - 

ISTRUZIONI PER INSTALLAZIONE USO E MANUTENZIONE 

EN

 - INSTALLATION, OPERATING AND MAINTENANCE GUIDE 

FR

 - INSTRUCTIONS POUR L'INSTALLATION, L'UTILISATION ET LA MAINTENANCE 

DE

 - ANWEISUNGEN FÜR INSTALLATION, GEBRAUCH UND WARTUNG 

ES

  - INSTRUCCIONES DE INSTALACIÓN, USO Y MANTENIMIENTO 


Summary of Contents for SKID EVO

Page 1: ...E USO E MANUTENZIONE EN INSTALLATION OPERATING AND MAINTENANCE GUIDE FR INSTRUCTIONS POUR L INSTALLATION L UTILISATION ET LA MAINTENANCE DE ANWEISUNGEN F R INSTALLATION GEBRAUCH UND WARTUNG ES INSTRUC...

Page 2: ...2...

Page 3: ...ltro carbone attivo per cappe filtranti 9 VI 3 Pulizia Cappa 9 VI 4 Illuminazione 9 VII MESSA FUORI SERVIZIO 9 EN I GENERAL 10 II WARNINGS 10 III INSTALLATION 10 III 1 Preliminary Indications 10 III 2...

Page 4: ...re charbon actif pour hottes filtrantes 17 VI 3 Nettoyage de la hotte 17 VI 4 clairage 17 VII MISE HORS SERVICE 17 DE I ALLGEMEINES 18 II WARNUNGEN 18 III INSTALLATION 18 III 1 Erste Hinweise 18 III 2...

Page 5: ...23 IV USO 24 V FUNCIONAMIENTO 24 V 1 Activaci n Apagado Autom tica Retardado Regulable 24 V 2 Aviso de mantenimiento de los filtros 24 VI MANTENIMIENTO Y LIMPIEZA 24 VI 1 Filtro anti grasa de metal 2...

Page 6: ...a di esperienza e conoscenza a meno che ci sia una supervisione o istruzione sull uso dell apparecchio da parte di una persona responsabile per la loro sicurezza I bambini devono essere sorvegliati pe...

Page 7: ...i III 3 Collegamento elettrico Il collegamento elettrico deve essere eseguito SOLO da tecnici specializzati La protezione elettrica del collegamento elettrico a monte dell apparecchiatura deve rispett...

Page 8: ...e Autospegnimento Ritardato Regolabile Per attivare l autospegnimento si deve accendere la cappa alla velocit desiderata e successivamente tenere premuto il tasto TL per alcuni secondi fino a quando t...

Page 9: ...a calda ed una modesta quantit di sapone neutro es sapone per stoviglie al fine di eliminare le particelle di grasso eventualmente depositate Risciacquare con un panno umido asportando con cura tutto...

Page 10: ...ens The manufacturer does not accept any liability for damages caused by people animals or things by installation and maintenance mistakes or by any illegitimate use We remind that the use of products...

Page 11: ...st loosen the screws Fig 3 2 3 slide the alignment slides Fig 3 2 3 A and retighten the screws III 3 Electrical Connection The electrical connection must be carried out ONLY by qualified technicians T...

Page 12: ...der to switch the motor off press T1 once if set at the 1 speed twice if set at the 2 and 3 speed V 1 Adjustable and delayed self switching off While the hood is working keep the TL command pressed un...

Page 13: ...acid or basic products or abrasive sponges to clean the external body of the hood Clean the hood with a sponge moistened with hot water and a modest quantity of neutral soap for example dish soap in...

Page 14: ...e produits utilisant de l nergie lectrique implique le respect de quelques r gles fondamentales de s curit Cet appareil ne peut pas tre utilis par des personnes y compris les enfants avec des capacit...

Page 15: ...la hotte l aide des 4 vis fournies Fig 3 2 1 A L avant du tiroir peut toujours tre align avec l armoire en r glant l arri re du tiroir de mani re appropri e Pour r gler desserrez les vis Fig 3 2 3 fai...

Page 16: ...pour s lectionner les vitesses de fonctionnement appuyez sur T2 et T3 Pour arr ter le moteur appuyez sur T1 une fois si utilis en 1 re vitesse deux fois si utilis en 2e et 3e vitesse V 1 Arr t automat...

Page 17: ...surfaces de la hotte N utilisez pas de produits acides ou basiques ou d ponges abrasives pour nettoyer le corps externe de la hotte Nettoyez la hotte avec une ponge imbib e d eau chaude et une petite...

Page 18: ...einschlie lich Kindern mit eingeschr nkten geistigen oder motorischen F higkeiten oder fehlender Erfahrung und Kenntnis es sei denn unter berwachung oder nach einer Einweisung durch einen Sicherheits...

Page 19: ...llen die Schrauben Abb 3 2 3 schieben Sie die Ausrichtungsschieber Abb 3 2 3 A und ziehen Sie die Schrauben wieder fest III 3 Elektrischer Anschluss Der elektrische Anschluss darf NUR von Fachpersonal...

Page 20: ...instellbaren Verz gerten Selbstausschaltung F r die Aktivierung der Selbstausschaltung muss die Abzugshaube mit der gew nschten Geschwindigkeit eingeschaltet und die Taste TL einige Sekunden lang gedr...

Page 21: ...hei em Wasser angefeuchteten Schwamm und einer geringen Menge neutraler Seife z B Sp lmittel um eventuell abgelagerte Fettpartikel zu entfernen Sp len Sie mit einem feuchten Tuch und entfernen Sie vor...

Page 22: ...exista la supervisi n o instrucci n sobre el uso del equipo por parte de una persona responsable de su seguridad Los ni os deben ser supervisados para asegurarse de que no jueguen con el aparato Se pr...

Page 23: ...r los tornillos III 3 Conexi n El ctrica La conexi n el ctrica se llevar a cabo SOLO por t cnicos especializados La protecci n el ctrica de la conexi n el ctrica antes del aparato deber respetar las n...

Page 24: ...os hasta que todos los LED empiezan a destellar Pulsando uno de los pulsadores T1 T2 T3 se puede programar el tiempo de apagado autom tico de la siguiente manera T1 igual a 5 minutos T2 igual a 10 min...

Page 25: ...un pa o h medo retirando con cuidado todo el jab n siguiendo la direcci n del acabado satinado de la superficie de acero El secado es particularmente importante especialmente en reas donde el agua es...

Page 26: ...26 5 1 3 2 3 3 2 2 3 1 2 3 1 1 3 2 1...

Page 27: ...27 6 1 1 4 2 4 1...

Page 28: ...GALVAMET S r l UNIPERSONALE Via dell Industria 10 35014 Fontaniva PD Italy Tel 39 049 5942144 Fax 39 049 5940061 e mail info galvamet it web www galvamet it 395 590 1...

Reviews: