


28
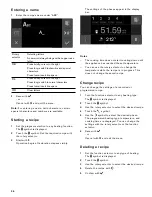
Setting the core temperature
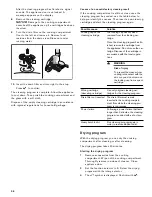
1
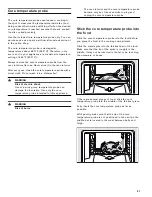
Insert food into the oven interior with the core
temperature probe inserted. Insert the core
temperature probe in the socket in the oven interior
and close the appliance door.
Do not jam the core temperature probe's cable!
+
and the current core temperature appear in the
display.
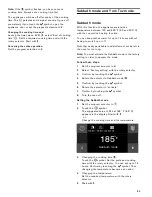
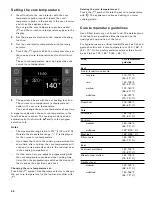
2
Set the program selection to the required heating
function.
3
Set the oven interior temperature with the rotary
selector.
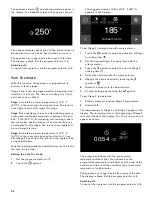
4
Touch the
+
symbol. With the rotary selector, set
the required core temperature and confirm it with
+
.
The set core temperature must be higher than the
current core temperature.
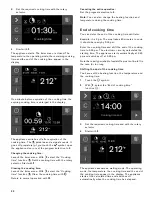
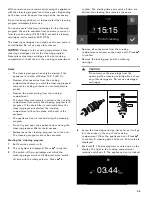
5
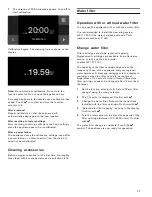
The appliance heats with the set heating function.
The current core temperature is displayed and,
under it, the set core temperature.
You can change the set core temperatur at any time.
A signal sounds when the set core temperature in the
food has been reached. The cooking mode is ended
automatically. Confirm with
™
and turn the program
selection to
0
.
Notes
‒
The measurable range is 59 to 210° F (15 to 99°C).
Outside the measurable range, "--°F" is displayed
for the current core temperature.
‒
If you leave the food in the cooking compartment for
some time after cooking, the core temperature will
continue to rise somewhat due to the residual heat
in the cooking compartment.
‒
If at the same time you adjust a programming with
the core temperature probe and the cooking time
timer, then the programming switches the device off
that reaches the specified value first.
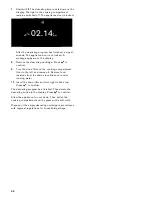
Changing the core temperature set:
Touch the
+
symbol. Use the rotary selector to change
the set core temperature for the food and confirm with
+
.
Deleting the core temperature set:
Touch the
+
symbol. Delete the set core temperature
with
Ž
. The appliance continues heating in normal
cooking mode.
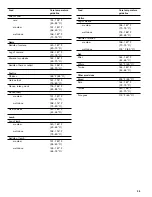
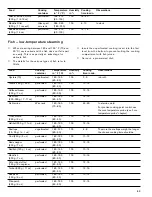
Core temperature guidelines
Use chilled food only, not frozen food. The details given
in the table are guidelines. Results depend on the
quality and composition of the food.
For hygiene reasons, critical foodstuffs such as fish and
game should reach a core temperature of 143 - 158° F
(62 – 70 °C); for poultry and minced meat this should
be as high as 176 - 185° F (80 – 85 °C).
)
)
)
Food
Core temperature
guideline
Beef
Sirloin, tenderloin, entrecôte
very rare
rare
medium
well-done
113 - 117°F
(45 - 47 °C)
122 - 126°F
(50 - 52 °C)
137 - 140°F
(58 - 60 °C)
158 - 167°F
(70 - 75 °C)
Roast beef
176 - 185°F
(80 - 85 °C)
Pork
Pork roast
162 - 176°F
(72 - 80 °C)
Pork loin
medium
well-done
149 - 158°F
(65 - 70 °C)
167°F (75 °C)
Meat loaf
185°F (85 °C)
Fillet of pork
149 - 158°F
(65 - 70 °C)
Veal
Veal roast, well-done
167 - 176°F
(75 - 80 °C)
Breast of veal, stuffed
167 - 176°F
(75 - 80 °C)
Saddle of veal
medium
well-done
137 - 140°F
(58 - 60 °C)
149 - 158°F
(65 - 70 °C)
Summary of Contents for BS 470 611
Page 1: ...Gaggenau Use and care manual BS 470 471 611 BS 474 475 611 BS 484 485 611 Combi steam oven...
Page 58: ......
Page 59: ......