68
CompuGen 3250
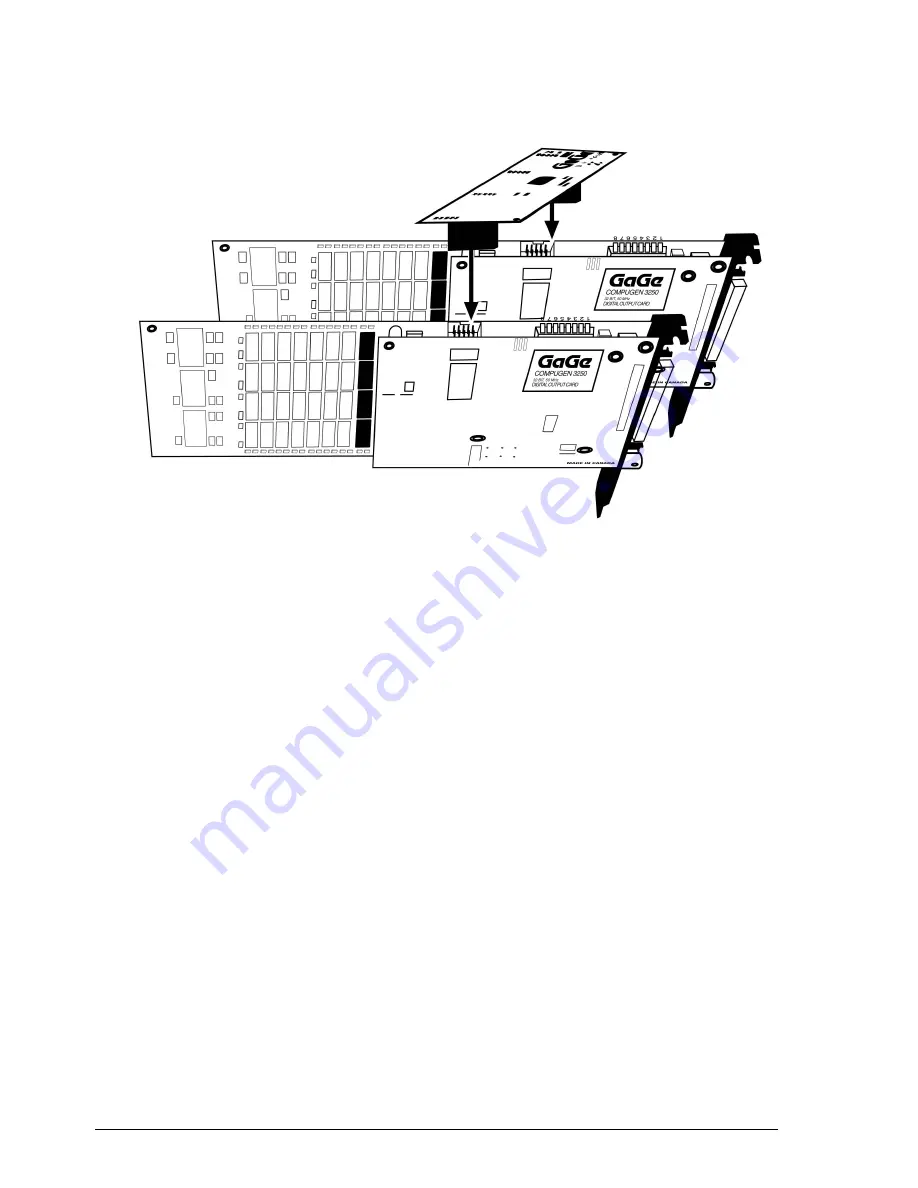
9. Attach the Master/Slave Timing Module (MSTM) to all of the cards. (The MSTM is polarized to avoid
incorrect insertion.)
Figure 43: Attaching the MSTM
10. After making sure the cards are properly seated in the PC, screw the backplate of each card to the chassis.
11. Slide the plastic card guide extender onto the back-end of the cards to secure them in place.
12. Close the PC’s cover and turn the main power switch back to ON.
If the power supply and fan do not start, your computer’s power supply may not have enough amperage
available to run all CompuGen 3250s. Please contact the manufacturer of your computer to rectify the
situation.
13. If the computer starts properly, install GageBit software. This application software is also supplied on the
Gage CompuGen ISA CD. Refer to section:
GageBit Application
on page 20 for more details on installing
application software.
14. Run GageConfig to verify proper installation of Windows drivers (see page 69).
15. Run GageBit software to generate a pattern. You can do so by clicking on the Generate button on GageBit
screen.
If you have purchased a Pleated Foil Cable and a BNC Breakout Board, you will be able to see the output
bits on an oscilloscope if you connect the appropriate bit from the BNC Breakout Board to the oscilloscope
using a coaxial cable.
With the default pattern loaded by GageBit, you should see a series of square waves with 50% duty cycle on
each of the data outputs (bits 0 through 9). Note that if you load a pattern different than the default pattern,
the outputs will be different.
This shows that you have successfully installed your CompuGen 3250 without any conflicts with the rest of
the PC system.
Note:
Once upgraded to the Master/Slave option, the CompuGen 3250 Master or Slave card will not function
without the Master/Slave Timing Module.
Artisan Technology Group - Quality Instrumentation ... Guaranteed | (888) 88-SOURCE | www.artisantg.com


