background image

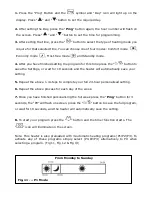
1. Press the “Prog” Button and the 

  symbol and “Day” icon will light up on the 

display. Press “

” and “

”button to set the required day. 

 
2. After setting the Day, press the “Prog” button again, the hour number will flash on 

the screen. Press “

” and “

” button to set the time for programming.   

3. After setting the time, press the “

” button to select the type of heating mode you 

require for that selected time. You can choose one of four modes: Comfort mode   

Economy mode 

, Frost-free mode 

  and Standby mode. 

4. After you have finished setting the program for this time press the "

" button to 

save the Settings, or wait for 10 seconds and the heater will automatically save your 
setting. 
 
5. Repeat the above 1-4 steps to complete your full 24-hour personalised setting. 
 
6. Repeat the above process for each day of the week. 
 
7. Once you have finished personalising the full week press the “Prog” button for 3 

seconds, the “P0” will flash on screen, press the "

" button to save the full program, 

or wait for 10 seconds, and the heater will automatically save the setting. 
 

8. To start your program press the “

” button and the timer function starts. The 

” icon will illuminate on the screen. 

 
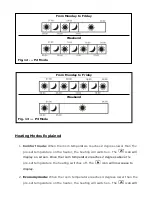
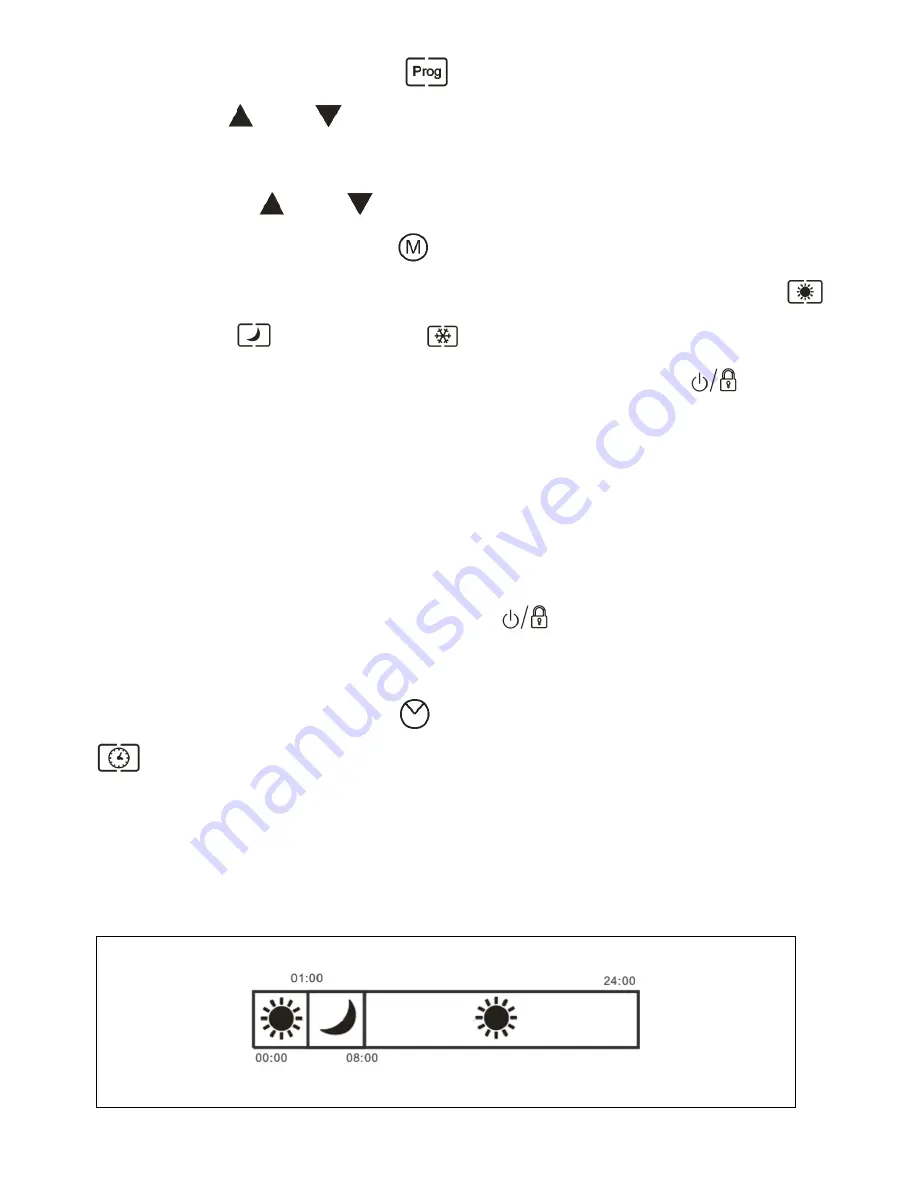
Note: This heater is also preloaded with 3 automatic heating programs (P1/P2/P3). To 
activate  any  of  these  programs  simply  select  (P1/P2/P3)  alternatively  to  P0  when 
selecting a program. (Fig 11, Fig 12 & Fig 13) 


From Monday to Sunday 


Fig. 11 --- P1 Mode 

Summary of Contents for FPH1000

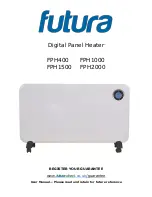
Page 1: ...Digital Panel Heater FPH400 FPH1000 FPH1500 FPH2000 REGISTER YOUR GUARANTEE www co uk guarantee User Manual Please read and retain for future reference...

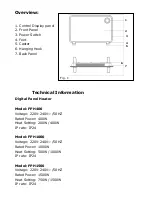
Page 2: ...echnician for help Contents Parts List Technical Information Safety Instructions Using your Heater Maintenance Warranty Parts List No Description No Description 1 Back Board 10 Heating Bracket 2 Brack...

Page 3: ...Exploded Assembly Diagram NOTICE Actual product may vary from pictures shown...

Page 4: ...mation Digital Panel Heater Model FPH400 Voltage 220V 240V 50HZ Rated Power 400W Heat Setting 200W 400W IP rate IP24 Model FPH1000 Voltage 220V 240V 50HZ Rated Power 1000W Heat Setting 500W 1000W IP r...

Page 5: ...Do not use item outdoors 11 Protect the product from impact to the corners 12 Do not touch heater with wet hands 13 If there is water on the surface of the heater unplug it immediately 14 If the heate...

Page 6: ...ny object through the heat outlet or air intake grilles of the heater 16 Do not place this heater near flammable materials surfaces or substances as there may be a risk of fire 17 Particular care shou...

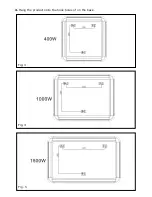
Page 7: ...atch the three feet holes with the pre drilled holes at the bottom of the heater 3 Use the 6 x screws provided to secure the two feet to the heater 4 Turn the heater the right way up Wall Mounting Fig...

Page 8: ...4 Hang the product onto the hook holes of on the back Fig 3 Fig 4 Fig 5...

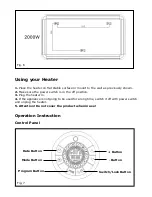
Page 9: ...h is in the off position 3 Plug the heater in 4 If the appliance is not going to be used for a long time switch it off with power switch and unplug the heater 5 Attention Do not cover the product when...

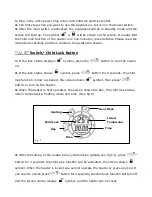
Page 10: ...t on the rating label Read the safety instructions carefully When the equipment is used for the first time or after a long period of rest it may emit an odor for a short time This is not a fault Fig 8...

Page 11: ...n 2 If the lock status shows symbol press button for 3 seconds the child lock function is now un locked the screen shows symbol then press button to turn on the heater 3 When the heater is first opera...

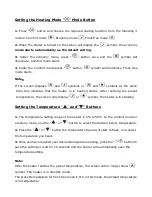
Page 12: ...ter reaching the preset temperature the screen only display or symbol the heater is in standby Setting the Temperature and Buttons 1 The temperature setting range of the heater is 5oC to 50oC In the c...

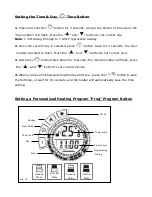
Page 13: ...ess the and button to set current hour 3 Now press button three times for 3 seconds the minute number will flash press the and button to set current minute 4 When you have finished selecting the day a...

Page 14: ...10 seconds and the heater will automatically save your setting 5 Repeat the above 1 4 steps to complete your full 24 hour personalised setting 6 Repeat the above process for each day of the week 7 On...

Page 15: ...n screen Once the room temperature reaches 2 degrees above the pre set temperature the heating switches off The icon will now cease to display 2 Economy mode When the room temperature reaches 4 degree...

Page 16: ...utomatic built in function which if the heater detects a sudden drop of 5 degrees or more in room temperature it switches itself off to save power Usually this sort of sudden drop in temperature can o...

Page 17: ...A Manager Please read the following carefully FUTURA Direct Ltd and or its distributor have provided the parts list and assembly diagram as a reference tool only Neither FUTURA Direct Ltd nor its dist...

Page 18: ...ou experience any problems with your product please return the product to its distributor dealer for repair or replacement This warranty DOES NOT COVER normal wear or any damage as a result of acciden...

Page 19: ...k contact Register at www co uk guarantee We FUTURA Direct Ltd England DN6 7AY declare that the panel heater is exclusively manufactured for Futura Direct Ltd and has been manufactured according to ou...

Reviews: